
User settings
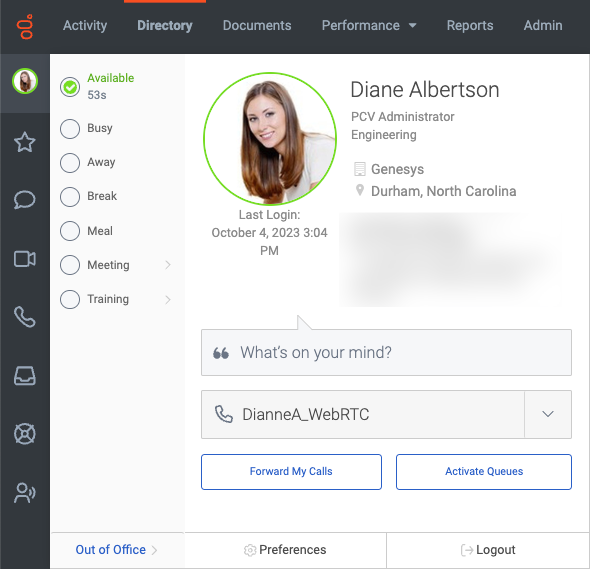
To access user settings, click your profile picture in the sidebar.
To access user settings, from the Menu bar, click your avatar. 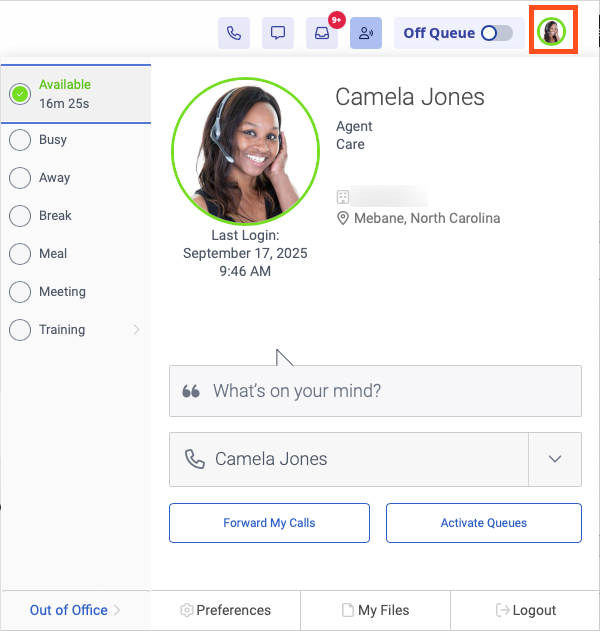
Configure user settings
| Setting | To configure |
|---|---|
| View your profile | To view and customize your profile, click the larger profile picture. For more information, see Profile page overview. |
| Set your presence status |
Select your presence and status. Presence indicators appear as colored rings around profile pictures. Presence appears as the following:
For more information, see Change presence and status. |
| View your organization name | Your organization name appears below your name, next to the building icon. If you are a member of more than one organization, Genesys Cloud also shows the name of the organization you are currently logged into. For more information, see Organization names and log in. |
| Share your current geolocation |
The geolocation indicator under your name and title lets others know your current geolocation. If the administrator enabled geolocation for your organization, you can choose to share your current location with others.
|
| Add a custom message | To provide additional information about your presence, status, or location, for example, “Back at noon,” Type a brief message next to the quote icon. For more information, see Change presence and status. |
| Select your phone | To make and receive calls or to select a different phone, select a phone. Type the phone name in the Search field next to and select it from the suggestion menu. For more information, see Select a phone and Select and configure the Genesys Cloud WebRTC phone. |
| Forward your calls | To enable call forwarding and to configure a forwarding number, click Forward My Calls. For more information, see Forward your calls. |
| Select your Genesys Cloud WebRTC phone settings | To select your microphone and speaker if you selected a Genesys Cloud WebRTC phone, select WebRTC Settings. For more information, see Select and configure the Genesys Cloud WebRTC phone. |
| Choose queues to work (Agents) | To access the Active and Available Queues lists and to specify queues, click Activate Queues. This setting applies to agents. For more information, see Choose queues to work. |
| View the elapsed time elapsed for your current status (Agents) | Genesys Cloud displays the elapsed time for your status. Monitor the time spent on breaks and lunches. This setting applies to agents. For more information, see Status timer for agents |
| Set Out of Office status | To provide a start date and time for the periods you are away, click Out of Office. Optionally, include the end date and time. For more information, see Change presence and status. |
| Access your Preferences |
To customize settings for sound, ringtones, notifications, chat, password, voicemail PIN, language and other options, click Preferences. Note: Some preferences are specific to the app you that you use: browser, Windows desktop, or Mac desktop. For more information, see Change web app preferences, Change Windows desktop app preferences, and Change Mac desktop app preferences. |
| Log out | To log out of Genesys Cloud, click Logout. For more information, see Log out. |