Send an outbound email on behalf of a queue
Send an email on behalf of the queue is an option for agents who want to send an outbound email on behalf of an inbound queue without going On Queue. The On Behalf of Queue option ensures that an agent can send an outbound email related to a queue without receiving other interactions. The agent receives credit for the interaction because the statistics are associated with the selected queue. These email interactions count toward the utilization rules set by the administrator. For more information about email interactions, including navigating the email message while on queue, see Work with email interactions.
Notes:
- When an agent sends an email to an external contact, Genesys Cloud automatically attempts to verify the contact based on the email address you use. The verification process creates the interaction history.
- For more information about external contacts, including viewing the interaction history, see Work with an external contact during an interaction.
To send an email on behalf of a queue:
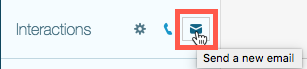
- Click the Interactions icon.
- To start an outbound email message, depending on your permissions do one of the following:
- Click Start a new email.
- Click Start an interaction.
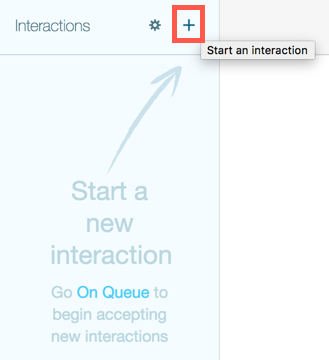 The Start an interaction window appears. Select the Send Email tab.
- Click Start a new email.
- In the top box, type the first few characters of the queue name. Genesys Cloud displays the matching queues. Only queues that you belong to appear here. Select the correct queue from the list.
- In the bottom box, you can search for an external contact. Type a few characters of the name or email address of the external contact recipient. From the list of matching external contacts, select the one you want.
- If an external contact has only one email address, click anywhere on the external contact’s information to select it.
- If an external contact has multiple email addresses, click the specific email address you want. Otherwise, Genesys Cloud selects the first one in the external contact’s profile.
- To send the email to an email address that is not listed, type the email address. Remember to edit the external contact’s profile to include the new email address.
- If an external contact has no email address listed, Genesys Cloud displays a message indicating that the email is not provided. If you know the external contact’s email address, you can type it directly in the box. Remember to edit the external contact’s profile to include the email address.
- To remove an email address, click its .
- To send the email to multiple addresses, repeat step 4.
- Click the Email button or press Enter.
 Genesys Cloud displays the email in the Active Interactions list and in the Interactions panel.
 - Type a response and click Send.
- Complete any after contact work needed for the interaction.