
Manage individual actions for integrations
You can manage individual actions through the Summary and Setup pages in Genesys Cloud.
The Summary page for an individual action appears after you add a custom action. For more information, see Create a custom action.
You can also access this page by clicking Admin > Integrations > Actions, selecting an action, clicking More , and then clicking Edit Action.
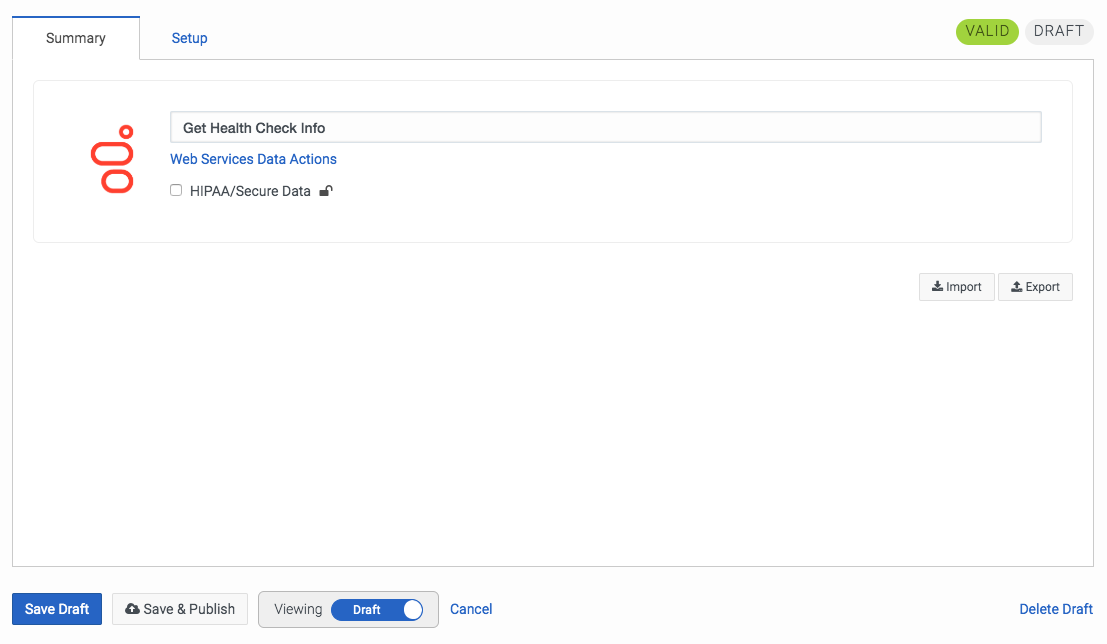
The Summary page includes the following items:
- Name: The name of the data action. Note: If you change the name, you must click Save Draft for the change to take effect.
- Category/integration name: The name of the category/integration, which is a link to the Integrations page of the installed integration.
- HIPAA/Secure Data: Makes the action secure.Note: After you publish an action, you cannot change the HIPAA/Secure Data check box.
- Import : Imports an action’s contracts and configuration as a JSON file. Allows you to reuse actions within and across Genesys Cloud organizations. For more information, see Import or export a data action.
- Export : Exports the action’s contracts and configuration as a JSON file. Allows you to reuse actions within and across Genesys Cloud organizations. For more information, see Import or export a data action.
The following image shows the Summary page for a custom action. This page appears slightly different for static actions.
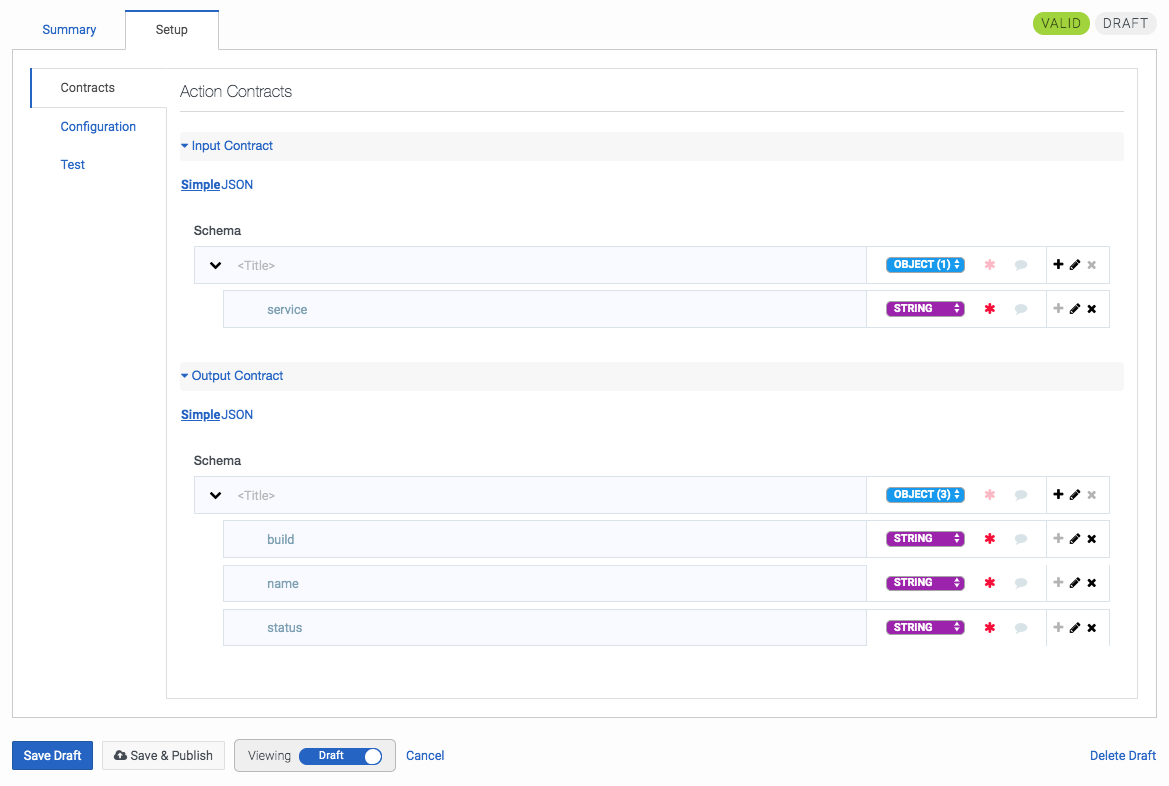
The Setup page includes the following items:
- Contracts: Defines the information that you provide to the action for its execution and the response that it ultimately returns. For more information, see Add contracts.
- Configuration: Describes how the action implements the contract. For more information, see Add configuration.
- Test: Runs various operations to check for errors in draft and published actions. For more information, see Test data actions.
The following image shows the Setup page for a custom action. This page appears slightly different for static actions.
Both pages include the following items:
- Valid icon: This icon turns green when you save the action, if the action contains all needed fields and the JSON is syntactically correct. The icon does not indicate whether the action executes successfully. Note: You cannot publish an action unless the Valid icon is green.
- Status icon: After you publish an action, this icon changes from DRAFT to PUBLISHED.
- Save Draft: Saves the draft. Click the arrow next to Save Draft to discard the draft.
- Save & Publish: This button allows you to save and publish the action simultaneously. Note: After you publish an action, you cannot change its HIPAA/Secure Data state or change the contracts.
- Viewing: Switches between a draft of the action and the published version.
- Cancel: Cancels any operations that you made on this page and leaves this page.
- Delete Action (or Delete Draft): Deletes all information associated with the action, including drafts. Note: If you reference this action elsewhere, such as in an interaction flow in Architect or in a script in Scripts, then you must update references in these applications.
The following images show the Summary and Setup pages for a custom action. These pages appear slightly different for static actions.
For more information about the integrations, see About the data actions integrations.