
Series: Configure Agent Assist
Create and configure agent assistants in Genesys Cloud for Google CCAI
- Genesys Cloud discontinues development and support of the Google Agent Assist offer on January 24, 2024. Customers will still be able to use the feature until the end-of-life (EOL) date on August 31, 2024.
- Customers who wish to use Google CCAI Agent Assist with Genesys Cloud can utilize the replacement product, AI Connect for Google, which is being developed by the Genesys Innovations Team, and will be available on or before May 31, 2024. For more information, please reach out to ps_expertapps_sales@genesys.com.
- This documentation is for Agent Assist Google CCAI. This feature is limited to North America region. For Genesys Agent Assist, which is available worldwide, please refer to the Genesys Agent Assist documentation.
Assistants associate the Google Agent Assist Google CCAI Conversation Profile with the list of queues featuring Agent Assist Google CCAI. Before you create an assistant, create or choose the list of queues that you plan to assign to your assistant.
- Assign at least one queue to the assistant.
- Do not assign a queue to more than one assistant.
- You can assign several queues to the assistant.
Step 1: Create an agent assistant in Genesys Cloud
This section describes how to create an agent assistant that is associated with the Google Agent Assist Google CCAI Conversation Profile that you created previously.
Click the image to enlarge. 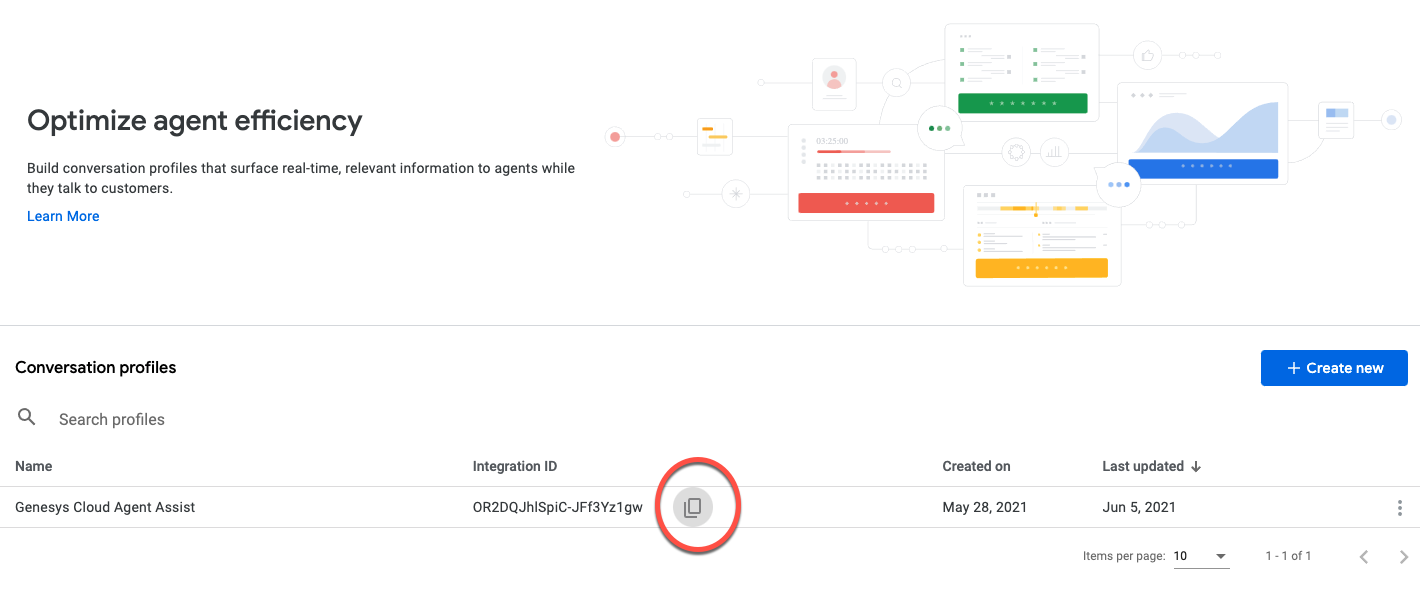
Create and configure agent assistants for voice queues from the Admin > Contact Center > Assistants page.
- Click New Assistant.
- Enter a name.Notes:
- You cannot duplicate an assistant name. Each assistant name must be unique.
- An assistant name cannot contain asterisks.
-
Under Google Conversation Profile, paste the integration ID of the conversation profile.

- Click Save. The Queues tab appears.
Step 2: Assign queues to your assistant
- In the Assistant view, click the Queues tab.
- Click Assign to Queues.
- From the list, select the appropriate queue or queues.
- To add the queue or queues to the assistant, click Assign.
- To remove a queue from the assistant, click Unassign next to the queue name and then click Yes.
- Repeat steps 2–4 to assign more queues to the assistant.
The assistant is now ready to trigger suggestions for the agents of the assigned queues.
Step 3: Enable policy-based recording on the trunk
Enabling recording is mandatory for Agent Assist Google CCAI transcription. The data are deleted after the transcription is done.
For more information, see Enable policy-based recording.
Agents can now use Agent Assist Google CCAI.