
Series: Configure Agent Assist
Configure a Google Cloud Platform (GCP) project for Agent Assist Google CCAI
- Genesys Cloud discontinues development and support of the Google Agent Assist offer on January 24, 2024. Customers will still be able to use the feature until the end-of-life (EOL) date on August 31, 2024.
- Customers who wish to use Google CCAI Agent Assist with Genesys Cloud can utilize the replacement product, AI Connect for Google, which is being developed by the Genesys Innovations Team, and will be available on or before May 31, 2024. For more information, please reach out to ps_expertapps_sales@genesys.com.
- This documentation is for Agent Assist Google CCAI. This feature is limited to North America region. For Genesys Agent Assist, which is available worldwide, please refer to the Genesys Agent Assist documentation.
Note: Agent Assist Google CCAI is not available on on-premises Edge solutions.
This page describes how to create and configure a Google Cloud Platform (GCP) project for Agent Assist Google CCAI. The GCP project is used to enable the Agent Assist Google CCAI with Google Cloud integration.
Create and configure the Google Cloud Platform project
- Create a GCP project and name it. For example, “genesys-agent-assist”.
- Enable the Dialogflow API for your GCP project.
- Enable the Data Labeling API for your GCP project.
- Create a service account for Agent Assist Google CCAI.
- Upgrade to the Pay as You Go Dialogflow Essentials package.
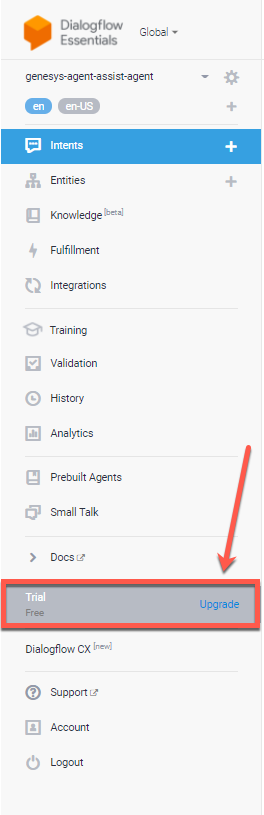
- Open the Google Dialogflow console and navigate to your GCP project using the following URL:
https://dialogflow.cloud.google.com/#/agent/${your-project-id} where ${your-project-id} is the name of the GCP project that you created in Step 1. - To open the Dialogflow Pricing Plans window, click Upgrade under Trial on the left pane.
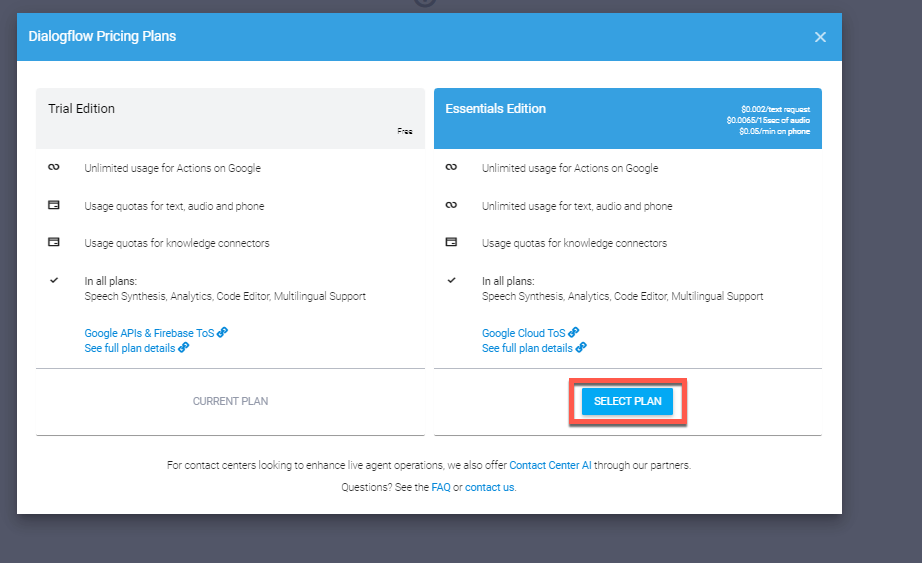
- Under Essentials Edition, click SELECT PLAN.
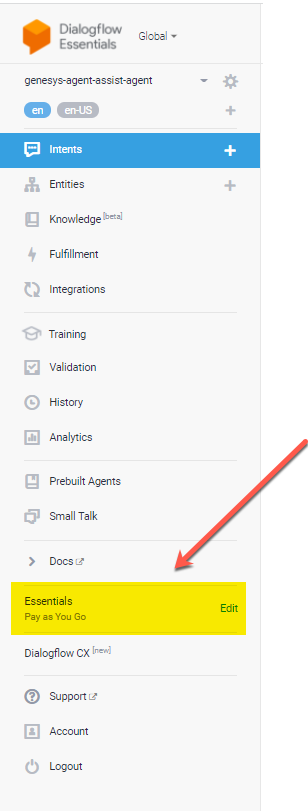
The page reloads. The left pane now displays Essentials – Pay as You Go instead of Trial Free.
- Open the Google Dialogflow console and navigate to your GCP project using the following URL:
Get started with Agent Assist Google CCAI :Previous Suggested Article Next Suggested Article: Enable the Agent Assist Google CCAI with Google Cloud integration