
Series: Configure Agent Assist
Enable the Agent Assist Google CCAI with Google Cloud integration
- Genesys Cloud discontinues development and support of the Google Agent Assist offer on January 24, 2024. Customers will still be able to use the feature until the end-of-life (EOL) date on August 31, 2024.
- Customers who wish to use Google CCAI Agent Assist with Genesys Cloud can utilize the replacement product, AI Connect for Google, which is being developed by the Genesys Innovations Team, and will be available on or before May 31, 2024. For more information, please reach out to ps_expertapps_sales@genesys.com.
- This documentation is for Agent Assist Google CCAI. This feature is limited to North America region. For Genesys Agent Assist, which is available worldwide, please refer to the Genesys Agent Assist documentation.
Prerequisites
- Edge and Media Tier version 1.0.0.9950 or later. Agent Assist Google CCAI is only available on cloud-based media services. Ensure that the cloud-based media services for Genesys Cloud Voice and BYOC Cloud are already running the necessary versions.
- A configured Google Cloud Platform (GCP) project
Note: Agent Assist Google CCAI is not available on on-premises Edge solutions.
Step 1: Trigger automatic allow-listing of your Google Cloud Platform project
- Go to the Dashboard page in Google Cloud Console.
- Click the Select from drop-down list at the top of the page.
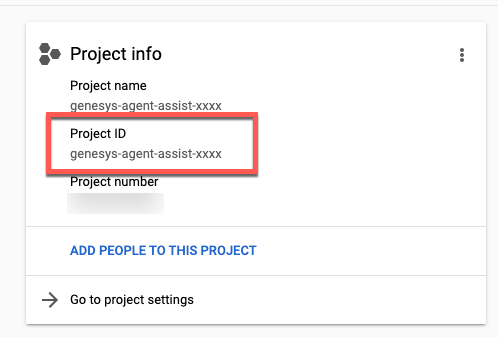
- In the Select from window that appears, select your project to display the related information. The Project info card displays the project ID.
- In Genesys Cloud, edit your Agent Assist Google CCAI for Google Cloud integration.
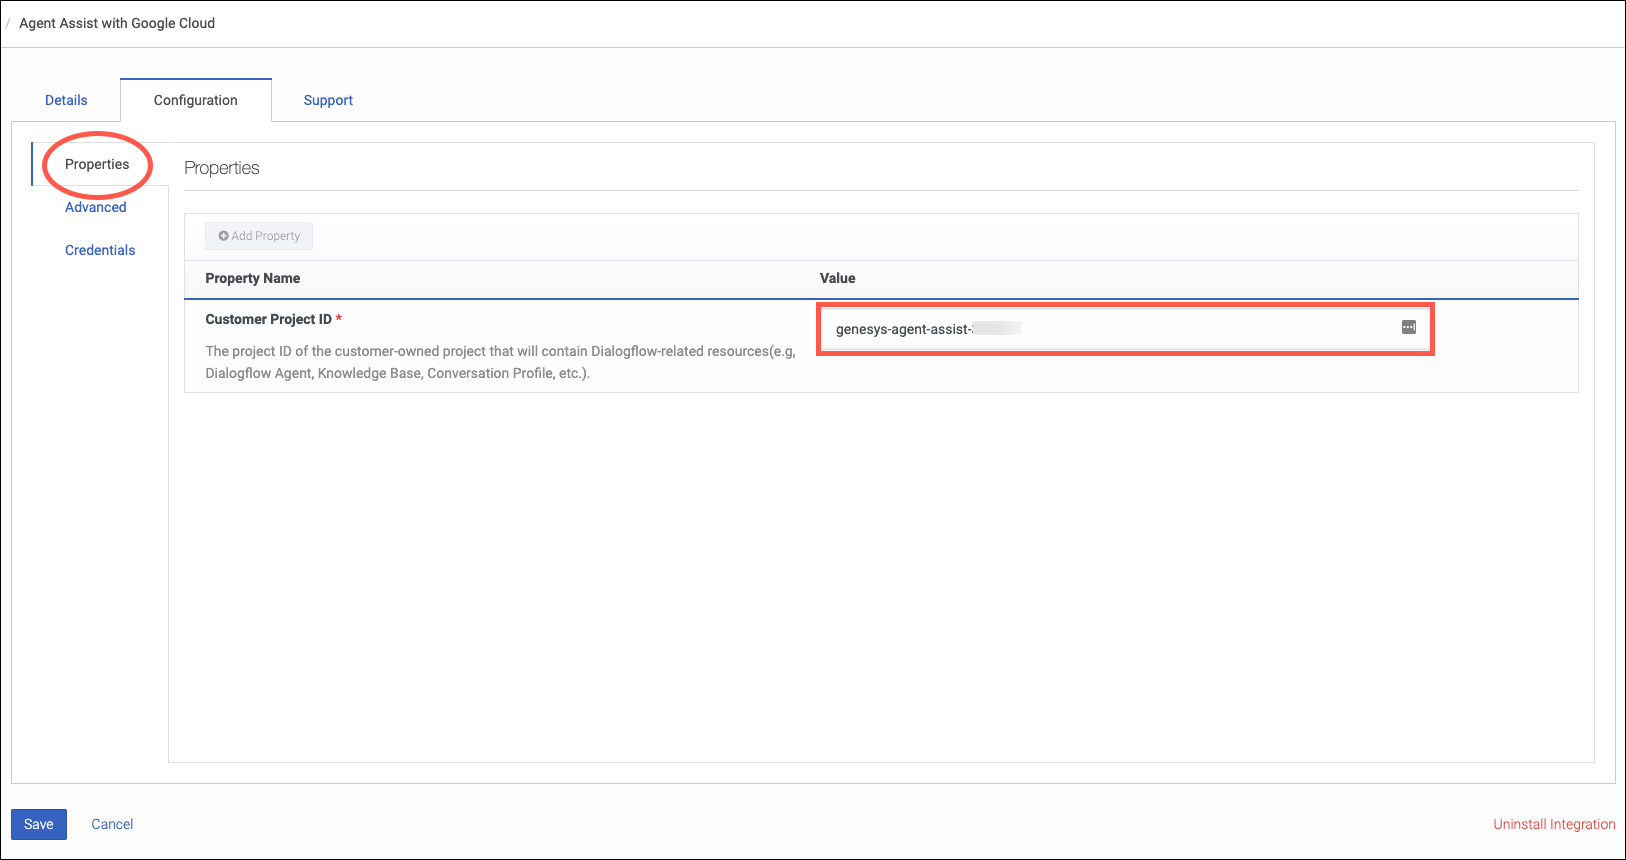
- Select the Configuration tab.
- Select Properties and enter the GCP Project ID as the Customer Project ID value.
- Click Save to automatically trigger allow-listing for the Google Cloud Platform project.
Note: The allow-listing process can take up to 48 hours. The Genesys onboarding team informs you when the request executes successfully.
Warning: To avoid breaking Agent Assist Google CCAI, do not make any further changes in the Agent Assist Google CCAI with Google Cloud integration.
If the allow-listing process is successful and you later realize that the GCP project ID is incorrect, you can trigger the allow-listing process again as follows:
- Edit the integration and provide the correct GCP project ID in the Properties panel.
- Select the Advanced tab and, under Advanced Configuration, replace
{"allow_listing": false}with{}.
Step 2: Install the Agent Assist Google CCAI with Google Cloud integration in Genesys Cloud
- Click Admin.
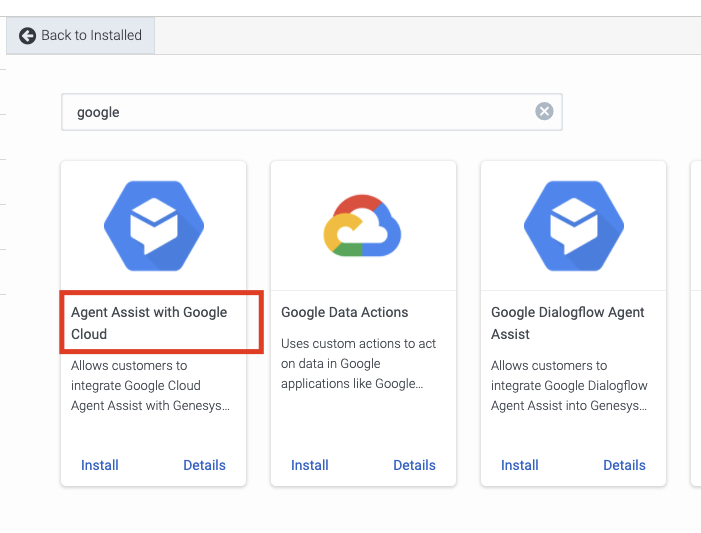
- Under Integrations, click Integrations. Find the Agent Assist Google CCAI with Google Cloud integration.
- From the Menu, click IT and Integrations > Integrations.Find the Agent Assist Google CCAI with Google Cloud integration.
- For example, type “Google” in the search box.
- In the Status column, click Inactive. The Change Status dialog box opens.
- Click Yes. The Agent Assist Google CCAI with Google Cloud integration status changes to Active.
Click the image to enlarge.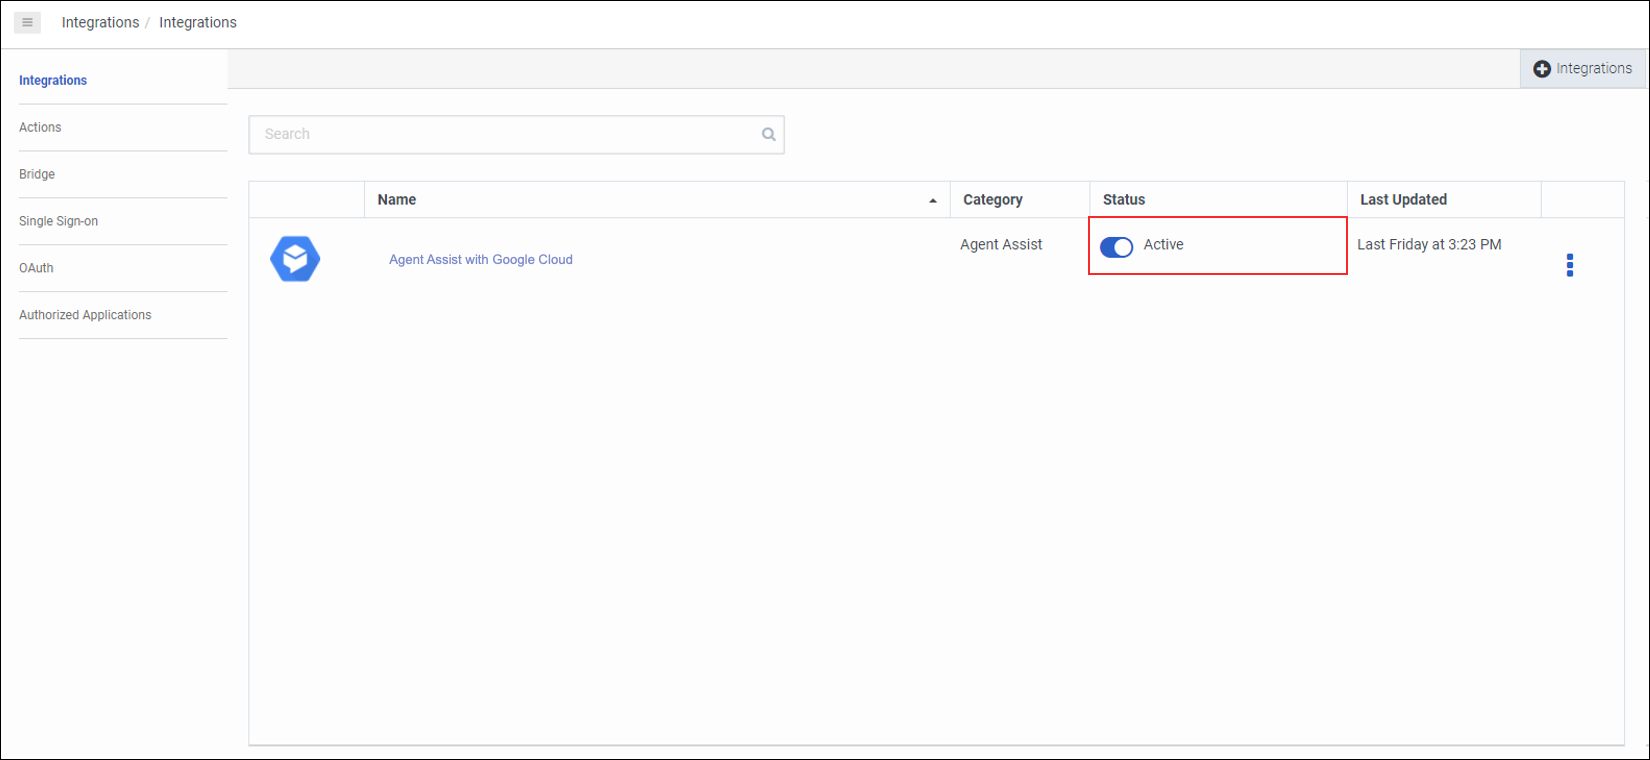
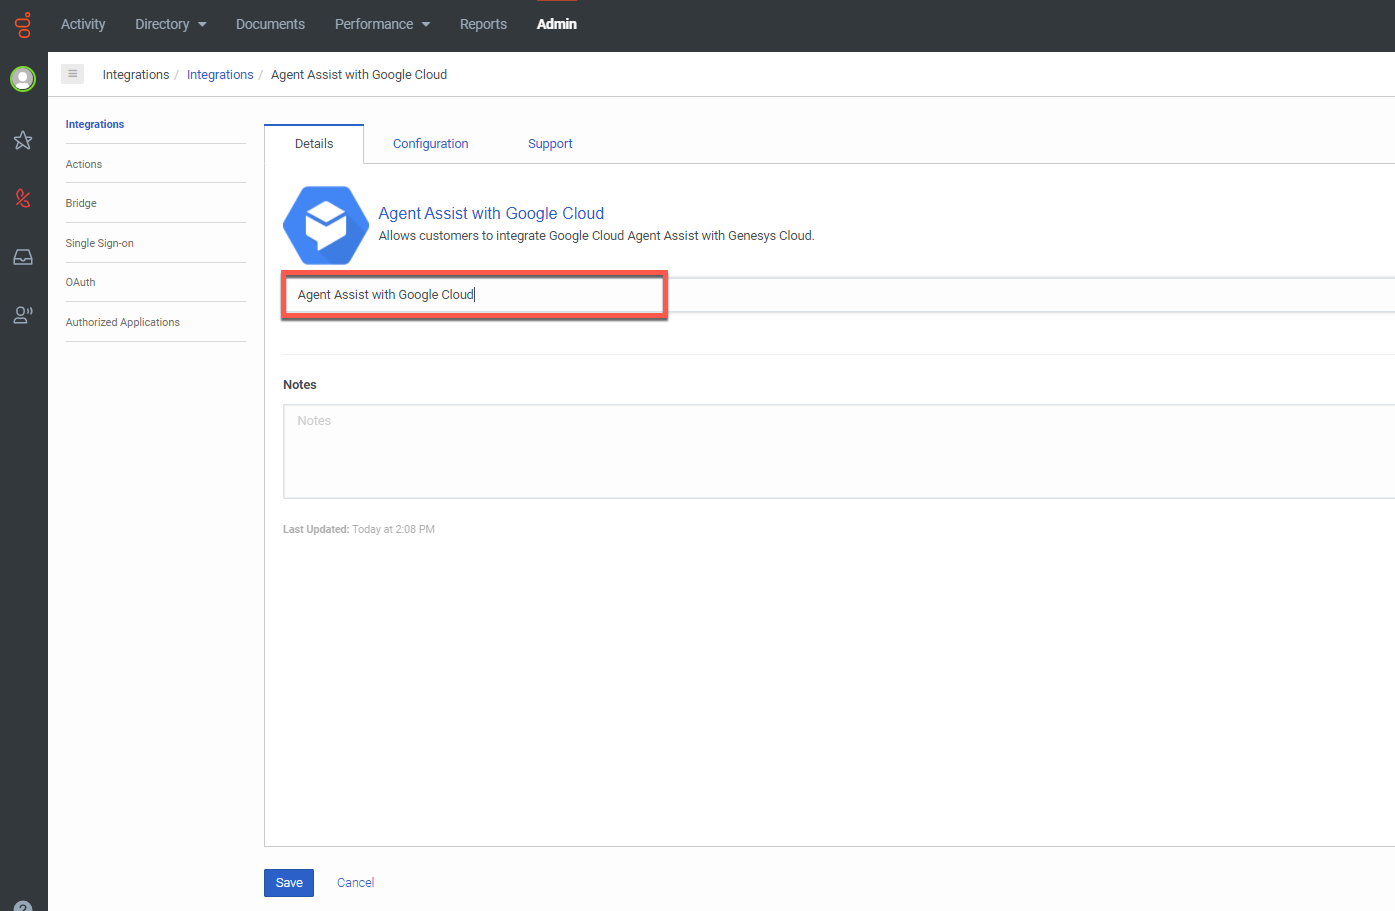
- Click More and open the integration. Optionally, you can rename the integration in the Details tab.
Step 3: (Optional) Troubleshoot the Agent Assist Google CCAI Integration
If the installation or another action failed, the status of the Agent Assist Google CCAI for Google Cloud integration is Error. To view the error message, hover over the question mark icon.

The following table lists the permissions that pertain to assistants. Administrators require these permissions to create assistants for Agent Assist Google CCAI and to enable agent assistants on specific queues.
| Error | Cause | Solution |
| Quota limit exhausted | Your GCP project has exhausted its quota limit. |
|
| Unable to add integration, please delete and try again | An issue occurred while installing the integration. | As stated in the error message, delete the integration and try again. If the installation fails once more, contact your Genesys representative to get help. |
| Multiple DialogFlow integrations cannot be activated simultaneously | You tried to enable the integration while another Agent Assist Google CCAI for Google Cloud integration is already active. |
Note: To remove the error, refresh the page.
|
| Unable to change integration state, please contact support team | You tried to enable the integration and the request failed. |
Disable the integration, enable it again, and refresh the page. If the error still appears, contact your Genesys Cloud representative. |
| The allow-listing form couldn’t be submitted successfully, please contact support team | The form submission for your GCP project failed and your GCP project is not added to the allow list. | Contact your Genesys representative to get help. |
Configure a Google Cloud Platform (GCP) project for Agent Assist Google CCAI :Previous Suggested Article Next Suggested Article: Add knowledge articles to Google Cloud Storage for Agent Assist Google CCAI