
Associate a script with a contact list
The Outbound property associates an outbound script with a campaign’s contact list, so that script editor can access columns in the contact list. Enabling this property signifies that the script is intended for use by an outbound dialing campaign.
-
Click Admin.
-
Under Contact Center, click Scripts.
-
Click a script’s name to open it in script editor.
-
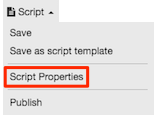
Click the Script dropdown.

-
Click Script Properties.
-
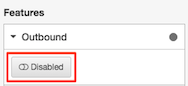
The Script Properties panel appears. Click the Outbound property group.
-
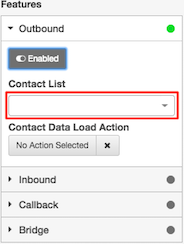
Click the switch to put it in the Enabled position.
-
Select a contact list.
-
Click the Script dropdown again.
-
Click Save.
Result of enabling a script’s outbound contact list setting
Here is what changes when you associate a script with an outbound campaign’s contact list:
| A Contact List Form icon appears in the component toolbar. Click the icon to insert a vertical list of controls that correspond to each column in the selected contact list table. For more information, see Contact list form. | |
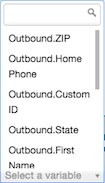 |
When you click Select Variable to bind a component (such as a text box) to a variable, the list of variables contains contact list columns and any custom variables you manually defined. The variables have an Outbound prefix. For example: By binding a component to a contact column variable, you can create forms that update the contact list with information that the agent collects or updates. |
Use caution when assigning a different contact list to a script
Once a contact list is assigned to a script, you can display run-time values of contact columns in the script by enclosing variable names in braces. For example, a script might display the first name of each outbound contact, if a text component contains the name of a contact column variable:
Hello {{Outbound.First Name}},
In preview mode, the variable name appears in square braces, since no data is read from a contact list in preview mode:
Hello [Outbound.First Name]
If you use contact column variables, be careful when you change the contact list that is assigned to the script. If the new contact list does not contain columns with the same names, the script cannot display values. If preview mode shows a variable name in curly braces instead of square braces, then the variable is not accessible and you may need to change the variable name to match a column in the assigned contact list. Curly braces are always displayed in edit mode, however.