
Configure mobile Push Notifications
- Genesys Cloud CX 2, Genesys Cloud CX 3, Genesys Cloud CX 2 Digital, Genesys Cloud CX 3 Digital, or Genesys Cloud CX 1 Digital Add-on II license
- Organization is set up to operate with External Contacts.
- Identity Resolution is enabled. This feature stores the mobile app identifier required to send push messages. For more information, see About External Contacts.
The Push Notification service sends alerts to app users about new messages when they are offline. Mobile push notifications let your app inform users about unread messages, even if the app isn’t running. To enable this feature, first configure platform-specific integrations that connect your mobile app to Firebase Cloud Messaging (FCM)for Android or Apple Push Notification Service (APNS) for iOS.
Configure push notifications
To enable push notifications, perform the following steps:
Push integrations allow you to securely connect your mobile application to Apple and Google push services. Each integration represents a specific app instance and platform. For example, MyApp – iOS Production.
To create a new integration, perform the following steps:
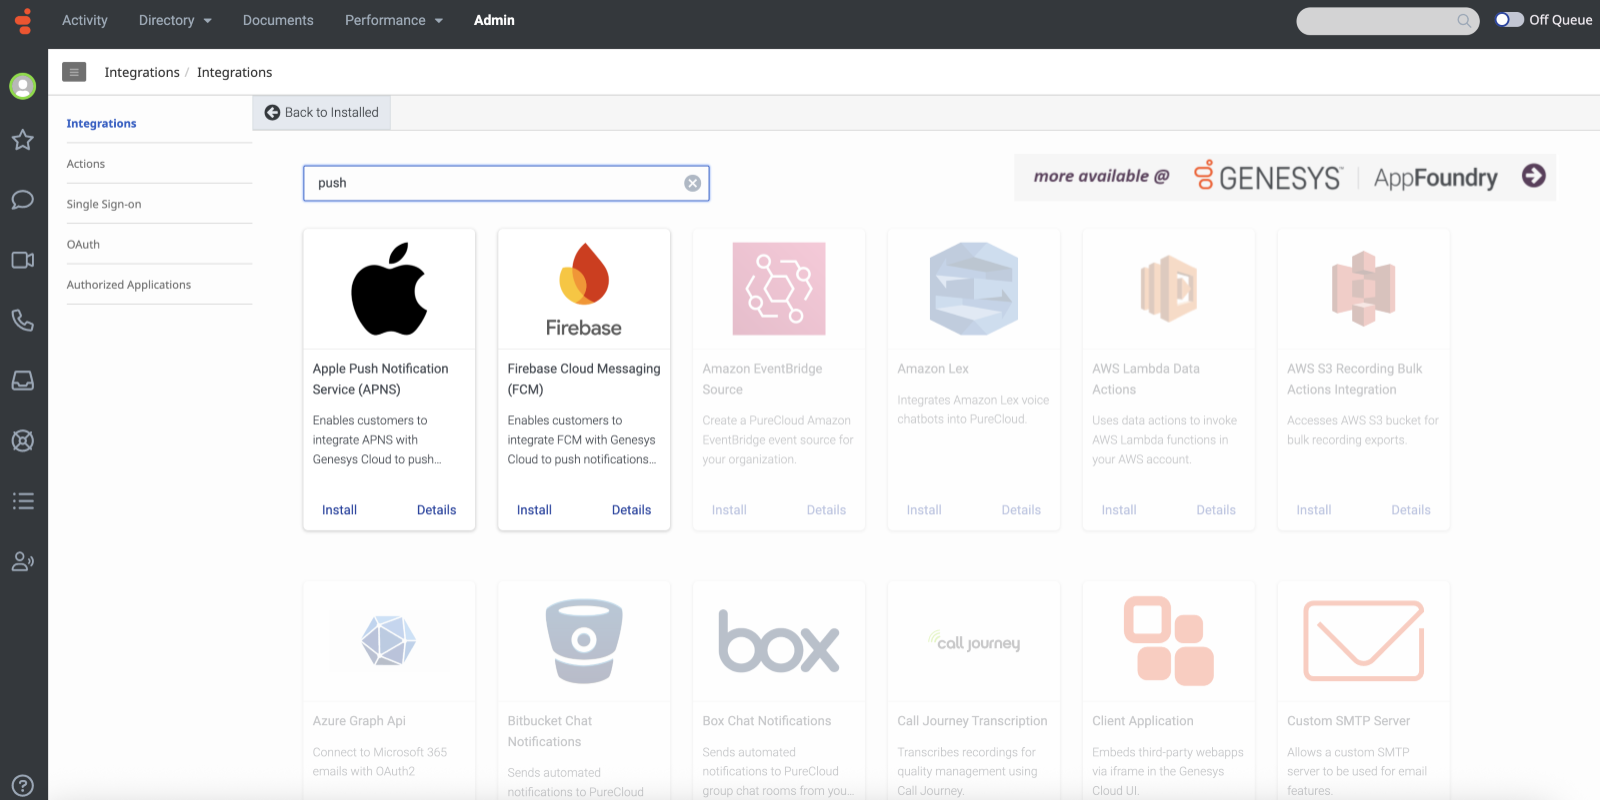
- Click Admin.
- Under Integrations, click Integrations.
- Click Menu > IT and Integrations > Integrations.
- Click + Create Integration and choose your platform (Android or iOS).
- In the Search field, type Push Notification Integrations. Click the image to enlarge.
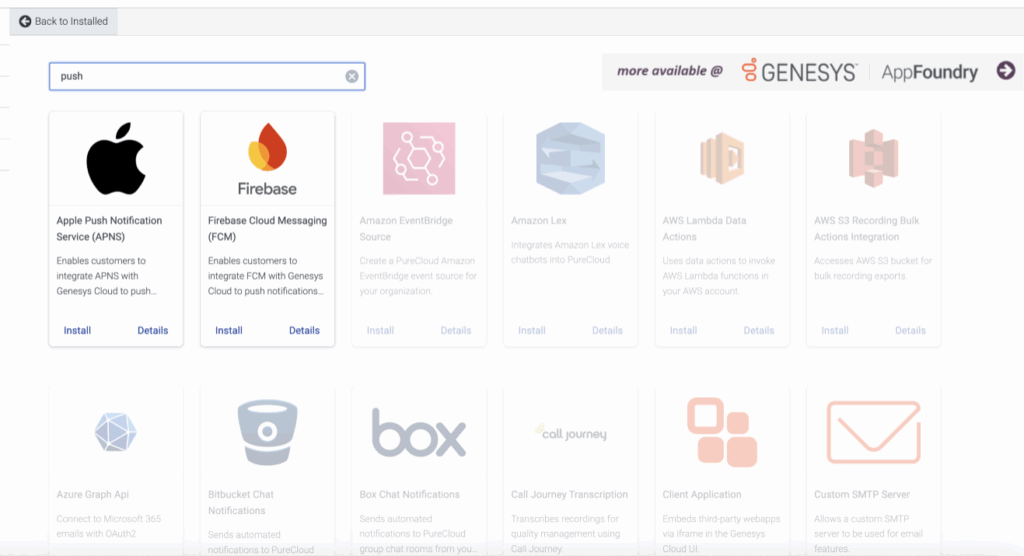
- Select the platform and create the integration as provided below.
To create an integration for Android, perform the following steps:
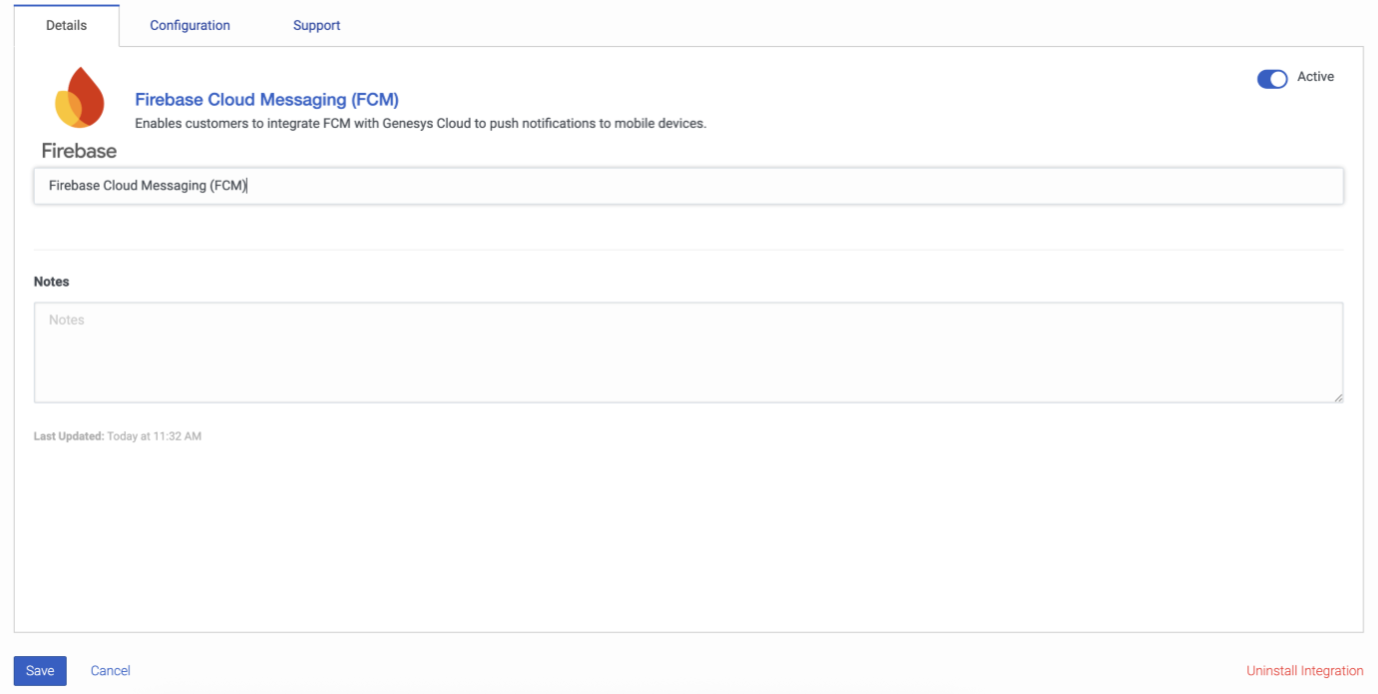
- In the Firebase Cloud Messaging app, the Details tab is displayed by default. Click the image to enlarge.

- (Optional) In the Notes field, enter the required notes.
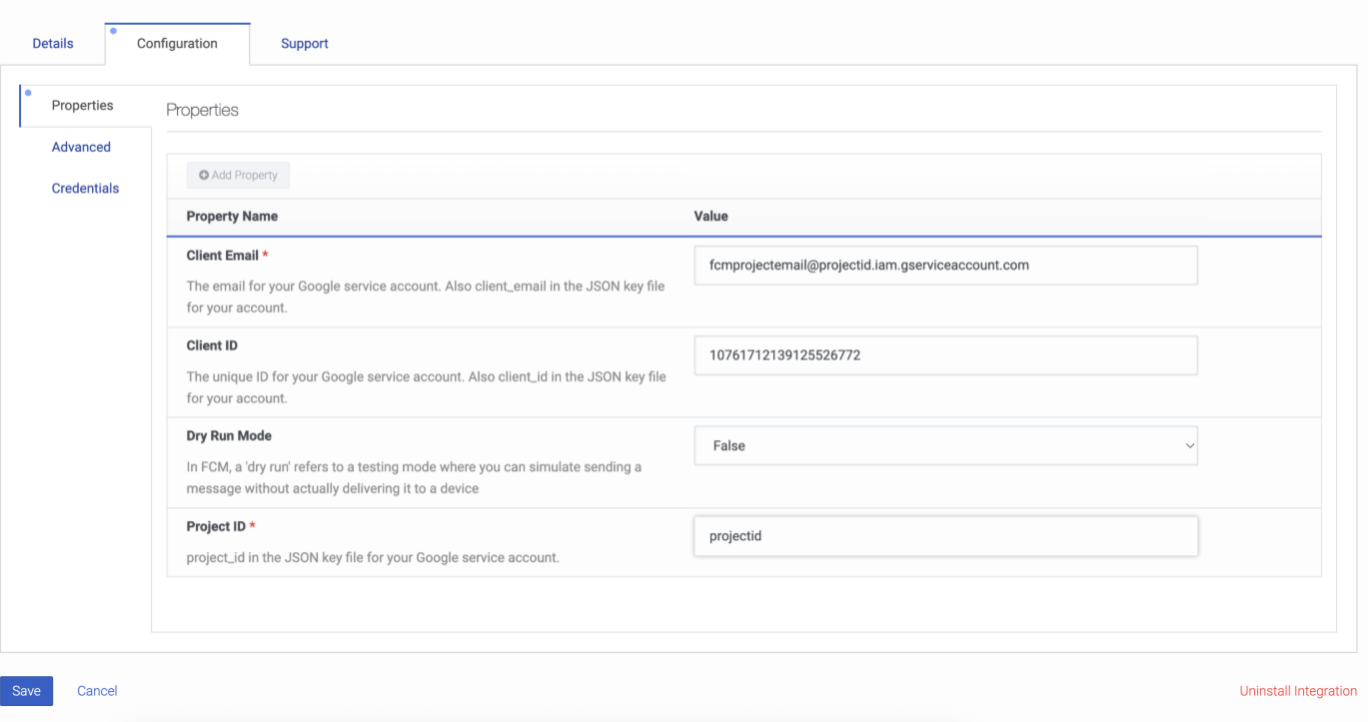
- Click the Configuration tab. Click the image to enlarge.

- In the Properties section, enter the details in the fields as required.
- In the Advanced section, enter the details in the fields as required.
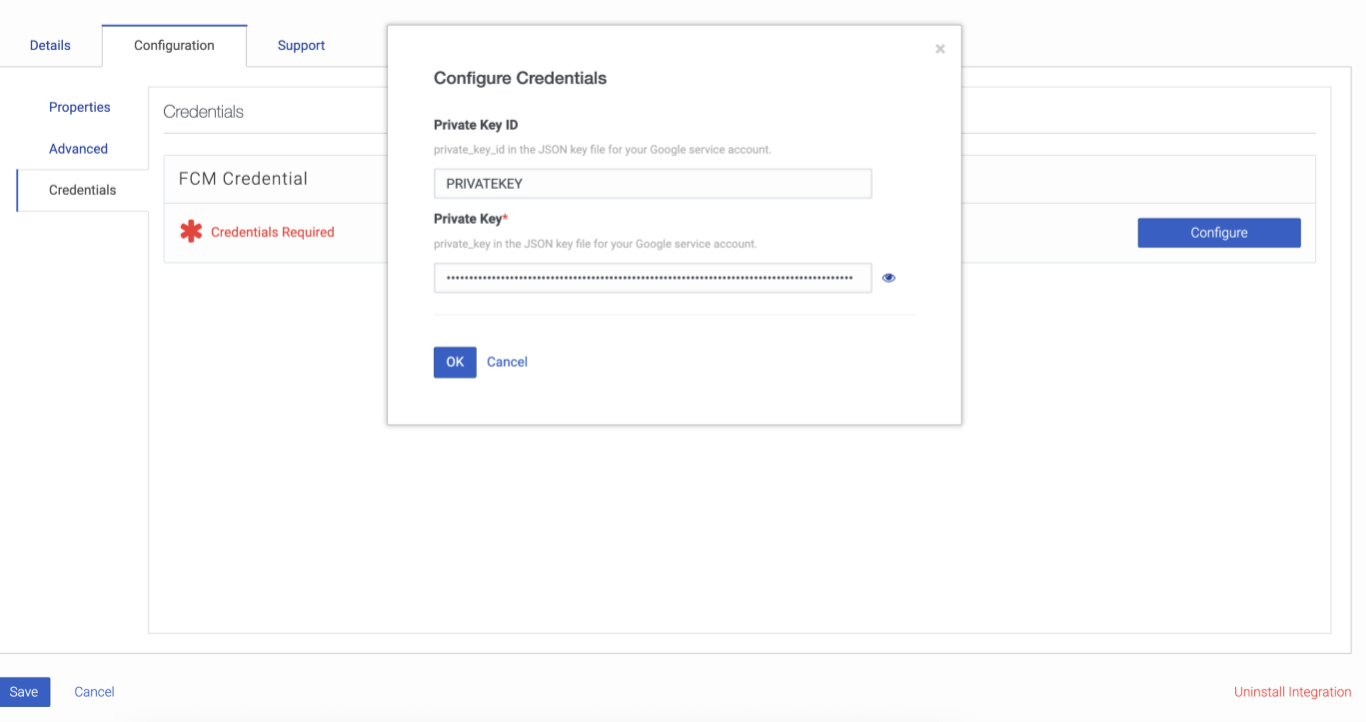
- In the Credentials section, in the FCM Credential section, click Configure. Click the image to enlarge.
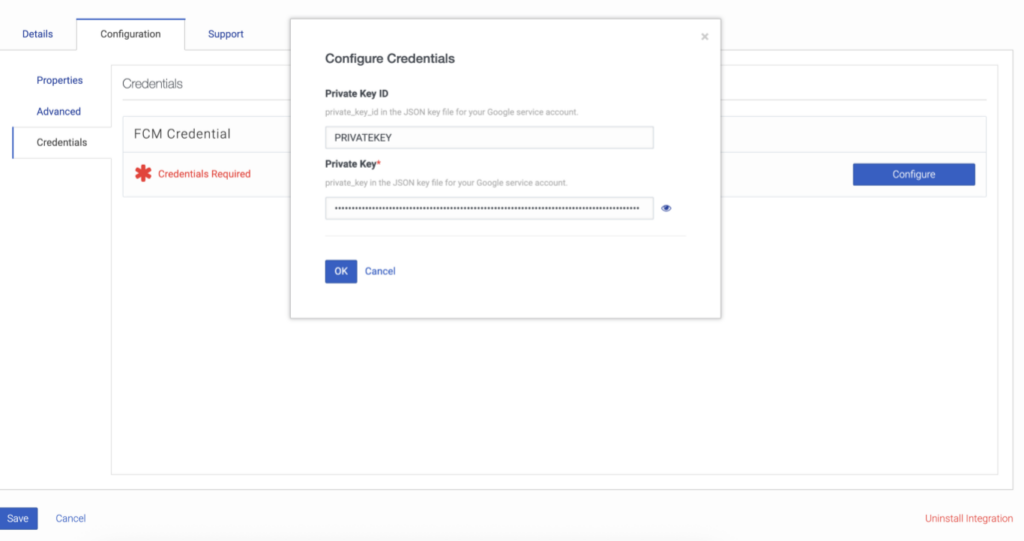
- In the Configure Credentials dialog box, in the Private Key field, enter the password.
- Click OK.
- Click Save.
To create an integration for iOS, perform the following steps:
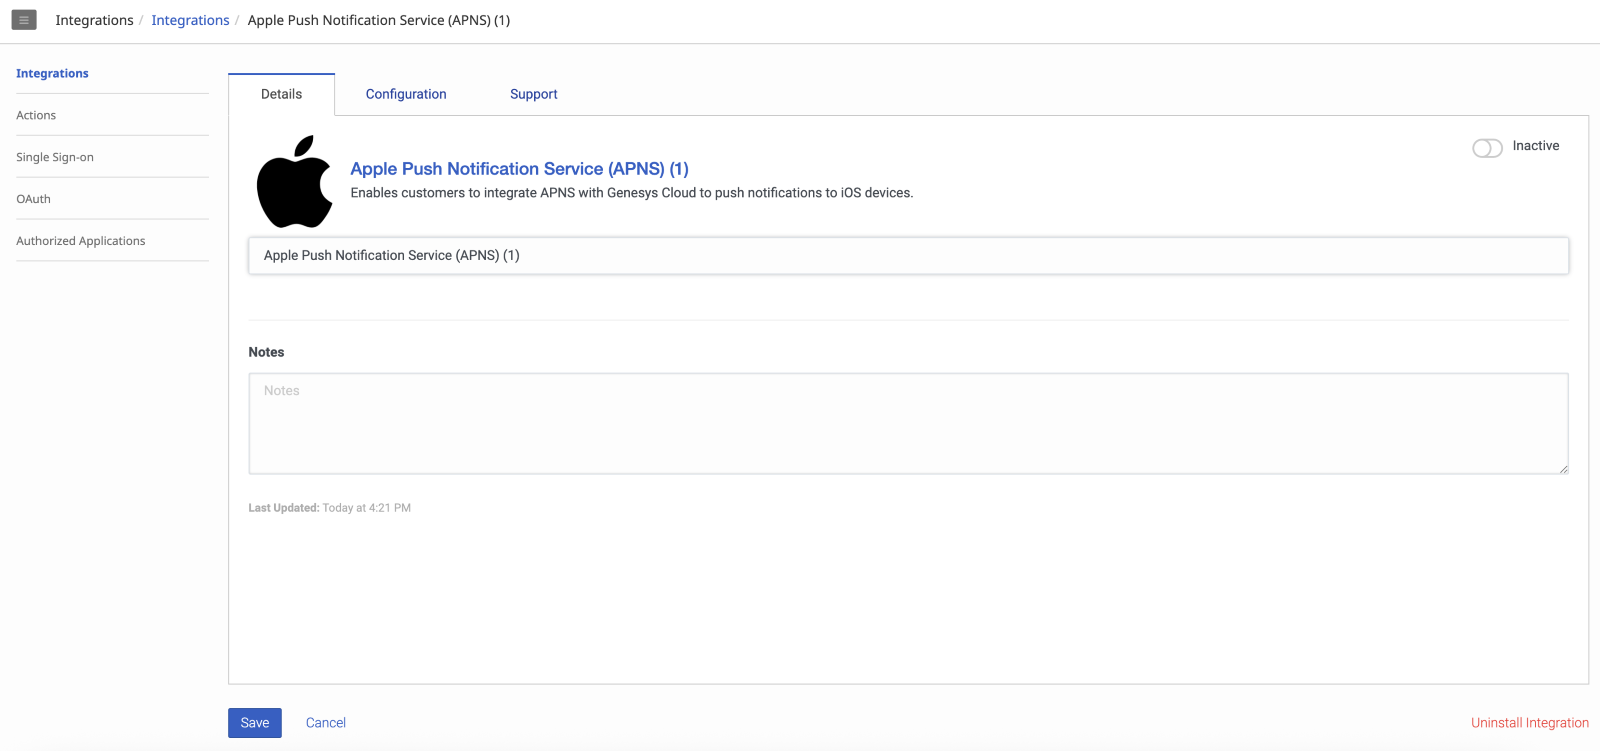
- In the Apple Push Notification Service (APNS) app, the Details tab is displayed by default. Click the image to enlarge.

- (Optional) In the Notes field, enter the required notes.
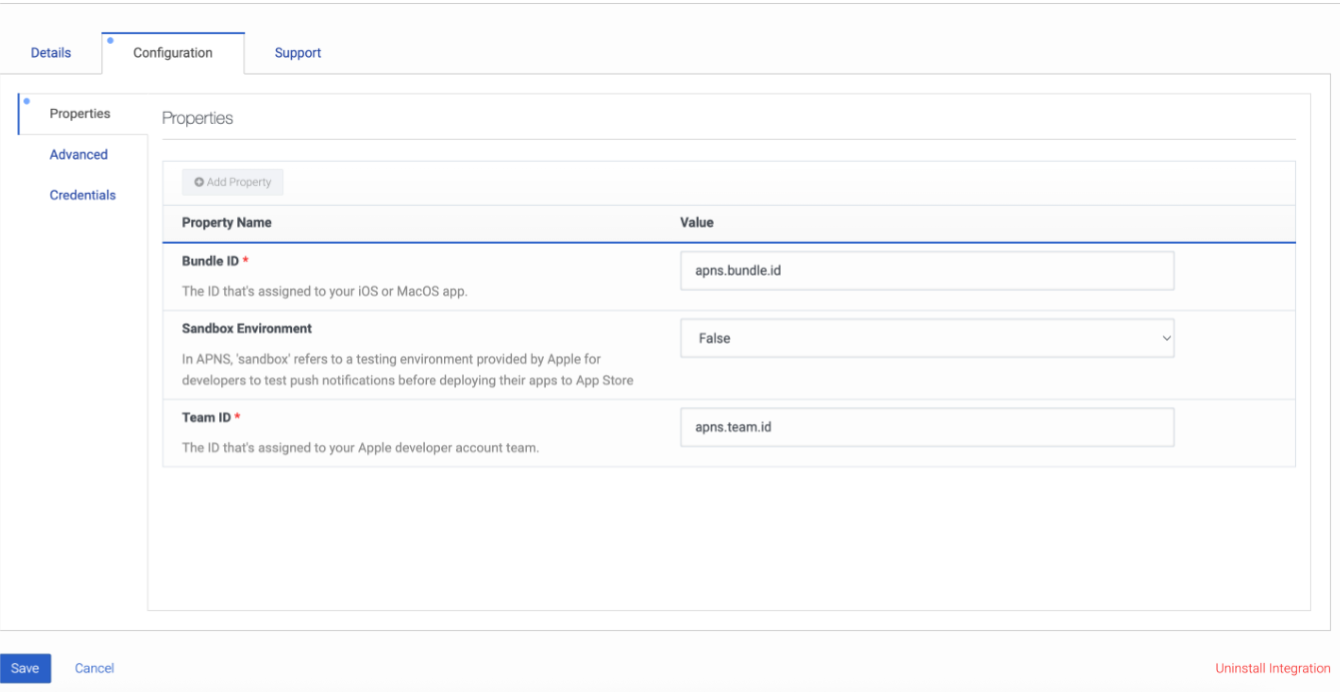
- Click the Configuration tab. Click the image to enlarge.

- In the Properties section, enter the details in the fields as required.
- In the Advanced section, enter the details in the fields as required.
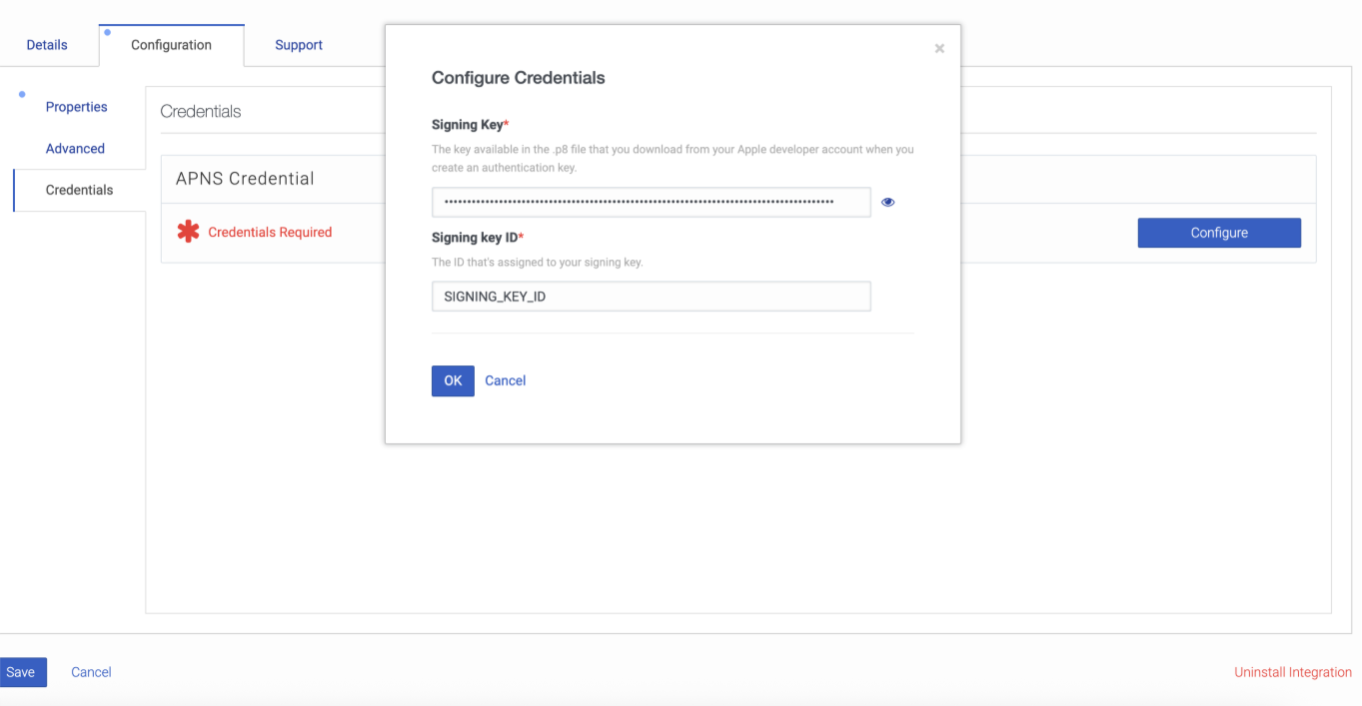
- In the Credentials section, in the APNS Credential section, click Configure. Click the image to enlarge.

- In the Configure Credentials dialog box, in the Signing key ID field, enter the password.
- Click OK.
- Click Save.
All credentials are securely stored and encrypted by Genesys.
Once you create the integration, it is listed in the Integrations list view. Each integration can display any of the following statuses:
- Active: Ready to be assigned to a Messenger deployment.
- Inactive: Saved, but not currently in use.
- Deleted: Permanently removed.
For more information about enabling push notifications, see Configure Messenger.
For more information about assigning an integration to a messenger deployment, see Deploy Messenger.
Select the configured Android (FCM) or iOS (APNS) integrations from the list.
In case you face any issues when setting up integrations, refer to Operational console to check errors or push delivery failures.
Once you complete all the steps, save and deploy the messenger.