
Set Genesys Cloud sound preferences
In Genesys Cloud sound preferences, you can create audio device profiles, test and adjust the following volume levels, set ringtone options, and set advanced microphone options.
To access Genesys Cloud sound preferences, follow these steps:
- From the sidebar, click Calls . The calls panel appears.
- Click Settings . The phone settings window appears.
- Click Device Volumes. The sound preferences window appears.Note: You can also access sound preferences in User settings.
Audio Device Profile
You can test and adjust sound levels for input and output devices and set up audio profiles in your sound preferences. For more information about audio device profiles, see Create a new audio profile.
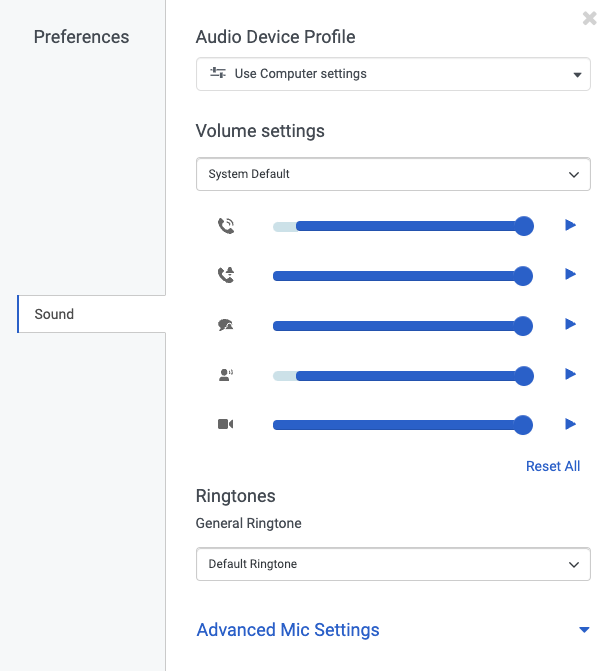
Volume settings
To adjust and test your sound preferences, do the following:
- From the device list, select the device you want to adjust.
- Move the slider to adjust the volume levels for these settings:

Call Volume The volume level for the incoming voice on a WebRTC call. 
Phone Ringer Volume The volume level for incoming phone call alerts. 
Chat Notification Volume The volume level for incoming chat alerts. 
Interaction Notification Volume The volume level for agents' incoming interaction alerts. 
Video Notification Volume The volume for video notifications. - To test the volume levels for each setting, click Play .
Ringtones
- From the list, select a ringtone. Genesys Cloud plays a sample of the ringtone.
- (Optional) Repeat step 1 until you find the ringtone that you want to use.
Advanced mic settings
Genesys Cloud's microphone sound processing provides the best audio experience for most environments. In some environments, you may improve the audio experience by disabling some or all microphone sound processing.
To change advanced microphone settings, follow these steps:
- Click Advanced Mic Settings. The panel expands to show the advanced microphone settings.
- Disable or enable the following settings:
- Automatic Mic Gain controls microphone volume levels. Disable this option if you experience microphone volume fluctuation.
- Echo Cancellation removes from the microphone sound that comes through your speakers. If you do not use speakers, this option has no effect on your sound quality.
- Noise Suppression removes background noise. In some situations, the microphone may be unable to separate your voice from the noises around you. Try to position your microphone closer to your mouth and speak louder before you disable this option.