
Add a number plan
Prerequisites
Genesys Cloud provides a set of default number plans that work for most users. You can also add and modify number plans with the following procedure. The Number Plan information page provides more details on the Genesys Cloud number plan implementation. When adding number plans, keep in mind that there is a hard limit of 200 to the number of number plans that you can add.
- Click Admin.
- Under Telephony, click Sites.
- Click Menu > Digital and Telephony > Telephony > Sites.
- Select your site from the Site Name list.
- Click the Number Plans tab.
- Click New Number Plan.
- Enter a name in the Number Plan Name box.
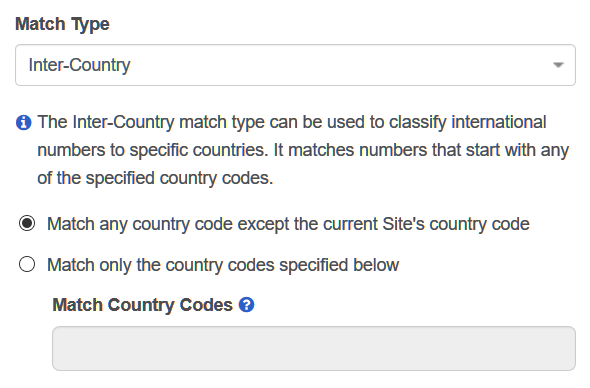
- Select one of the available match types from the Match Type list.
- Depending on what match type you select, enter the required information.
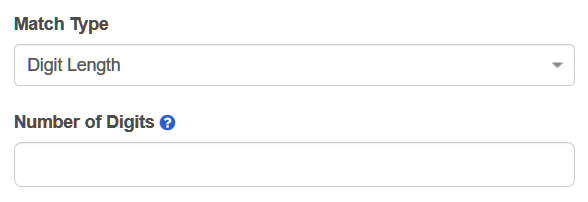
- Enter a number or a range of numbers in Number of Digits.

- Enter a range of numbers in E.164 format in the boxes.
- Click + to add the range to the Numbers box.
For example, you might enter +13177151000 in the first box and +13177152000 in the second box.
 Select one of the options:
- Match any country code except the current Site's country code
- Match only the country codes specified below
- Enter the appropriate digits in the Match Country Codes box.
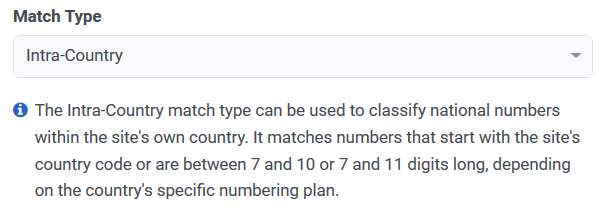
- There is nothing to configure when you select the Intra-Country match type.
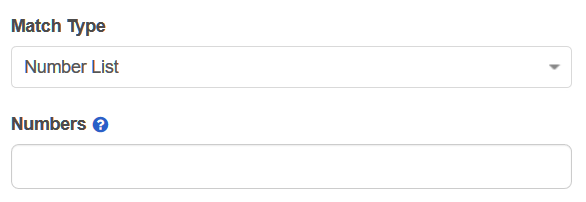
- Enter comma delimited numbers or a range of numbers in the Numbers box.
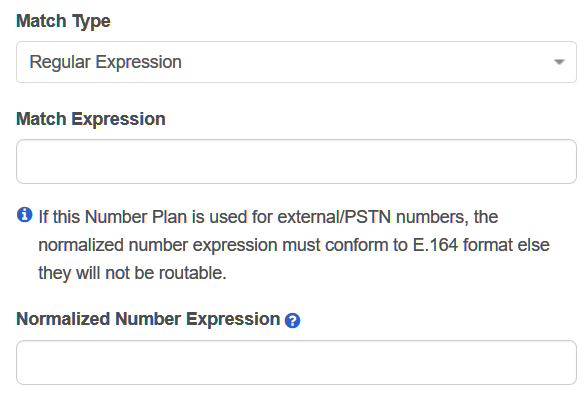
- Enter a regular expression in the Match Expression box.
- Enter a normalized number expression in the Normalized Number Expression box.
- Select the correct classification or enter a new classification in the Classification list.
- Click Save Number Plans.

Note: Drag and drop the number plans to change the order of the list. Genesys Cloud processes number plans from top to bottom.