Add an activity to one or more agents
You can add an activity to one or more agents from the Schedule Editor view. To access this view, perform the following steps:
- Click Admin.
- Under Workforce Management, click Schedules.
- Click Menu > Workforce Management > Scheduling > Schedules.
- In the upper right corner, click the Management Unit list and select the appropriate management unit. The corresponding schedules are displayed.
- Click a schedule. The Schedule Editor view is displayed.
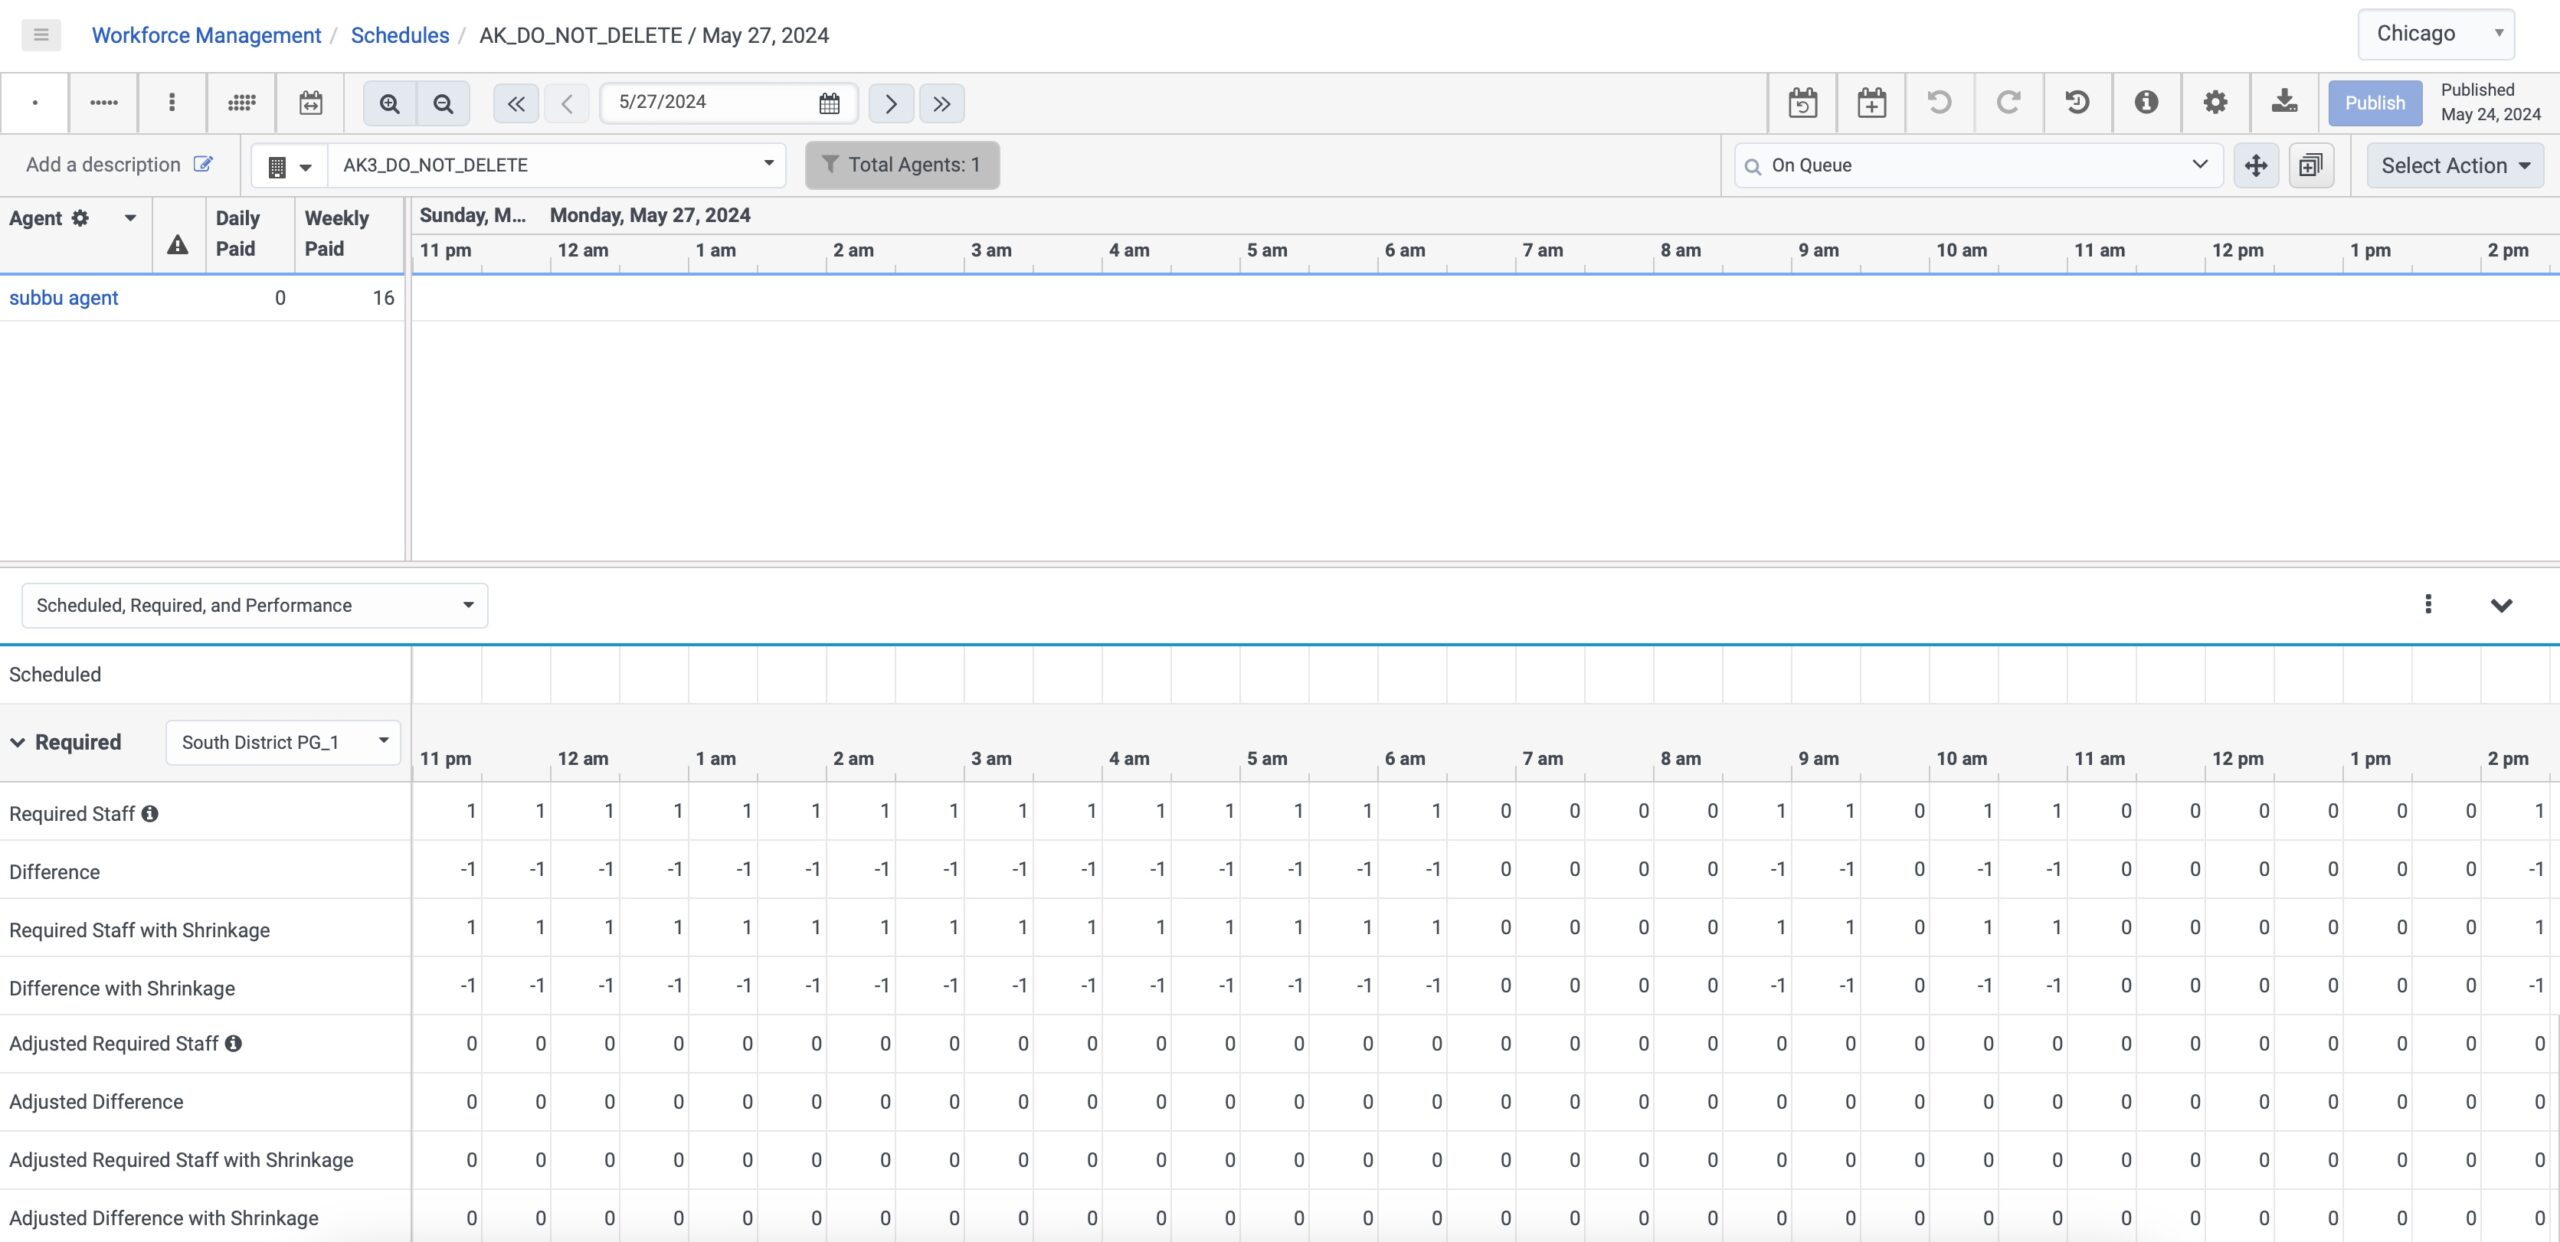
Now, click the Click to open dialog to add activities to multiple agents at a time ![]() icon available on the upper right column of the page to perform this action. You can add an activity either by using a time frame recommended by Genesys Cloud or manually selecting the time in which to add an activity. Expand each section to view more details.
icon available on the upper right column of the page to perform this action. You can add an activity either by using a time frame recommended by Genesys Cloud or manually selecting the time in which to add an activity. Expand each section to view more details.
You can choose the time frame in which to add the activity to shifts. You can also let the system recommend the most appropriate times based on coverage, and then choose from the list of times to which to add the activity. To add an activity using a time frame, perform the following steps:
- From the Schedule Editor view, in the upper right corner, click the Click to open dialog to add activities to multiple agents at a time
 icon. The Add Activity to Agents dialog box is displayed.
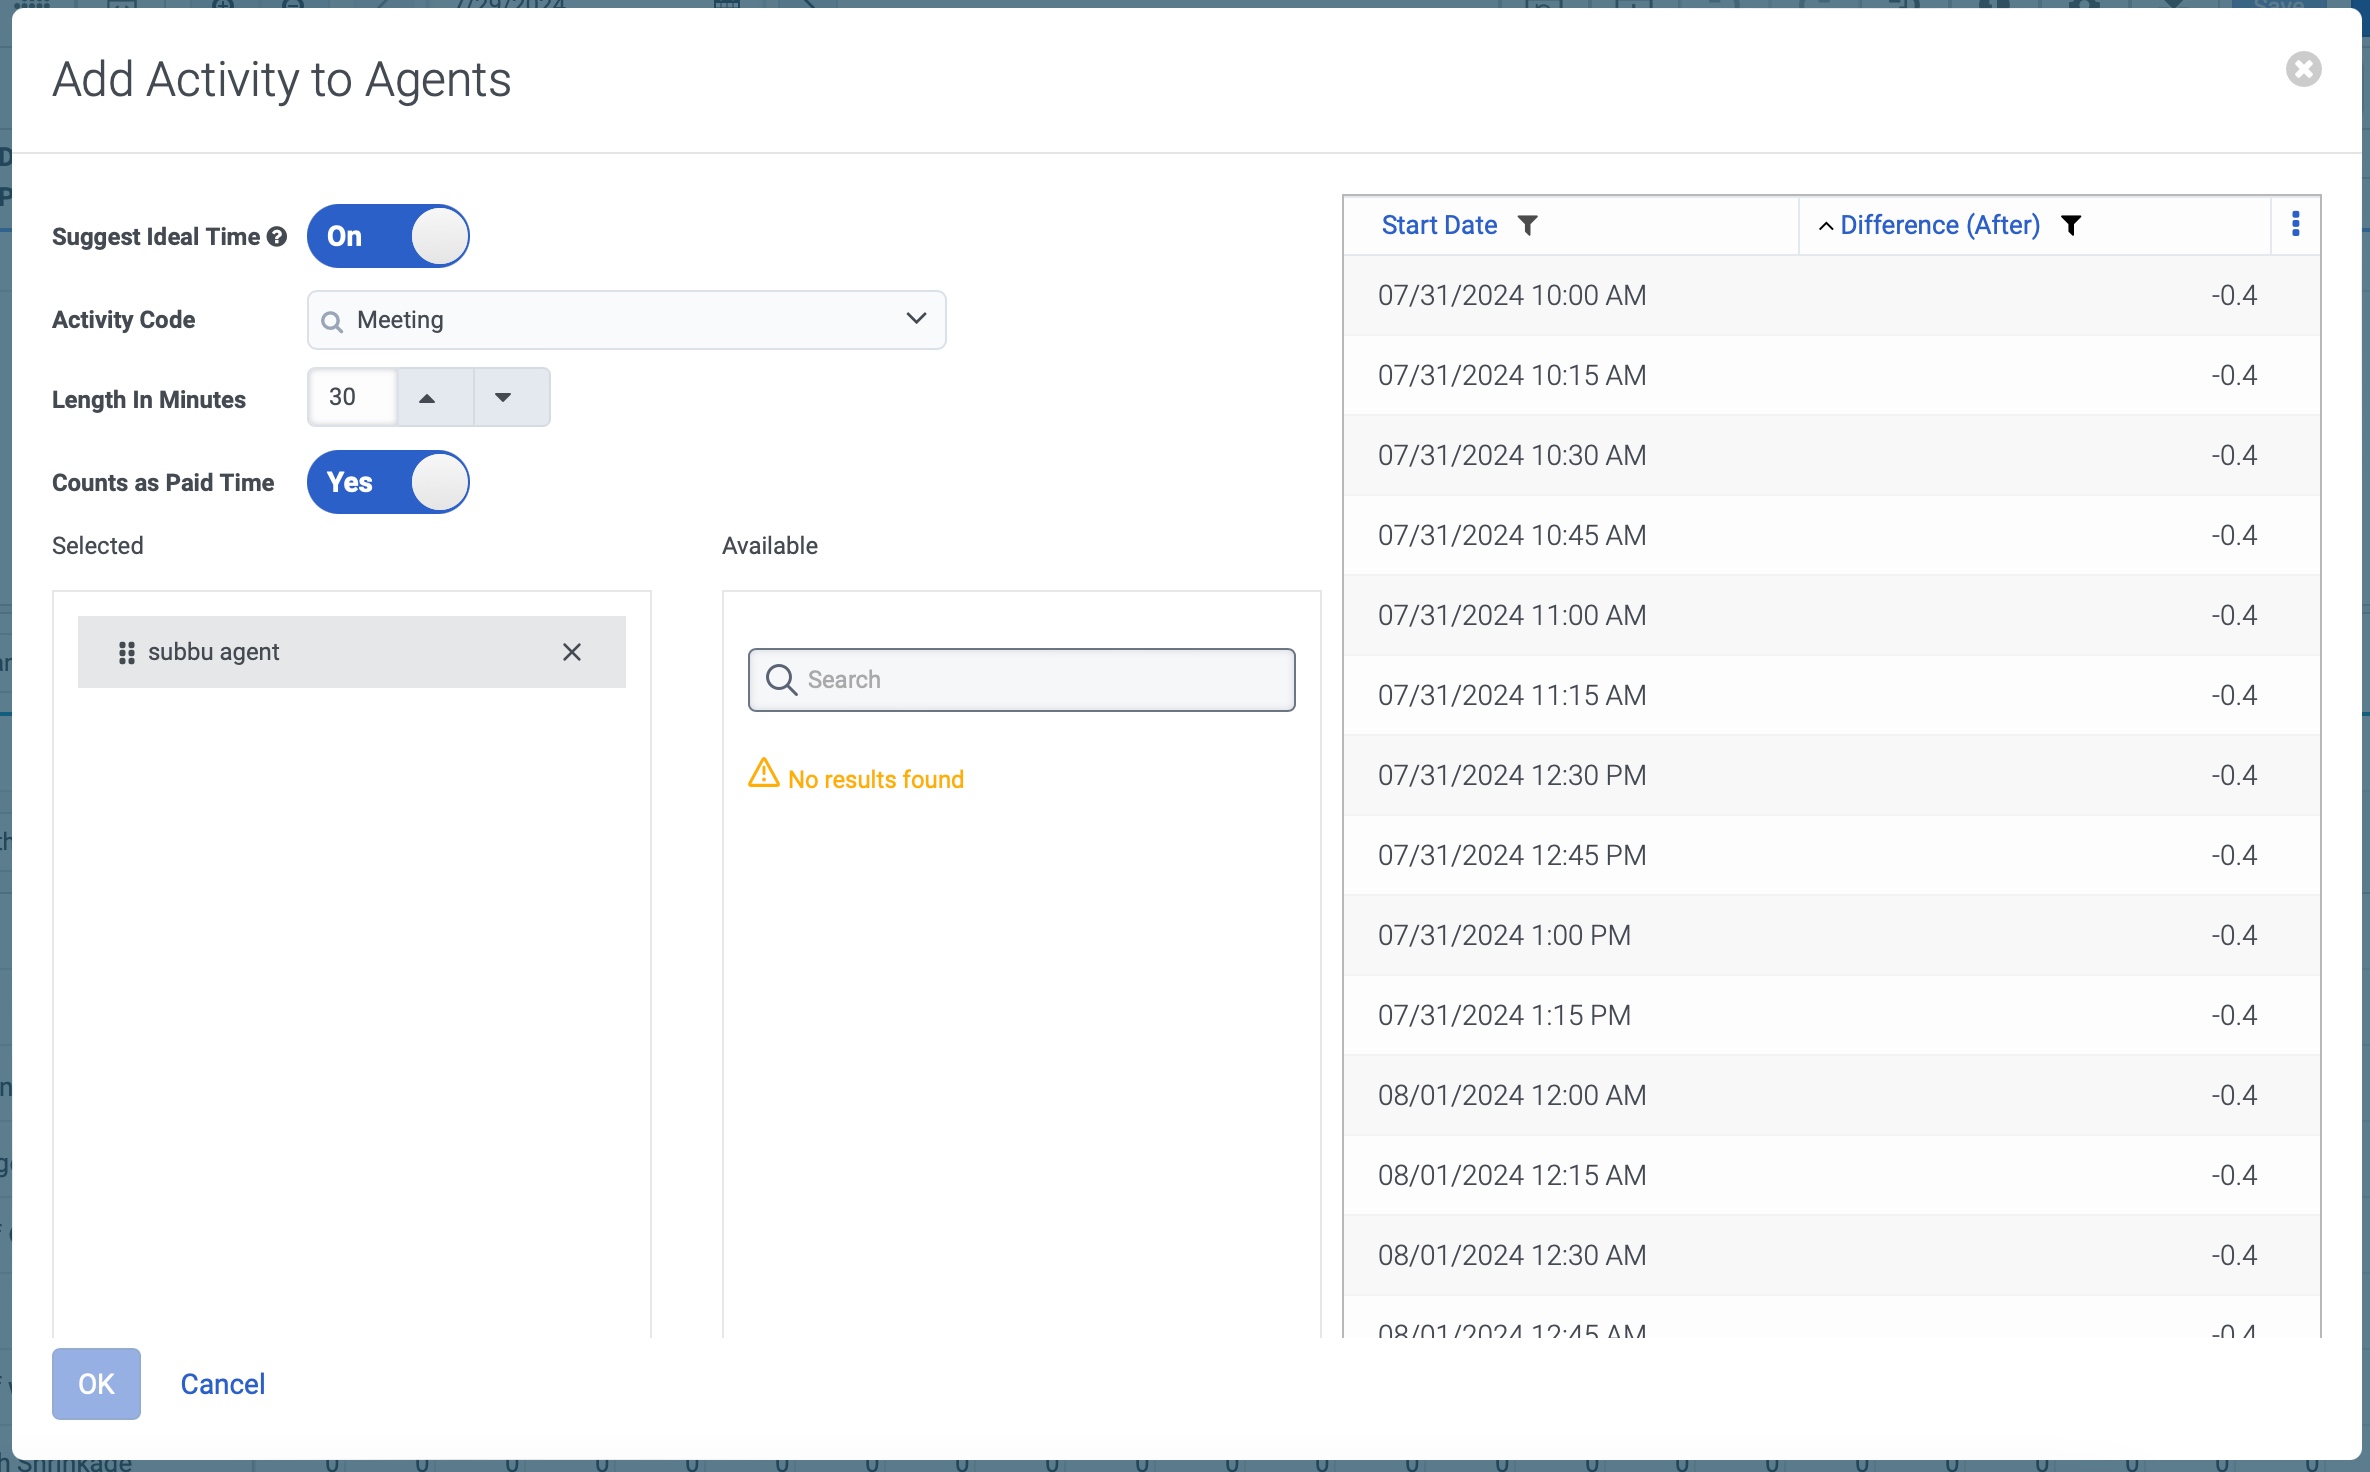
 - To enable a list of recommended times, enable the Suggest Ideal Time toggle.
- Click the Activity Code list and select the activity to add.
- Change the activity length in 15-minute increments using the Length in Minutes up and down arrows.
- To count the activity as paid time, enable Counts as Paid Time. To count it as unpaid, leave the default setting to No. When selecting options such as Meeting, the Counts as Paid Time toggle is enabled automatically. You can further disable it if required.
- In the Available section, you can either select the agents that are displayed or search for the agents required using the Search field.
- Click Add next to the appropriate agents to copy the available agents to move to the Selected section. The recommended time details are displayed on the right panel. Click the image to enlarge.
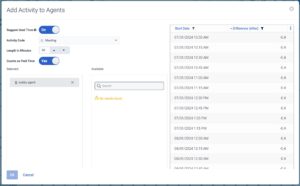
- Select a recommended time to add the activity to the agents schedules.
- Click OK. You can save, publish, or continue editing the schedule.
To manually select a time in which to add an activity, perform the following steps:
- In the Schedule Editor view, from the upper right corner, click the Click to open dialog to add activities to multiple agents at a time icon. The Add Activity to Agents dialog box is displayed.
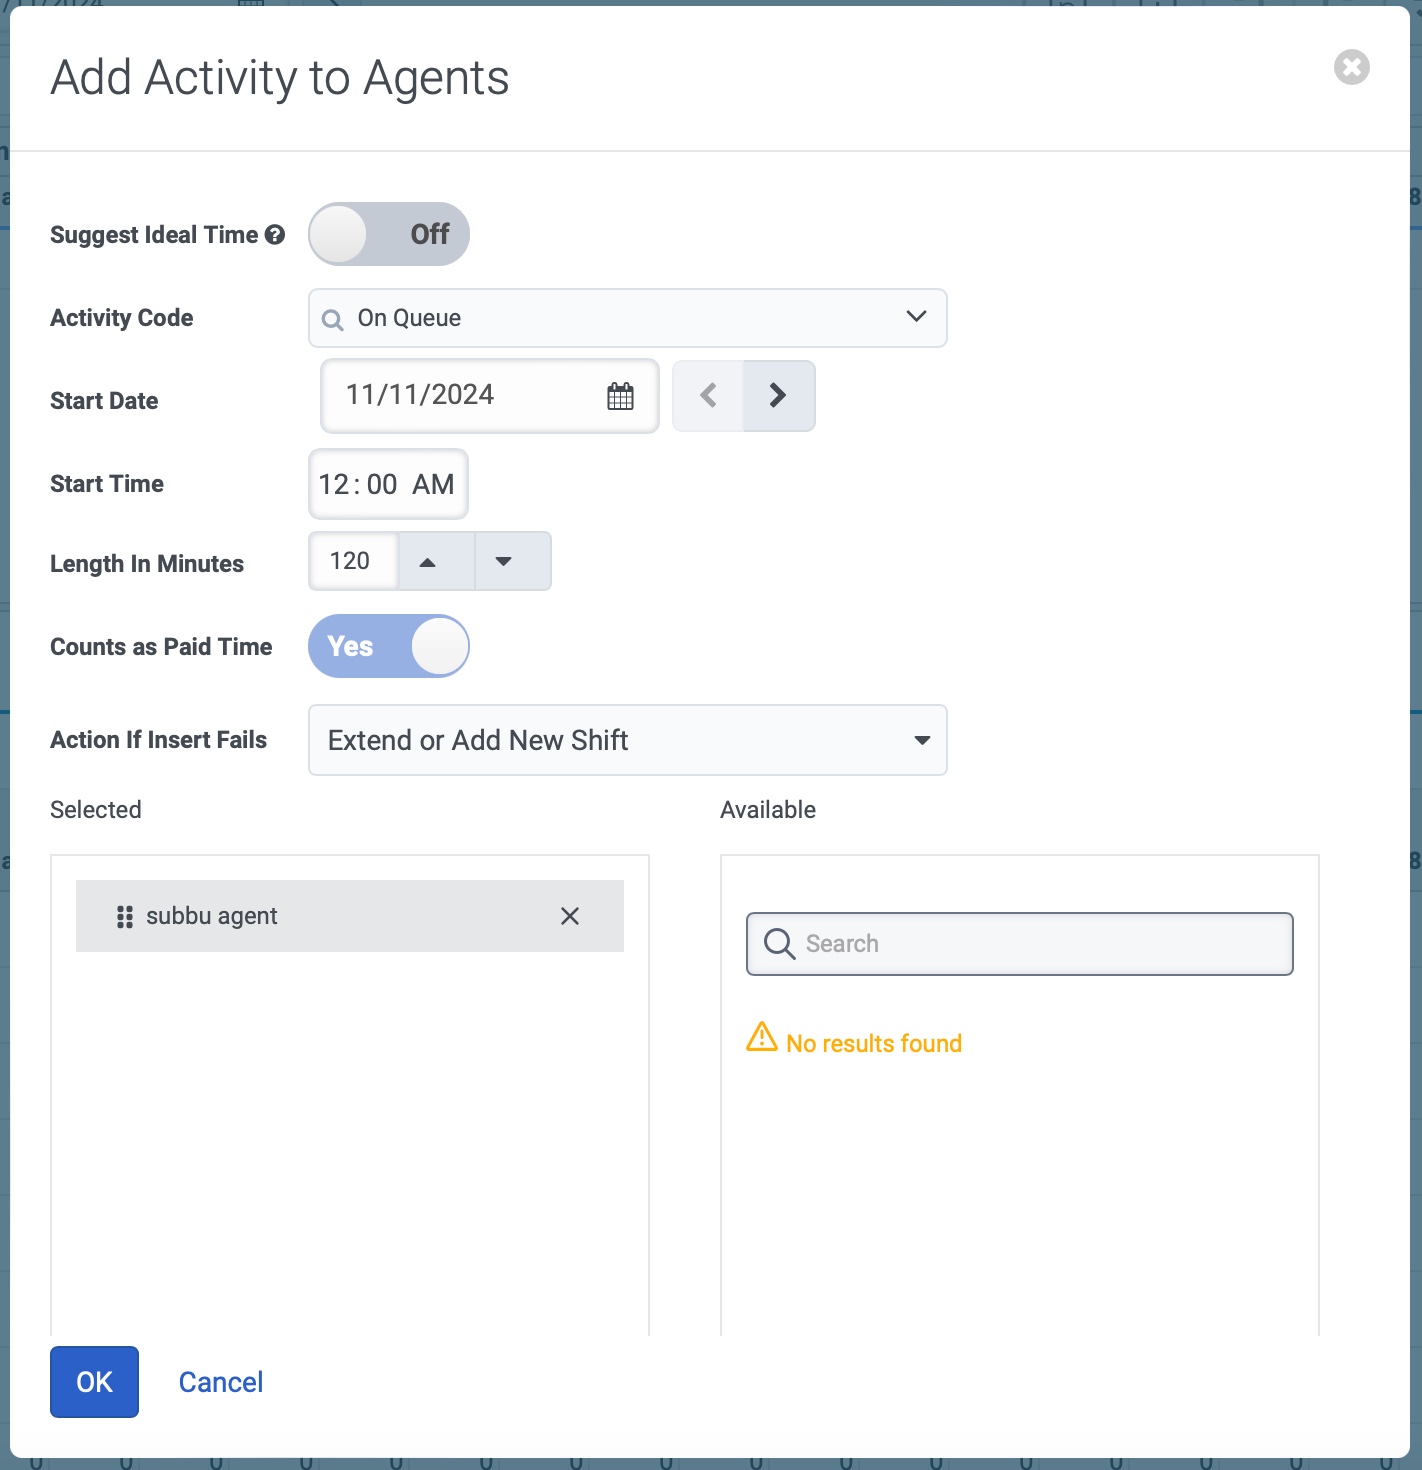
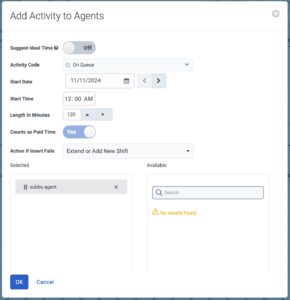
- Leave the Suggest Ideal Time setting disabled (Off).
- Click the Activity Code list and select the activity to add.
- Change the activity length in 15-minute increments using the Length in Minutes up and down arrows.
- To count the activity as paid time, enable Counts as Paid Time. To count it as unpaid, leave the default setting to No.
- In the Action If Insert Fails list, select one of the following options:
- Extend or Add New Shift. For this option, when you add an activity and the agent’s shift ends before the activity occurs, the system extends the agent’s shift to accommodate the activity time frame. When you add the activity to an agent that does not have an existing schedule, the system adds the activity as a new shift.
- Adjust Activity Length. For this option, when you add an activity and the activity is longer than the agent’s shift, the system reduces the activity to fit the shift length. If the agent’s shift ends before the activity begins, the system does not copy the activity. If the agent’s shift begins after the activity ends, the system will not copy the activity.
- Do Not Insert. For this option, when you add an activity and the agent’s shift ends before the activity occurs or if the activity does not meet the agent’s shift length, the system does not add the activity to this agent’s schedule.
- To select the agents to which to copy the activity, perform one of the following steps:
- To add the activity to all agents, click Add All.
- To copy the shift to select agents, in the Available Agents column click Add next to the appropriate agents.
- To search for a specific agent, in the Filter Items box type a few letters of the agent’s name. Then, select it from the list. Click the image to enlarge.
- Click OK. You can save, publish, or continue editing the schedule.