
Create a widget for web chat
Create a widget to allow you to add web chat to your website so that your customers can chat with agents directly from their web browsers. A deployment key created with each widget identifies your website’s configuration to Genesys Cloud. Use the deployment key when you add a widget to your website. For more information about adding the Version 1.0 and 1.1 widgets and deployment key to your website, see Web chat. For more information about adding Version 2 widget and deployment key to your website, see Widget – Version 2.
You can create multiple widgets for different purposes. For example, you could create a widget to track a customer’s journey on your website and even prompt them to start a chat with Predictive Engagement. You could also create a widget that requires users to authenticate with your site before they can contact an agent by using authenticated chat. Then create another widget to allow anonymous users to ask general questions.
Genesys Cloud supports three different types of widgets. Choose which type of widget to use based on your needs:
- Version 2: Supports Predictive Engagement. Optimized for mobile browsers. Allows customization options.
- Version 1.1: Supports authenticated chat and HTTP chat APIs. Does not support Predictive Engagement.
- Version 1.0: Supports authenticated chat, screen sharing, and co-browse. Does not support Predictive Engagement.
- Third Party: Support for web chat widgets not developed by Genesys. Does not support Predictive Engagement.
For more information about the differences between the different widget types, see Widget feature comparison.
To create a widget, see the appropriate section for the type of widget you want to create.
- Click Admin.
- Under Contact Center, click Widgets.
- Click Create Widget.
- Enter a Name and Description for the deployment.
- Select Version 2.
- (Optional) Specify the domain(s) from which to initiate web chat:
- Click Add Domain.
- Enter an allowed domain, for example,
https://www.example.com. - Click Add.
- Repeat a through c for each domain you want to allow.
Note: If you do not specify one or more domains, all domains are allowed. - (Optional) To connect the widget to a chat flow, search for and select a chat flow under Route to Flow. For more information, see Inbound chat flows overview.
- Click Save.
- Version 2 widgets are always active. You cannot deactivate them.
- To ensure full feature functionality supported for Version 2 widgets, use the most recent script version in the Developer Center. For more information, see Widget – Version 2 in the Developer Center.
- Click Admin.
- Under Contact Center, click Widgets.
- Click Create Widget.
- Enter a Name and Description for the deployment.
- Select Version 1.1.
- To require users to authenticate with your website before they can start a web chat, enable Require Authentication.
If you enable Require Authentication, the Authentication URL box appears and you must specify the URL of the web service that makes signing requests to Genesys Cloud. For examples in GitHub, see Authenticated web chat server examples. - To specify how the web chat interface looks on your website, choose a Chat Appearance option:
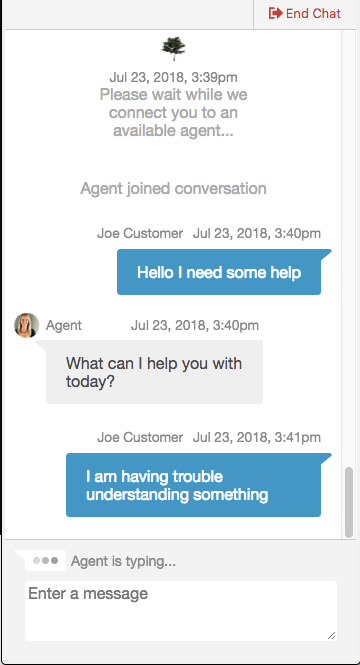
- Basic: This option provides you with a simple interface.
- Modern: This option provides you with an interface that has a more contemporary look and feel.
Basic Modern 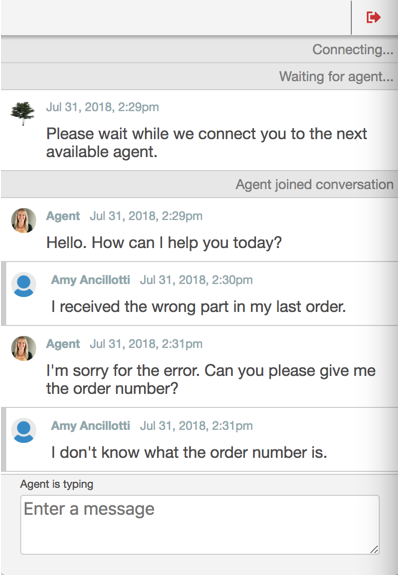
- (Optional) To connect the widget to a chat flow, search for and select a chat flow under Route to Flow. For more information, see Inbound chat flows overview.
- Click Save.
By default, Genesys Cloud activates widgets when you create them.
To deactivate a Version 1.1 widget, a website developer must first set up the configuration, following the example provided for web chat schedules. Then click the Widget is Activated switch in the widget configuration screen.
- Click Admin.
- Under Contact Center, click Widgets.
- Click Create Widget.
- Enter a Name and Description for the deployment.
- Select Version 1.0.
- To require users to authenticate with your website before they can start a web chat, enable Require Authentication.
If you enable Require Authentication, the Authentication URL box appears and you must specify the URL of the web service that makes signing requests to Genesys Cloud. For examples in GitHub, see Authenticated web chat server examples. - To specify how the web chat interface looks on your website, choose a Chat Appearance option:
- Basic: This option provides you with a simple interface.
- Modern: This option provides you with an interface that has a more contemporary look and feel.
Basic Modern
- Click Save.
By default, Genesys Cloud activates widgets when you create them.
To deactivate a Version 1.0 widget, a website developer must first set up the configuration, following the example provided for web chat schedules. Then click the Widget is Activated switch in the widget configuration screen.
- If you choose to use a third party widget, you must build your own widget.
- Third party widgets do not have custom options, such as the ability to deactivate the widget or change the chat appearance.
- Click Admin.
- Under Contact Center, click Widgets.
- Click Create Widget.
- Enter a Name and Description for the deployment.
- Select Third Party.
- (Optional) Specify the domain(s) from which to initiate web chat:
- Click Add Domain.
- Enter an allowed domain, for example,
https://www.example.com. - Click Add.
- Repeat a through c for each domain you want to allow.
Note: If you do not specify one or more domains, all domains are allowed.
- (Optional) To connect the widget to a chat flow, search for and select a chat flow under Route to Flow. For more information, see Inbound chat flows overview.
- Click Save.