Prerequisites
  • Genesys Cloud CX 1 Digital Add-on II, Genesys Cloud CX 2 Digital, or Genesys Cloud CX 3 Digital license
  • License(s) for the application that you want to integrate. Contact your Genesys Cloud sales representative for details. 
  • A minimum subscription level of Genesys Cloud CX 1 is required.
  • Integrations > Integration > All permission (included in the Master Admin role)

Note: After you purchase the appropriate licenses for the application, your Genesys Cloud sales representative will ensure that your organization is ready to run it.

Configure the integration by completing the following steps:

    1. Click Admin.
    2. Under Integrations, click Integrations.
    3. Click Add Integration. Cards describing available apps appear. 
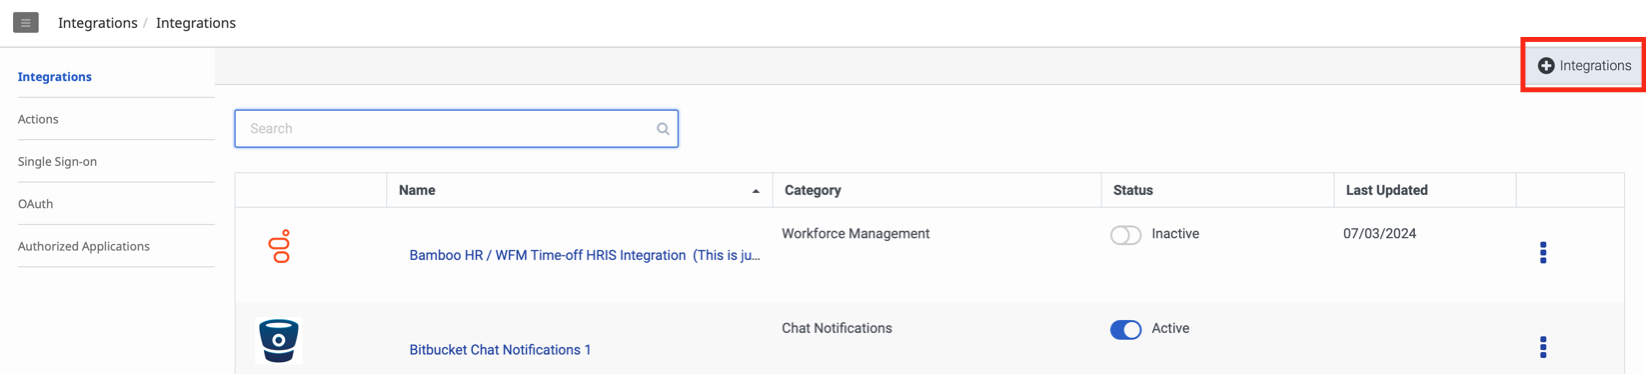
      Note: If you have not configured integrations for your organization, the Add New Integration option appears instead.
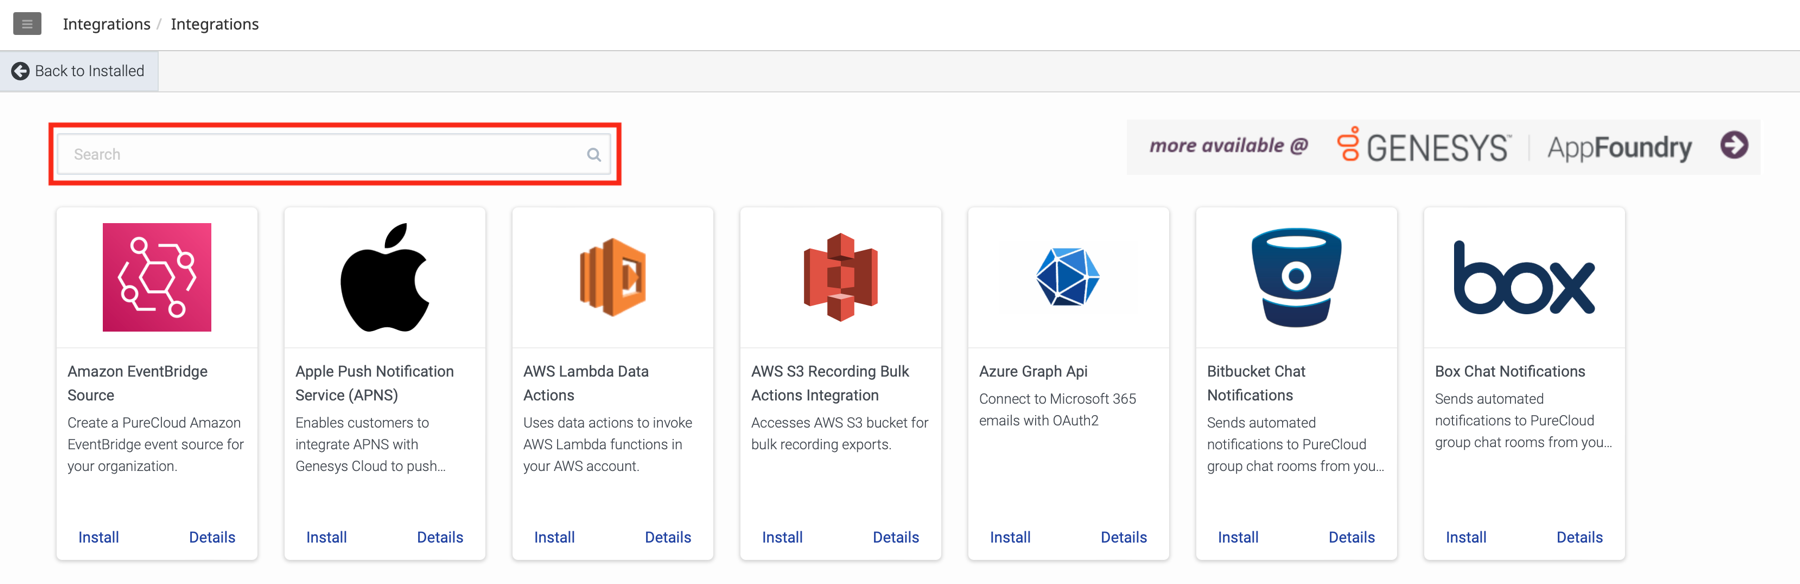
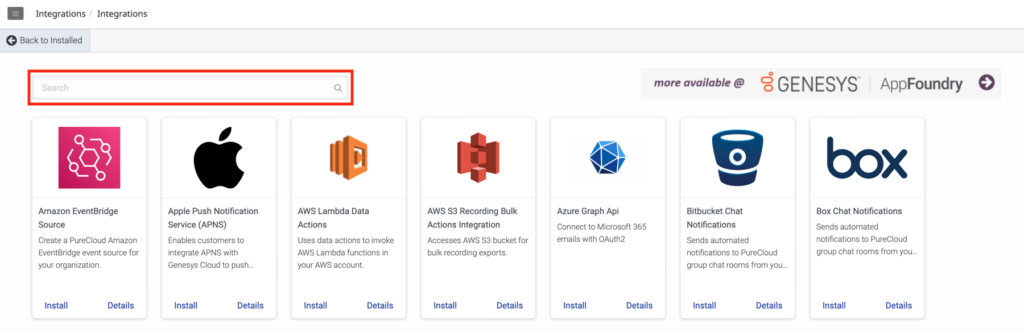
    4. If necessary, locate the app you want by typing all or part of its name in the search box.
    5. On the tile describing the application, click Install.
    6. (Optional) Use the Name box to give the app a different name.
    7. Click the Configuration tab. Your application may have different configuration options than the example shown. For more information, see Creating a new application.
    8. In the Application URL box, type the URL of the web application. For more information on the complete and current list of url-interpolation variables in the SDK documentation, see the Client Apps framework Client Apps framework.
      Note: Be sure to specify the full URL, including the https: at the beginning of the URL.
    9. In the Application Type list, select how you want the application to appear inside Genesys Cloud.

      To display the application inside the main Genesys Cloud page, select standalone. Users access the application by clicking the corresponding option on the menu that you select in step 9.

      A standalone application is displayed in the main Genesys Cloud window using a full-frame layout. To see the application, users click its name on either the Apps, Directory, or Performance menus.

      To display the application inside the sidebar, select widget. Users access the application by clicking the apps icon on the sidebar.

      A sidebar widget appears in the left Genesys Cloud panel. To see the application, users click the Apps icon on the Genesys Cloud sidebar menu and then click the tab for the app they want.

    10. From the Application Category list, select the category that specifies the general purpose of this application. The available categories are:
      • Directory: If you select Directory, a menu option for the application appears under the Directory menu.
      • ContactCenterInsights: If you select ContactCenterInsights, a menu option for the application appears under the Performance menu.
      • To have the application appear under a new Apps menu, make no selection. 
    11. If your app prompts for Iframe Sandbox options, type a comma-separated list of limited HTML5 iframe sandbox options to control application permissions. Available options are:
      • allow-forms
      • allow-modals
      • allow-popups
      • allow-presentation
      • allow-same-origin
      • allow-scripts
      • allow-downloads
        For more information about these options, see Mozilla Developer Network. For more information about Iframe sandbox options and permissions policies, see Property Definitions.
    12. Client Applications are visible only to members of an official group. Click Select Groups, and search for the official groups that see the application.
      Notes:
      • In order for a group to be official, an administrator must create it and designate it as an official group.
      • The profile field Groups > Official must be active to allow a user to see the application menu.
      • You cannot configure a client application integration to work with a distribution group. 
      • Only users of the selected group see the application in Genesys Cloud. 
    13. Click Save.
    14. Click the Details tab.
    15. Click the Inactive switch to make the application Active (usable by persons who have permission to access it.

    16. Click Yes to confirm that you want to active the app.