
Reinstall a Genesys Hardware Solution Edge Mini v1 or Edge Micro v1
If you are having problems with your Genesys Hardware Solution (GHS) Edge Mini v1 or Edge Micro v1 and want start over with a fresh installation, you can do so by following the procedure described in this article. This procedure uses an installation image created for the Customer Hardware Solution (CHS) Edges. However, you can use this same procedure and installation image to reinstall a Genesys Hardware Solution Edge Mini v1 or Edge Micro v1.
Unpair the edge
The first thing that you will need to do is unpair the edge from Genesys Cloud. For more information, see Remove a BYOC Premises Edge from Genesys Cloud.
Get a BIOS password
As a part of this procedure, you will need to access the edge’s BIOS and reconfigure the boot order of the Edge Mini v1 or Edge Micro v1. To do so, you need to contact Product Support and request the BIOS password. For more information, see Genesys Cloud Product Support.
Reconfigure the BIOS
- Connect a monitor and keyboard to the edge.
- Turn on the power.
- When the console window appears, press Delete to access the BIOS.
- Enter the BIOS password you received from Product Support.
- When the Setup Utility screen appears, select the Boot tab.
- Set UEFI Boot to Enabled.
- Under Boot Option Priorities, select Boot Option #1.
- When the Boot tab appears, select your USB flash drive as Boot Option #1.
- Select F4: Save and Exit.
Download the installer
Genesys provides an installer to set up a Customer Hardware Solution Edge. However, you can use this same installer to reinstall a Genesys Hardware Solution – Edge Mini v1 or Edge Micro v1.
- Download the BYOC Premises – Customer Hardware Solution installer image file.
- Take note of the download location. You will run the installer at a later part of the process.
Begin the provisioning procedure
In the first stage of the procedure, you begin provisioning the edge from within the Genesys Cloud user interface. During this stage, you are provided with a device pin that you need at a later stage of the procedure.
- From a Genesys Cloud client computer on your network, log in to Genesys Cloud.
- Click Admin.
- Under Telephony, click Edges.
- Click Menu > Channels > Telephony > Edges.
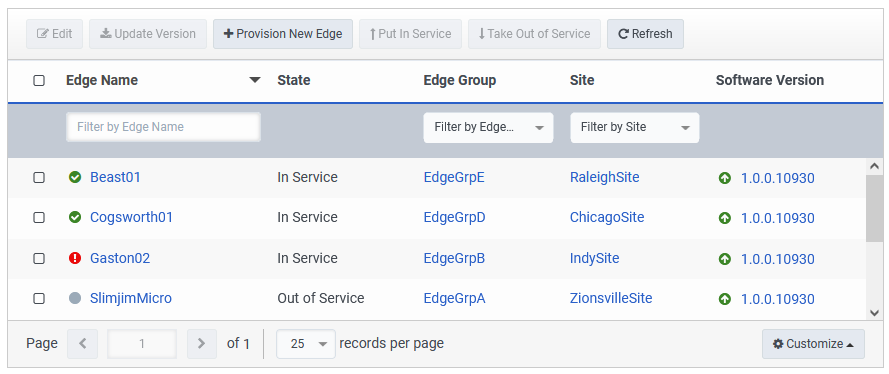
- Click Provision New Edge.
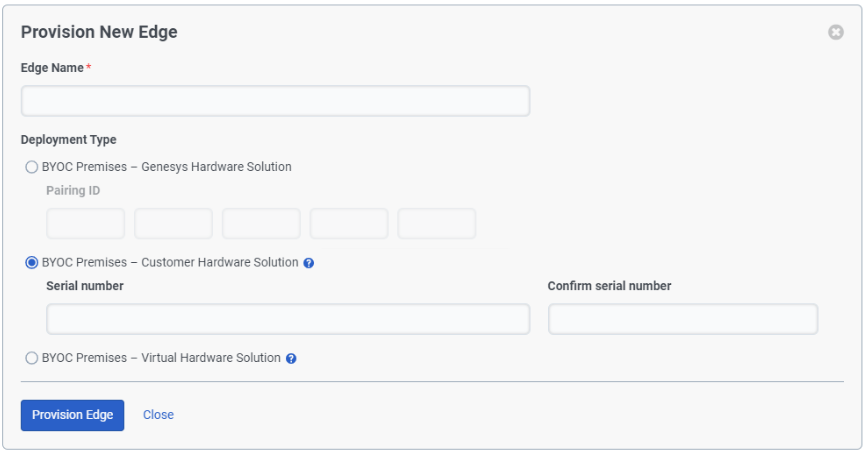
- On the Provision New Edge screen, enter a name in the Edge Name box.
- Click BYOC Premises – Customer Hardware Solution.
- Click Provision Edge.
- On the Enter the device pin screen, take note of the value in the Device PIN field as you need it later.

Now that the provisioning operation has begun, you’ll leave it running and proceed to the next step.
Prepare your USB flash drive
To prepare your USB flash drive, you download and use an open source tool called Rufus. Rufus reformats your USB flash drive as a bootable device and then copies the installer to your USB flash drive.
- Download the Rufus tool.
- Insert your USB flash drive into the USB port on your computer.
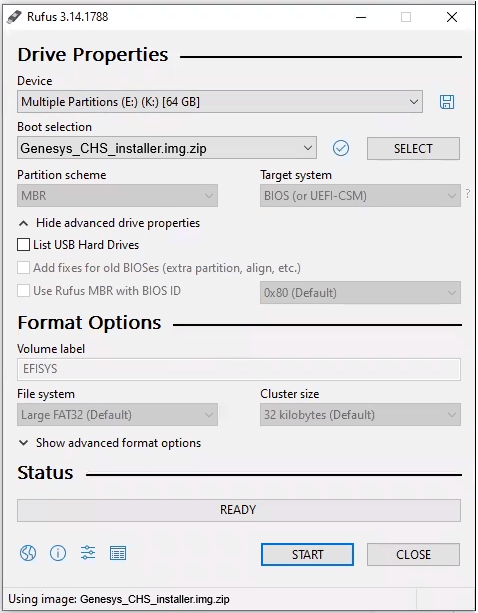
- Locate and click the Rufus executable file to run the tool.
- Select your USB flash drive from the Device list.
- Select the Disk or ISO image from the Boot selection list.
- Click Select and choose the image file you downloaded. Rufus automatically fills in the required fields.
- MBR or GPT for the Partition scheme.Note: Rufus chooses the value for the Partition scheme based on the current format of your USB flash drive. Either Partition scheme works.
- UEFI (non CSM) for the Target system.
- Large FAT32 (Default) from the File system list.
- 32 kilobytes (Default) for the Cluster size.
- MBR or GPT for the Partition scheme.
- Click Start and wait while Rufus prepares your bootable Customer Hardware Solution installation USB flash drive.
- When Rufus completes its operation, click Close.
Connect your edge to the network
Before you can perform the hardware verification, you must first connect your edge to an internet facing network. This connection must be made to the WAN port on the edge.
Configure the network adapter settings
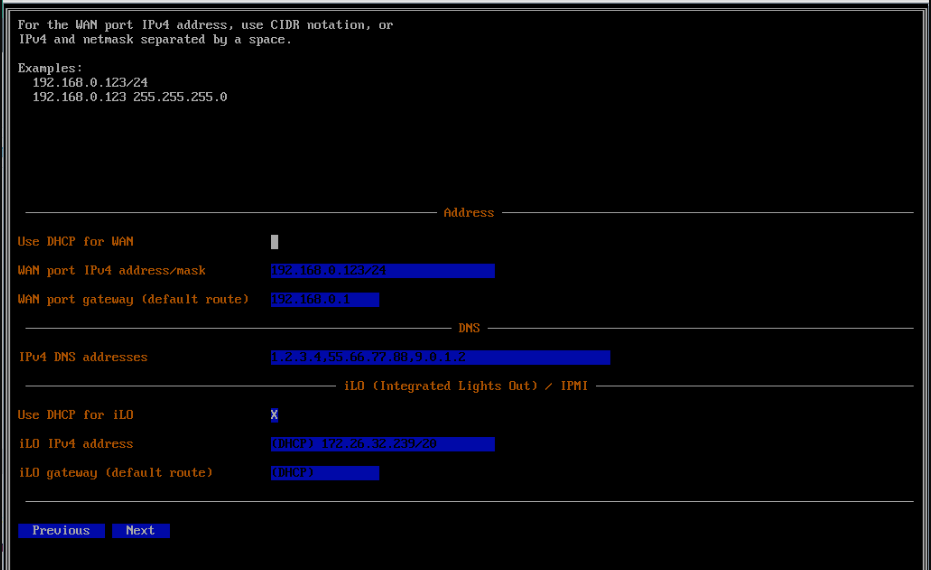
In this part of the procedure, the installer prompts you to configure your network adapter settings,
- Click the Use DHCP for WAN box, if you are going to use DHCP addresses.
- Enter an address in the WAN port IPv4 address box. (You can use CIDR notation.)
- Enter an address in the WAN port gateway (default route) box.
- Enter up to two addresses in the IPv4 DNS addresses box.
- Click Next.
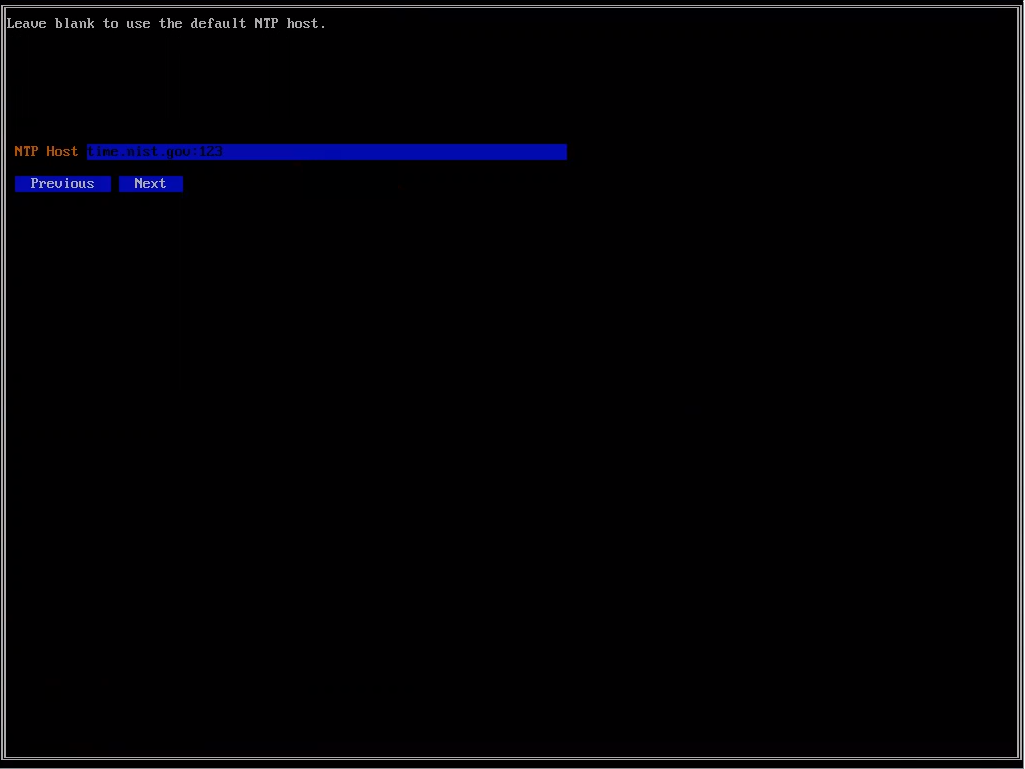
- Enter your NTP server address in the NTP Host box or leave it blank to use the default NTP host.
- Click Next.
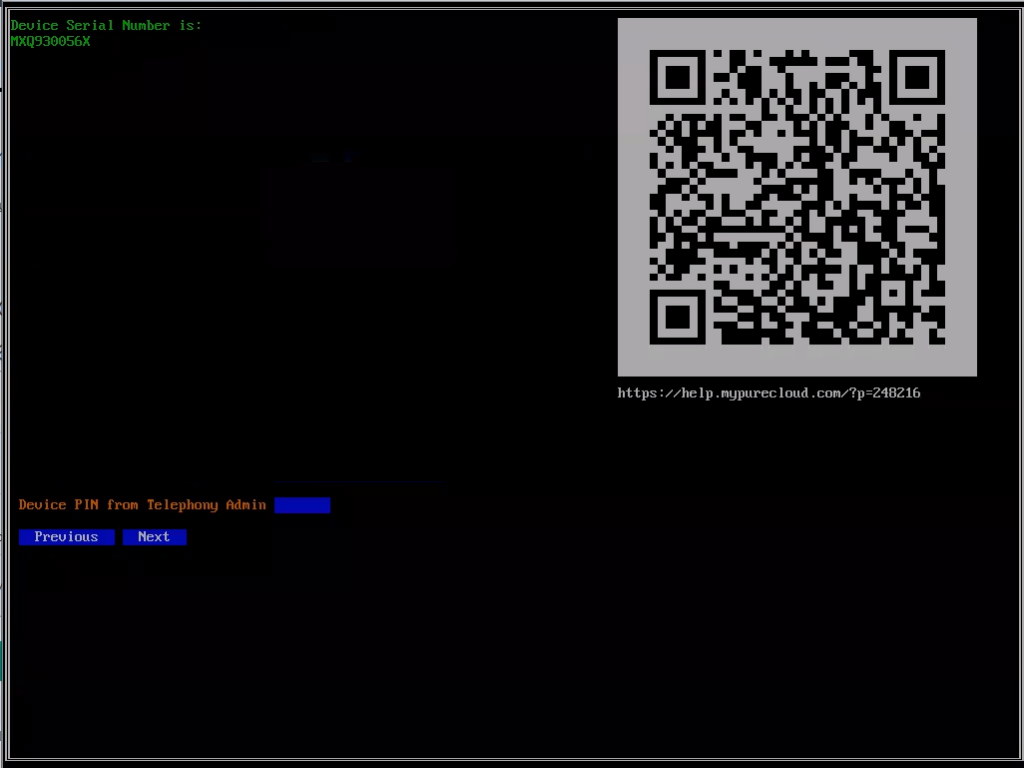
Enter the PIN
In this part of the procedure, you use the Device PIN that you recorded when you began the provisioning procedure.
- Enter the PIN in the Device PIN from Telephony Admin box.
- Click Next.
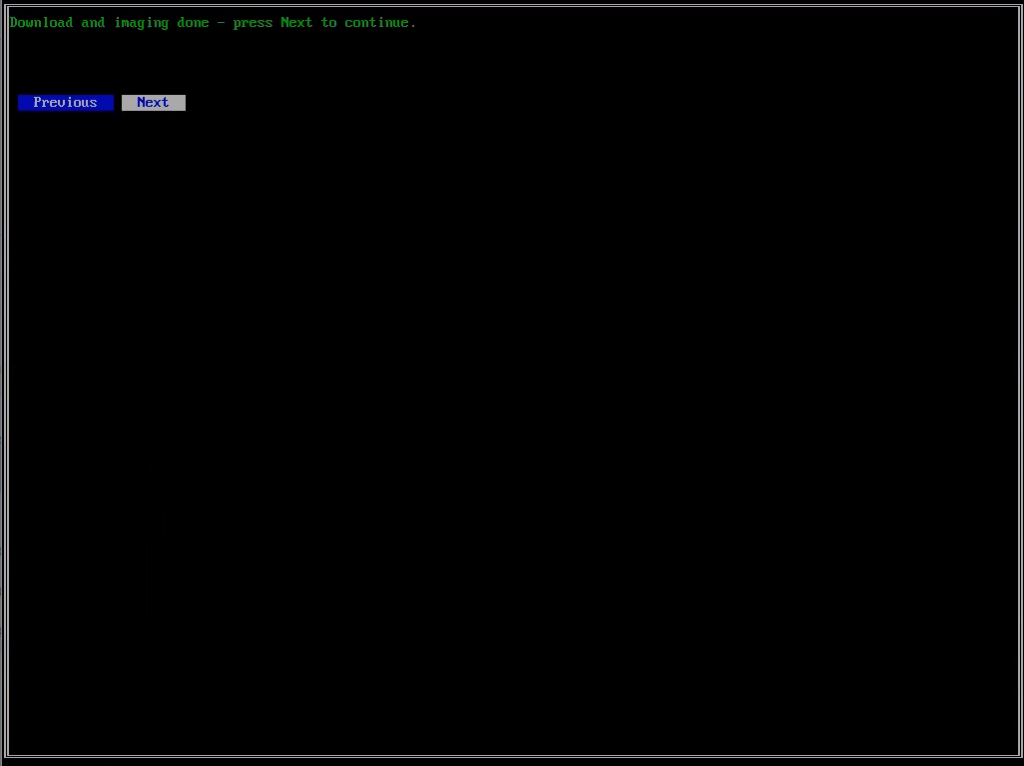
Download the image
In this part of the procedure, the installer downloads the actual edge image. The download may take some time to complete. After the download completes, the installer writes the image to the hard disk.
- When you see the Ready to download and install prompt, click Next.
- When the installer completes the imaging procedure, click Next.

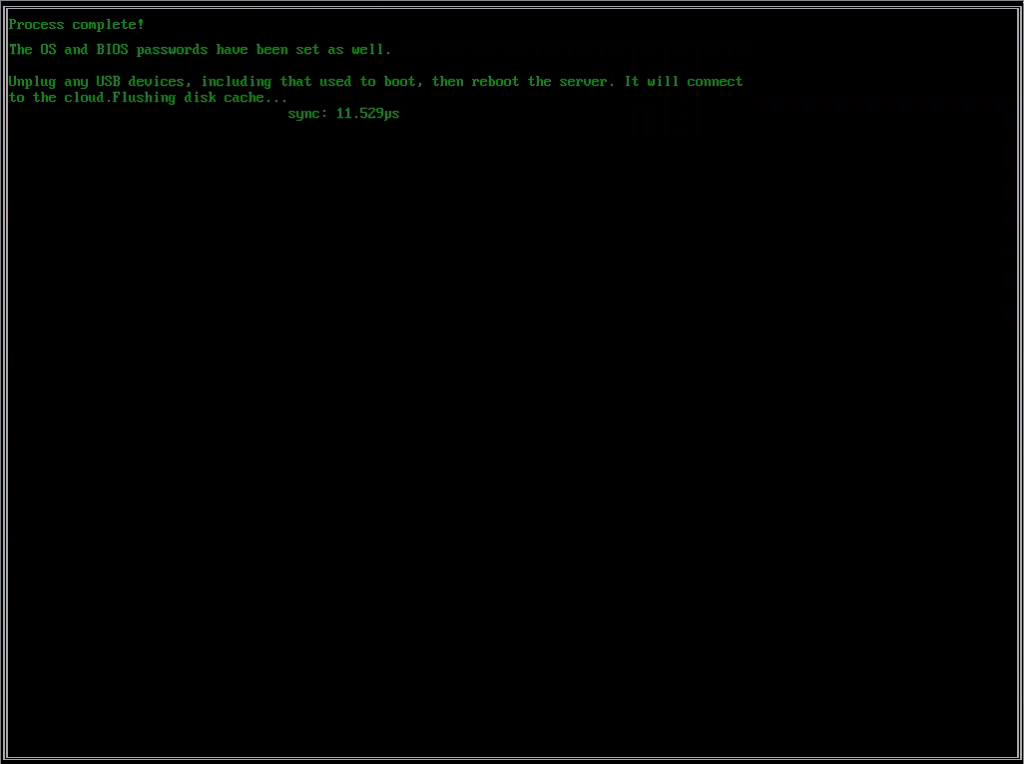
Installer process complete
When the installation is complete, the installer prompts you to reboot the Edge.
- Remove the USB flash drive.
- Manually reboot the edge by pressing the power button.
Finish provisioning and configure your edge
At this point, your edge is paired to your Genesys Cloud organization and you return to the Genesys Cloud user interface to configure your Edge’s telephony connections.
- When you see the Ready to Configure prompt, click Configure Edge.
To configure your new edge for use in your Genesys Cloud organization, you perform a series of configuration operations.
- Create a SIP trunk
- Create a phone trunk
- Connect an existing trunk to an Edge network interface.
- Determine how many sites you need and add them to the system.
- Associate the Edge with a site and an Edge group. Attach an External SIP trunk.
- Add a new or modify the default number plan.
- Add a new or modify the outbound route.
- Configure emergency services