
Series: Set up CX Cloud, Digital and AI for Salesforce Service Cloud Voice
Create and assign presence statuses to user profiles
- Assign field-level security
- Set up CX Cloud, Digital and AI for Salesforce Service Cloud
- Create service channels
- Assign field-level security
- Create presence user and routing configurations
- Create backup queues for the flows
- Create flows to route Experience and Email Experience objects
- Create record pages for the Experience objects
- Create an OAuth Client for Salesforce Service Cloud Voice
- Integrate Einstein Next Best Action in Salesforce
- Create a Lightning app for Digital and AI for Salesforce Service Cloud
- Create presence user and routing configurations
In Salesforce, create presence statuses and assign them to the user profiles. Create the following presence statuses connected to the Genesys Cloud Messaging service channel:
- Available
- Available on Queue
- Busy
Note: If you have already created the presence statuses for the contact center setup, you do not need to create new presence statuses. Add the newly created service channels to the existing available statuses that you want your agents to use when they process chats.
To create the Available presence status:
- On the Setup Home page, search for Presence Statuses in the Quick Find box and click Presence Statuses.
- Click New.
- Under the Basic Information section, enter the Status Name as Available.
- Under the Status Options section, choose Online.
- Under the Service Channels section, select the service channels, such as Genesys Cloud Email, Genesys Cloud Messaging, Messaging, and Phone in the Available Channels list.
- Click Add to move the selected service channels to the Selected Channels list.
Click the image to enlarge.
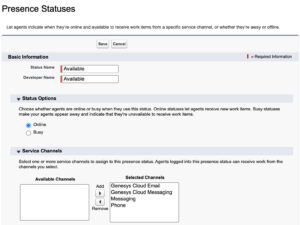
- Click Save.
To create the Available on Queue service presence status:
- On the Setup Home page, search for Presence Statuses in the Quick Find box and click Presence Statuses.
- Click New.
- Under the Basic Information section, enter the Status Name as Available on Queue.
- Under the Status Options section, choose Online.
- Under the Service Channels section, select the service channels, such as Genesys Cloud Email, Genesys Cloud Messaging, Messaging, and Phone in the Available Channels list.
- Click Add to move the selected service channels to the Selected Channels list.
- Click Save.
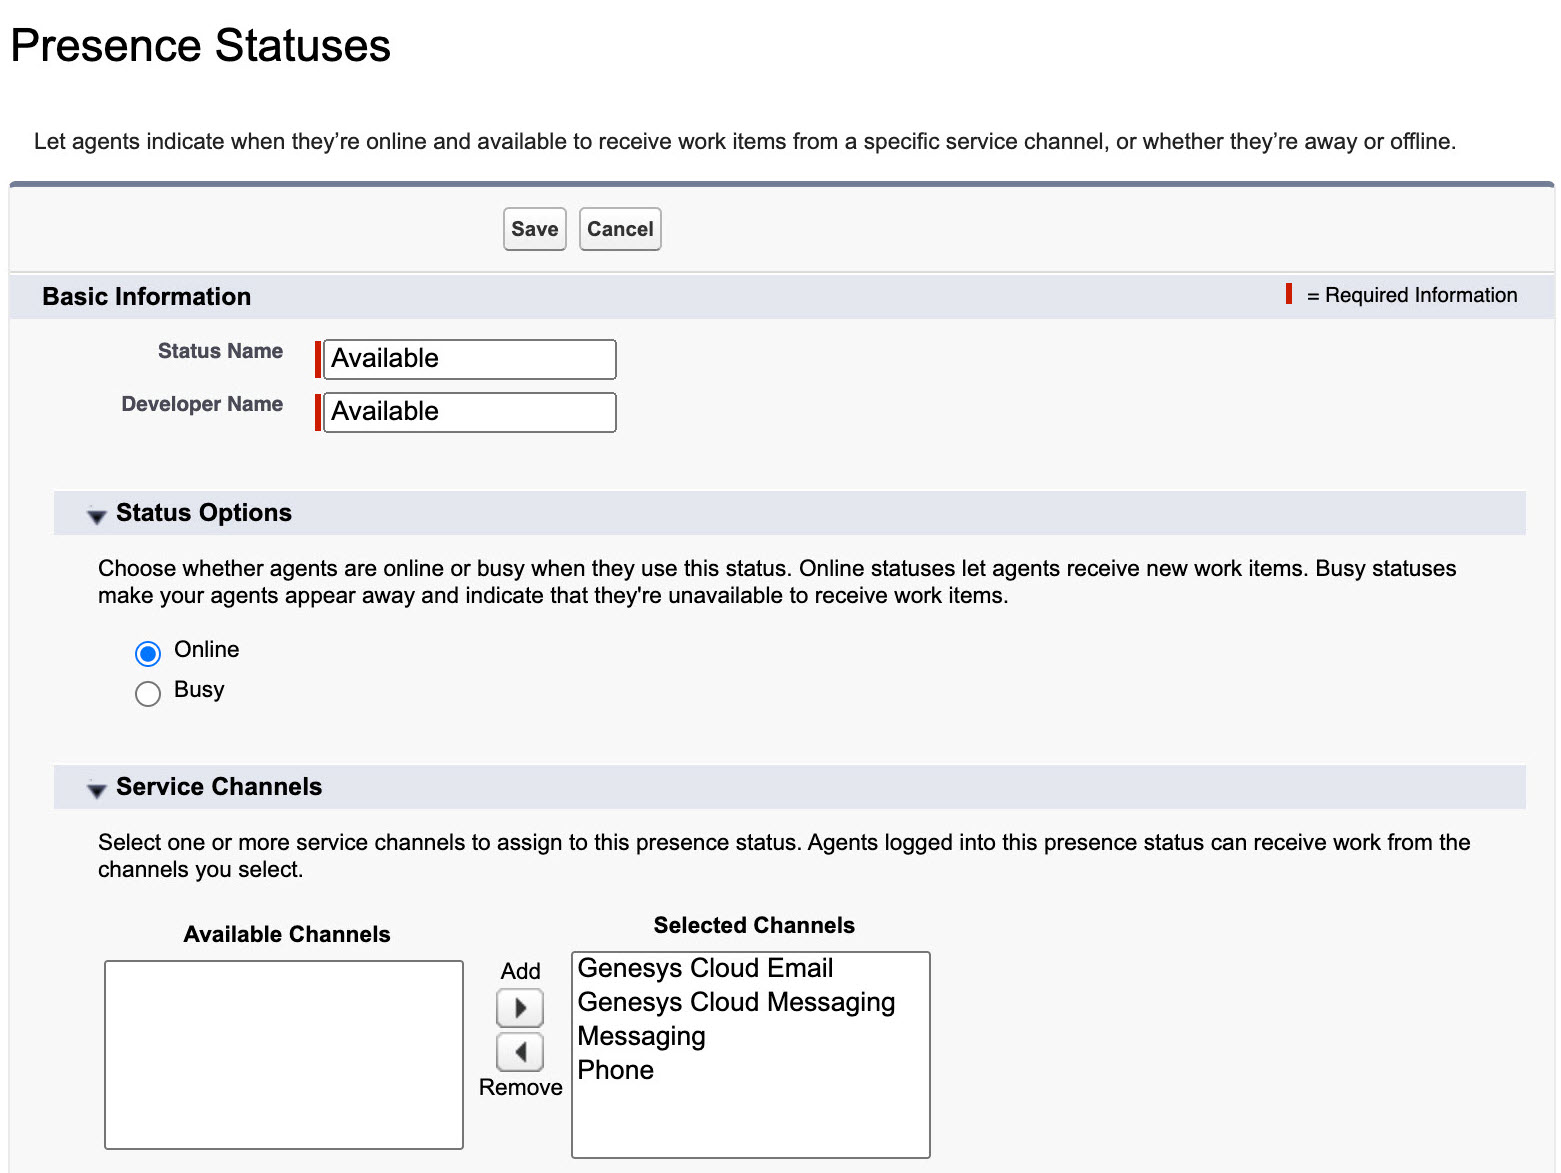
To create the Busy presence status:
- On the Setup Home page, search for Presence Statuses in the Quick Find box and click Presence Statuses.
- Click New.
- Under the Basic Information section, enter the Status Name as Busy.
- Under the Status Options section, choose Busy.
Click the image to enlarge.
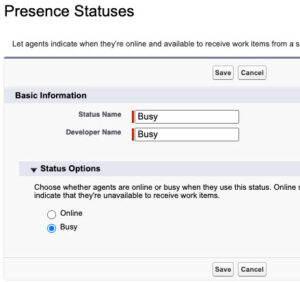
- Click Save.
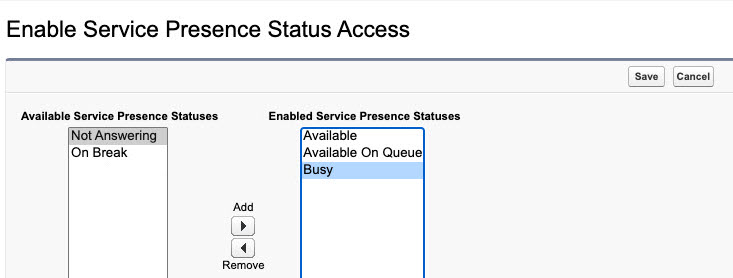
Assign service presence statuses to user profiles
To assign the service presence statuses to the user profiles:
- On the Setup Home page, search for Profiles in the Quick Find box and click Profiles.
- Click an agent profile to open its settings.Note: Do not click the Edit link.
- Click the Enable Service Presence Status Access link.
- Click Edit.
- Under the Available Service Presence Statuses, select the service presence statuses such as Available, Available on Queue, and Busy.
- Click Add to add the selected service presence statuses to the user profile.
Click the image to enlarge.
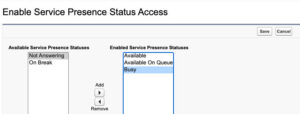
- Click Save.
Assign field-level security :Previous Suggested Article Next Suggested Article: Create presence user and routing configurations