
Create a Lightning app in Salesforce
Create a Lightning app in Salesforce that provides administrators the capability to:
- Install and update the packages of CX Cloud, Core Services for Salesforce Service Cloud and CX Cloud, Voice for Salesforce Service Cloud.
- Create, configure, and manage contact centers.
Create Lightning Component tabs
Before creating the Lightning app, create the following Lightning Component tabs in Salesforce using the custom Lightning components provided by the CX Cloud, Core Services for Salesforce Service Cloud package installation:
| Lightning Component tab name | Lightning Component by Genesys |
|---|---|
| Core Services | Genesys Salesforce Settings |
| Install and Update Packages | Genesys Package Listings |
For more information about creating the Lightning Component tabs, see Create and add custom tabs in Salesforce Lightning apps.
Create the Lightning app for administration
To create a Lightning app in Salesforce:
- On the Setup Home page, search for App in the Quick Find box and select App Manager.
- To open the New Lightning App wizard, click New Lightning App.
- Enter a name for the app; for example, Administration Settings, and then click Next.
- Select Console navigation as the navigation style and click Next.
- Skip Utility Items and click Next.
- Select Core Services and Install and Update Packages from the Available Items list and move them to the Selected Items list. Then, click Next.
- Accept the default navigation rules and click Next.
- Select System Administrator and move it from the Available Profiles list to the Selected Profiles list.
- Click Save & Finish.
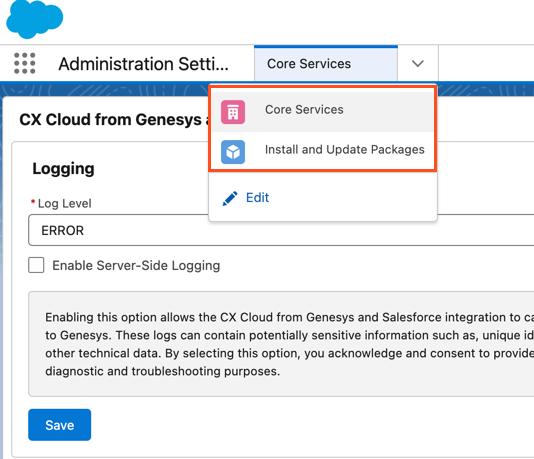
A Lightning app named Administration Settings is created with the navigation options as shown in the following illustration.
Note: You can name the Lightning app and the Lightning Component tabs as per your preference. For ease of reference, the Lightning app will be referred to as Administration Settings app and the Lightning Component tabs will be referred to as Core Services and Install and Update Packages in this documentation.