
Add a time zone to a set of contactable times
When you add or edit a contactable times set, you can define when the system can contact a particular time zone.
- Click Admin.
- Under Outbound, click Contactable Time Sets.
- Click Menu > Channels > Outbound > Contactable Time Sets.
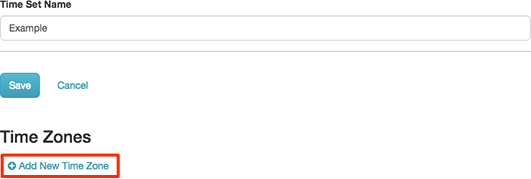
- Click Add New Time Zone. The Add Time Zone page appears. The purpose of this page is to select a time zone, and then to configure when contact can occur on each day of the week, for that zone.
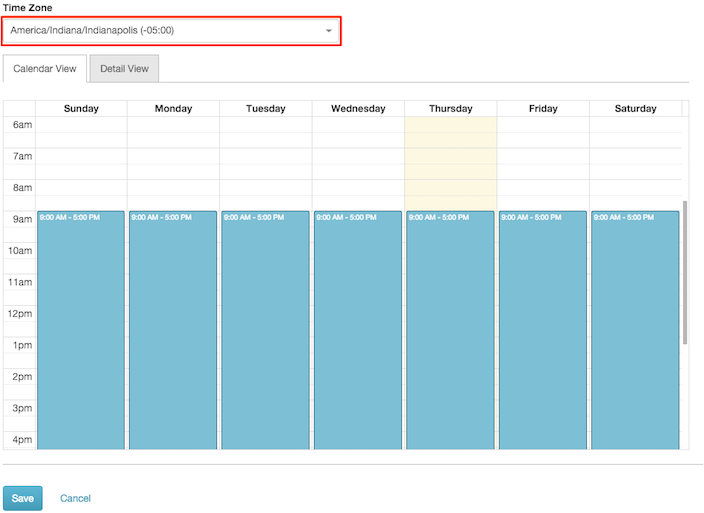
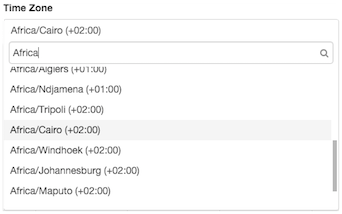
- Select a time zone from the Time Zone filtered box. You can type all or part of a time zone name to filter the list of entries. The current user’s local time zone is selected by default.
Note: This step defines the time that the campaign can contact a time zone during that time zone’s local time. For example, if your local time is Eastern time and you created a contactable time set to dial from 1 PM to 2 PM Central Time, then the campaign can start contacting at 2 PM Eastern Time, which is 1 PM Central Time.
- To configure when a campaign contacts the selected time zone, use one of the following procedures:
Using the calendar, you can define new time slots by clicking and dragging, or change the duration of time slots by resizing or moving intervals.
-
Select the Calendar View tab, which is the default.
-
To create a new time slot, click an empty place in the calendar where the time slot begins. Then drag down to extend duration, releasing the mouse button when finished.
-
To shorten a time slot, drag its handle upward to decrease the duration of time.
-
To increase a time slot, drag its handle downward to increase the duration of time.
-
To reposition a time slot, click inside its borders and drag it to a new position.
-
-
Select the Detail View tab.
-
Each time slot defines when calling can occur for a specific day of the week and one time range within that day. By default, the system defines time slots to dial every day of the week between 9 AM and 5 PM.

-
To change start or stop times, click an hour, minute, or AM/PM indicator. To modify the value displayed, type a different value, or use the up and down arrows.
-
To add another time slot, click the button. This button duplicates the current entry so that you can constrain dialing to non-contiguous time ranges within a day. An example would be dialing a time zone during business hours but not over the lunch hour.
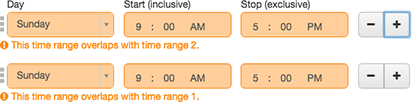
Since duplication of a time slot creates time ranges that overlap, edit time ranges for the same day so that they do not overlap:

-
Define, edit, or remove other time slots as needed.
Tips:-
To delete time slots, use the - button.
-
Reposition time slots by clicking and dragging the handle in front of each time slot.
-
The edit controls - and + are not available if the user does not have permission to add or remove time ranges.
-
-
- Click Save.