
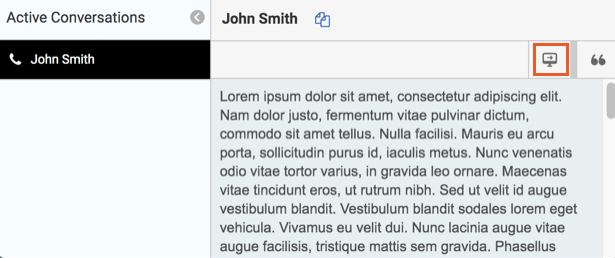
Use co-browse with an interaction
Co-browse allows users to control applications or to navigate to other webpages on other people’s computers. Agents can use co-browse with customers to provide better assistance. Co-browse is available for call, web messaging, and web chat interactions.
Call interactions
- In the script window, click Start Screen Share.
- Tell the customer the security key that appears in your script window.
- The customer enters the security key on your company website.
The co-browse session starts. A screen share icon appears on the interaction in the client, indicating that the session is active.
Note: If you do not have access to call logs, Interaction Log does not appear on interactions.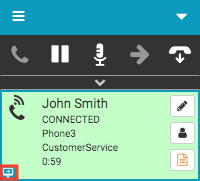
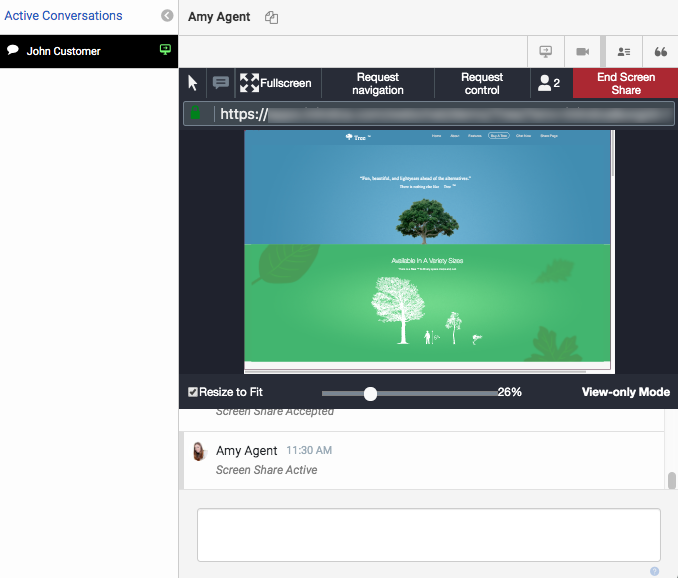
- You can request control or request navigation.
- Request control allows you to control the webpage in the customer’s browser. When you click Request control, the customer receives a request to allow you to control the webpage. To end control of the webpage, click Release control.
- Request navigation allows you to enter a new website address in the customer’s browser. When you click Request navigation, enter a new webpage address. The customer then receives a request to allow you to navigate to a new webpage. The customer can accept or decline.
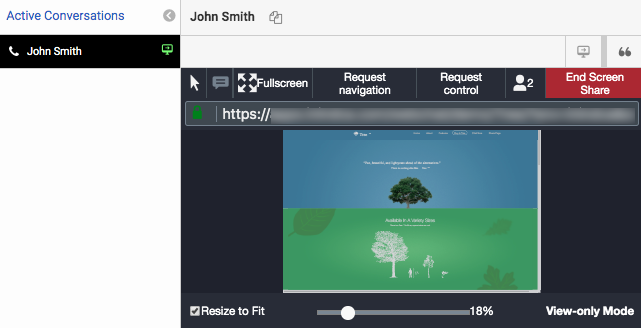
- To end a co-browse session, click End Screen Share. The customer can also end a co-browse session.
Web messaging and web chat interactions
- In the web chat or the web messaging window, click Start Screen Share.
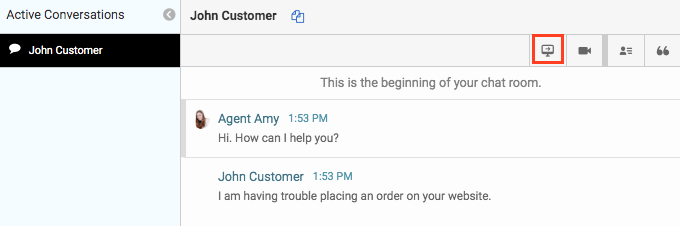
- The customer receives a screen share request. The customer can accept or decline. Note: If the customer does not accept or decline before the time-out period elapses, then the request disappears. Your administrator sets the time-out period.
The co-browse session then starts. You can see the customer’s screen. A screen share icon appears on the interaction in the client, indicating that the session is active.
Note: If you do not have access to call logs, Interaction Log does not appear on interactions.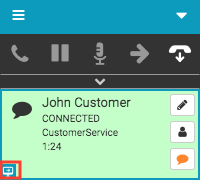
-
You can request control or request navigation.
-
Request control allows you to control the webpage in the customer’s browser. When you click Request control, the customer receives a request to allow you to control the webpage. To end control of the webpage, click Release control.
-
Request navigation allows you to enter a new website address in the customer’s browser. When you click Request navigation, enter a new webpage address. The customer then receives a request to allow you to navigate to a new webpage. The customer can accept or decline.
-
- To end a co-browse session, click End Screen Share. The customer can also end a co-browse session.
For more information about the integrations, see About the Genesys Cloud browser extensions, About Genesys Cloud Embeddable Framework, About Genesys Cloud for Salesforce, and About Genesys Cloud for Zendesk.