
Import phones
Prerequisites
The import feature allows you to bulk import a group of phone configurations into Genesys Cloud using the provided CSV template. The template has the following fields:
| Field | Description |
|---|---|
| Name | A unique name for the phone. |
| Base | The name of an existing base setting configuration. |
| Site | The name of an existing site. |
| The email address of the phone’s user. Required for WebRTC phone and optional for other phones. When specified for other phones, sets the phone as the default for that user. | |
| RemoteAddress | Required for remote phones. |
| HardwareID | Required for AudioCodes/Poly/Polycom phones. |
| KeyLabel | Optional – Genesys Cloud generates a KeyLabel from the phone name if not provided. |
| LineAppearanceID | Optional – Genesys Cloud generates a LineAppearance DIDfrom the phone name if not provided |
| DID | The DID phone number. |
| Extension | The phone’s extension number. |
- Click Admin.
- Under Telephony, click Phone Management.
- Click Menu > Digital and Telephony > Telephony > Phone Management.
- Click the Phones tab.
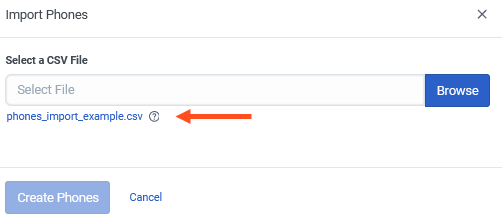
- Click Import phones from a comma-separated values file
- Do the following:
- Click phones_import_example.csv to download the template.
- Open the CSV file template in a spreadsheet application.
- Fill in and save the CSV file. Note: To insure that your CSV file is properly imported, make sure that you save it using the UTF-8 format
- Use the information below to fill in the appropriate fields in the spreadsheet for the type of phones that you want to import.
- Proceed to the “Select a CSV file and perform an import operation” section.
Import guidelines
|
Type of phone
|
Phone Name
|
Base Settings
|
Site
|
E-mail
|
Remote Address
|
Hardware Id
|
Key Label
|
Line Appearance ID
|
DID
|
Extension
|
|---|---|---|---|---|---|---|---|---|---|---|
| Genesys Cloud WebRTC | R | R | R | R | N/A | N/A | N/A | N/A | N/A | N/A |
| Remote | R | R | R | O | R | N/A | N/A | N/A | N/A | N/A |
| Generic SIP | R | R | R | O | N/A | N/A | N/A | O | A/R | A/R |
| AudioCodes or Poly/Polycom | R | R | R | O | N/A | R | O | O | A/R | A/R |
| PureCloud Softphone | R | R | R | O | N/A | R | O | O | N/A | N/A |
| Spectralink Wireless | R | R | R | O | N/A | R | O | O | A/R | A/R |
| Interaction SIP Station II | R | R | R | O | N/A | R | O | O | A/R | A/R |
Legend:
- R = Required field
- O = Optional field
- N/A = Not Applicable
- A/R = As Required
Additional considerations
- The phone name must be unique and it cannot contain spaces. Use an underscore “_” instead.
- The base settings and site must exist.
- The key label and line appearance ID are automatically generated if not filled in.
- You can specify an existing email address to set the default user.
- If you are creating a standalone phone, then either the DID number or extension is required.
- Click Browse.
- Locate and open the CSV file.
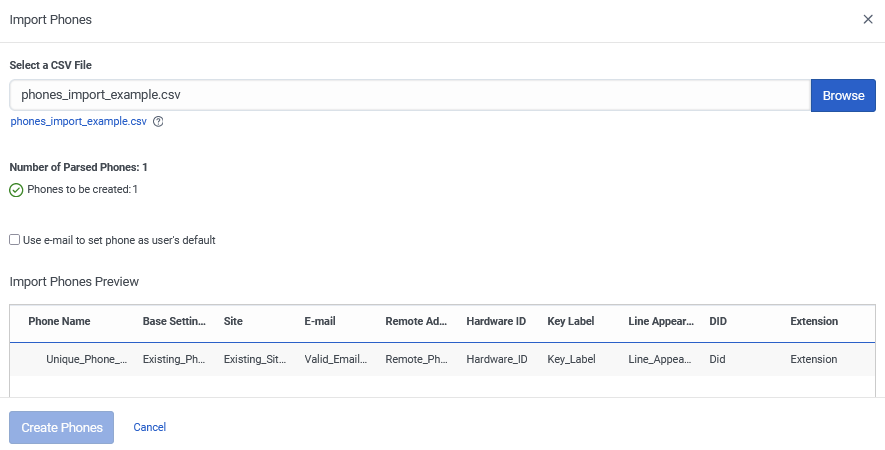
- Confirm that all of the information is correct.
- If you have included email addresses in your CSV file, then you can select the Use e-mail to set phone as user’s default check box.
- Click Create Phones.
- Click Close when the import operation completes.
The new phones now appear on the Phones tab.