
Create a new journey visualization with Journey Management
- Genesys Cloud CX 1, Genesys Cloud CX 2, Genesys Cloud CX 2 Digital, Genesys Cloud CX 3, or Genesys Cloud CX 3 Digital license
- Journey Management Add-On
- Journey Management Creator, Editor or Viewer role
Use Journey Management to measure, monitor, and maximize customer experiences. Journey Management lets you analyze customer journeys across channels.
Journey Management uses a single customer view to stitch conversations across inbound voice, call backs, outbound voice, email, SMS, web message, web chat, and social messaging together with the one External Contact ID with these associated identifiers: phone number, email address, social ID, and cookie ID, which enables cross channel analysis. For more information, see Single customer view.
The constant monitoring of journey performance allows you to identify which journeys, or moments within a journey, need improvement.
- Log in to your Genesys Cloud account and from the menu, click Journey Management. Genesys Cloud navigates to the Journey Management screen.Note: The Journey Management screen lists all of your existing journeys. Genesys Cloud lists your environment’s journeys by the characteristics Name, Created By, Date created, and Last modified. Use Search to filter journeys by Name and Created By.
- To create a new journey, perform one of the following steps:
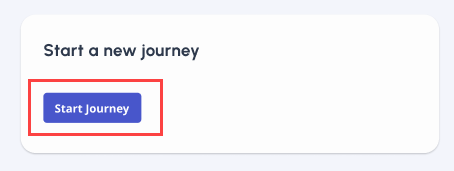
- On the Home screen, under Start a new journey, click Start journey.
- Click View all at Recent journeys. Genesys Cloud navigates you to the list of your journeys. Then, click New journey.
- On the Home screen, under Start a new journey, click Start journey.
- Enter a title for your new journey and then click Create journey. Genesys Cloud then navigates you to the journey editor screen.
Journey editor overview
The journey editor view lets you create your preferred journey. You can drag and drop events to the canvas and edit event filters and connectors between the events.
Canvas options in the upper right corner let you undo (![]() ) and redo (
) and redo (![]() ) your actions. Canvas options in the lower left corner let you zoom in (
) your actions. Canvas options in the lower left corner let you zoom in (![]() ), zoom out (
), zoom out (![]() ) from and recenter (
) from and recenter (![]() ) the canvas whenever you want to.
) the canvas whenever you want to.
Edit mode and Analyze mode
By default, the journey editor loads in Analyze mode; in this mode, the Add events button on the left side of the screen is unavailable. This view includes two available buttons in the upper right corner: Edit and Calculate.
To enter Edit mode and modify a journey, click Edit. Make sure that you save the journey regularly as you work.
- Edit mode and Analyze mode helps you differentiate between the editorial and the calculation process.
- If you make and save edits in a journey, Genesys Cloud deletes any previous data calculations and you must recalculate the journey.
- Journey Management creators and editors who have the Journey > Views > Edit permission can edit any journeys, not just the journeys they create. Genesys Cloud does not lock journeys.
Add events to the journey
- To start the journey editor, from the Home screen, create a new or select an existing journey.
- To enter Edit mode and modify a journey, click Edit.
- Select the event that starts the journey and then drag and drop it to the canvas. Genesys Cloud snaps the event to the canvas.
- Arrange the next events according to your needs. You can rename events, edit event filters, modify connector settings, and drag and drop events to new connectors at any time.
- To rename an event, click More in the upper right corner of the event and then select Rename event. Enter the name, and then to save the new name, select the check box icon.
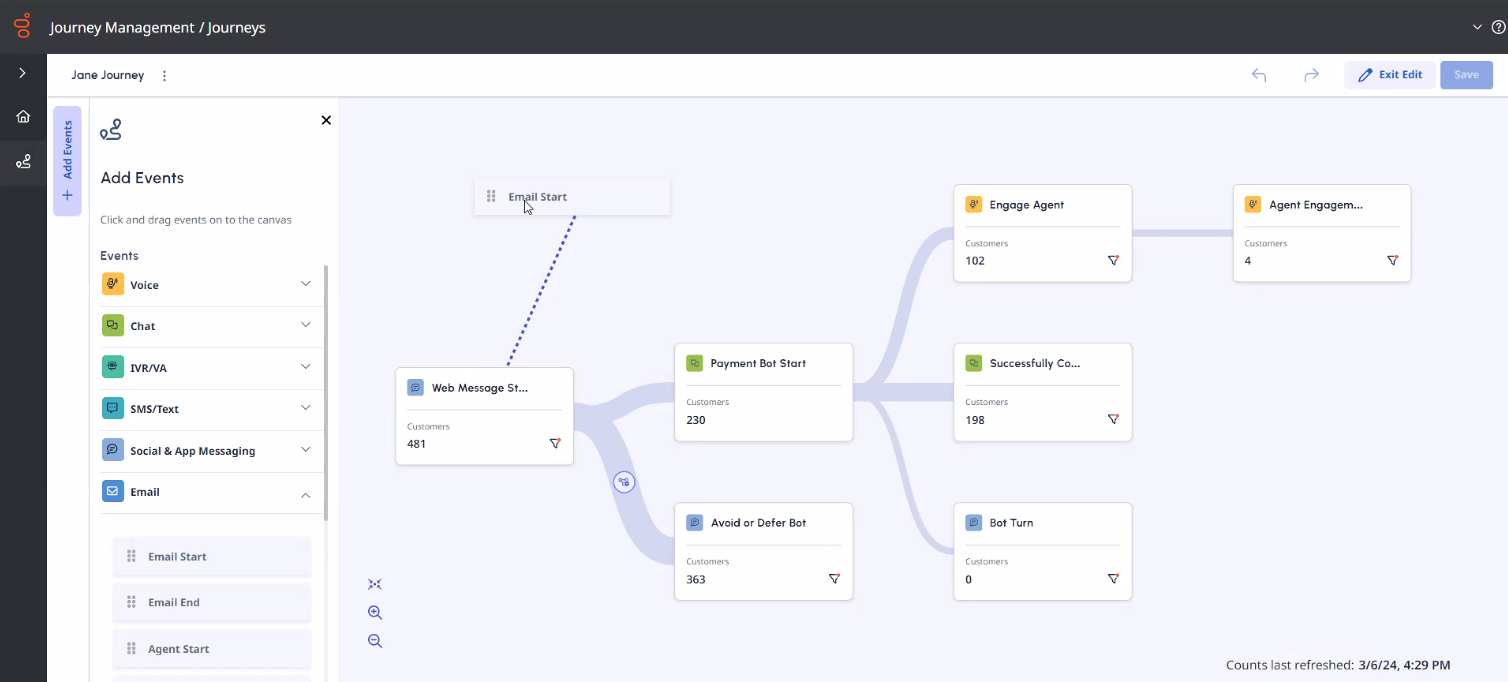
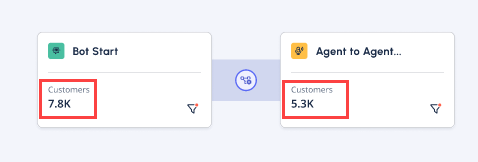
The image shows an example of how to drag an event that connects to an already established event. You can drag and drop a new event on any of the already established events or connectors.
Click the image to enlarge.
Insert a new event between two existing events in the journey
To add a new event between two existing events:
- From the menu, drag the event you want to insert over the connector between two existing events.
- When Genesys Cloud highlights the connector and the corresponding events, you can drop the new event between the two existing events.
The journey dynamically adjusts to accommodate the new event card in the most space-efficient manner.
- If the desired connector does not become highlighted, zoom in on the journey canvas. Depending on the available space and paths of the events, this action may push existing event cards to the right or the left.
- You can remove the event with the Undo button on the top right of the journey canvas.
- It is not possible to change the orders of events vertically.
- If you drag a new event to a connector, Genesys Cloud resets the connector’s previous settings.
List of events
This table summarizes the available events. For more information about explanations, see Analytics Detail Events on the Developer Center.
| Event source | Event |
|---|---|
| Voice |
|
| Chat |
|
| IVR/VA (Voice Assistant) |
|
| SMS/Text |
|
| Social & web messaging |
|
|
Manage event attribute filters
You can include or exclude attributes, so that Genesys Cloud counts only events with your specific attributes in your journey.
What is an event attribute?
An event attribute is the metadata related to an event. This data describes the nature of the event, and gives further context. Genesys Cloud groups event attributes into a set of pre-defined categories, based on the information that they hold. You can use event attributes to filter events in a journey visualization.
- For numeric filters:
- Specify a Condition. Your available options are: Greater than, Is between, Is equal to.
- Enter a numeric value, or in case of the Is between condition, a numeric range.
- For time filters:
- Specify a Condition. Your available options are: Greater than, Is between, Is equal to.
- Set the required time in a day/hour/minute/secundum format.
Set attribute filters for an event
- Click More in the upper right corner of the event and select Add filter. Genesys Cloud opens the Attributes Filter editor.
- Set whether you want to exclude or include the filters.
Note: This step is not available for numeric and time filters. - In the Attribute list, select the attribute. The attribute filter displays the available wrap up, agent and bot names that you can choose from. Enter the filter name in the Search field for a specific result.
Note: The Search field is not case-sensitive, but it is sequence sensitive and allows a partial search.
- Applied filters at the top of the pane list your selected filters. To remove a filter from Applied filters, click the x next to its name, or click Clear filters to remove every filter.
- When you finish attribute selection, click Apply filters.


- You can choose any of the attribute values that are available when you create the journey.
- If you delete an attribute (for example, a queue), but the calculation period includes a time when that attribute was available, you cannot access that respective attribute for filtering.
- Attribute values are presented in alphabetical order.
- If you change an attribute name, but not the ID, then the new attribute name is available from the list.
- If you exclude an attribute, Genesys Cloud hides the excluded attribute’s sub attributes from the selectable list.
Manage event connectors
Connectors establish the relationships between the events of the journey.
- To create a connection, click More in the upper right corner of the event and then select Add connection. A dotted line indicates the direction of the new connector. To finish the visual display, attach the connector to your preferred event.
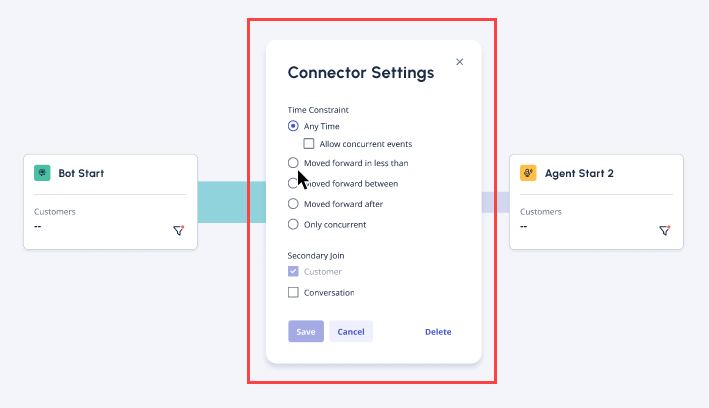
- To edit a connection, click an established connection. In the Connector settings pane, you can determine the time constraints for the connection.
- You can set a secondary join for the connection. By default, Genesys Cloud joins every event based on the Customer. You can also set a secondary join on Conversation. For more information about a sample use case, see Use case for a simple journey.
Note: Agent is only available as a secondary join when at least one of the connected events is agent-related; for example, Agent Start or Agent End. - Click Save.
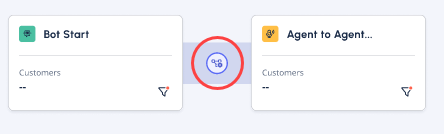
- If you changed a connection, an icon on the connection line indicates the change.
- You can set a secondary join for the connection. By default, Genesys Cloud joins every event based on the Customer. You can also set a secondary join on Conversation. For more information about a sample use case, see Use case for a simple journey.
Calculate events
- When you are finished with building the journey, choose to create charts of interest, or run a calculation and then decide what charts to build based on the journey results.
- Save all changes, and then click Exit editing to return to Analyze mode.
- To calculate event possibilities, click Calculate in the upper right corner. Genesys Cloud processes a journey query. After the query is complete, the results are populated onto the journey.
- The calculation can take some time to complete.
- You can create up to 10 charts per journey.
When the calculation is ready, Genesys Cloud applies the calculated numbers to the respective journeys. The journey editor displays the volume of customers moving between events with a thicker connection line.
Genesys Cloud displays the date range and the date of the last calculation in the lower right corner of the screen.
Example for a visualized journey
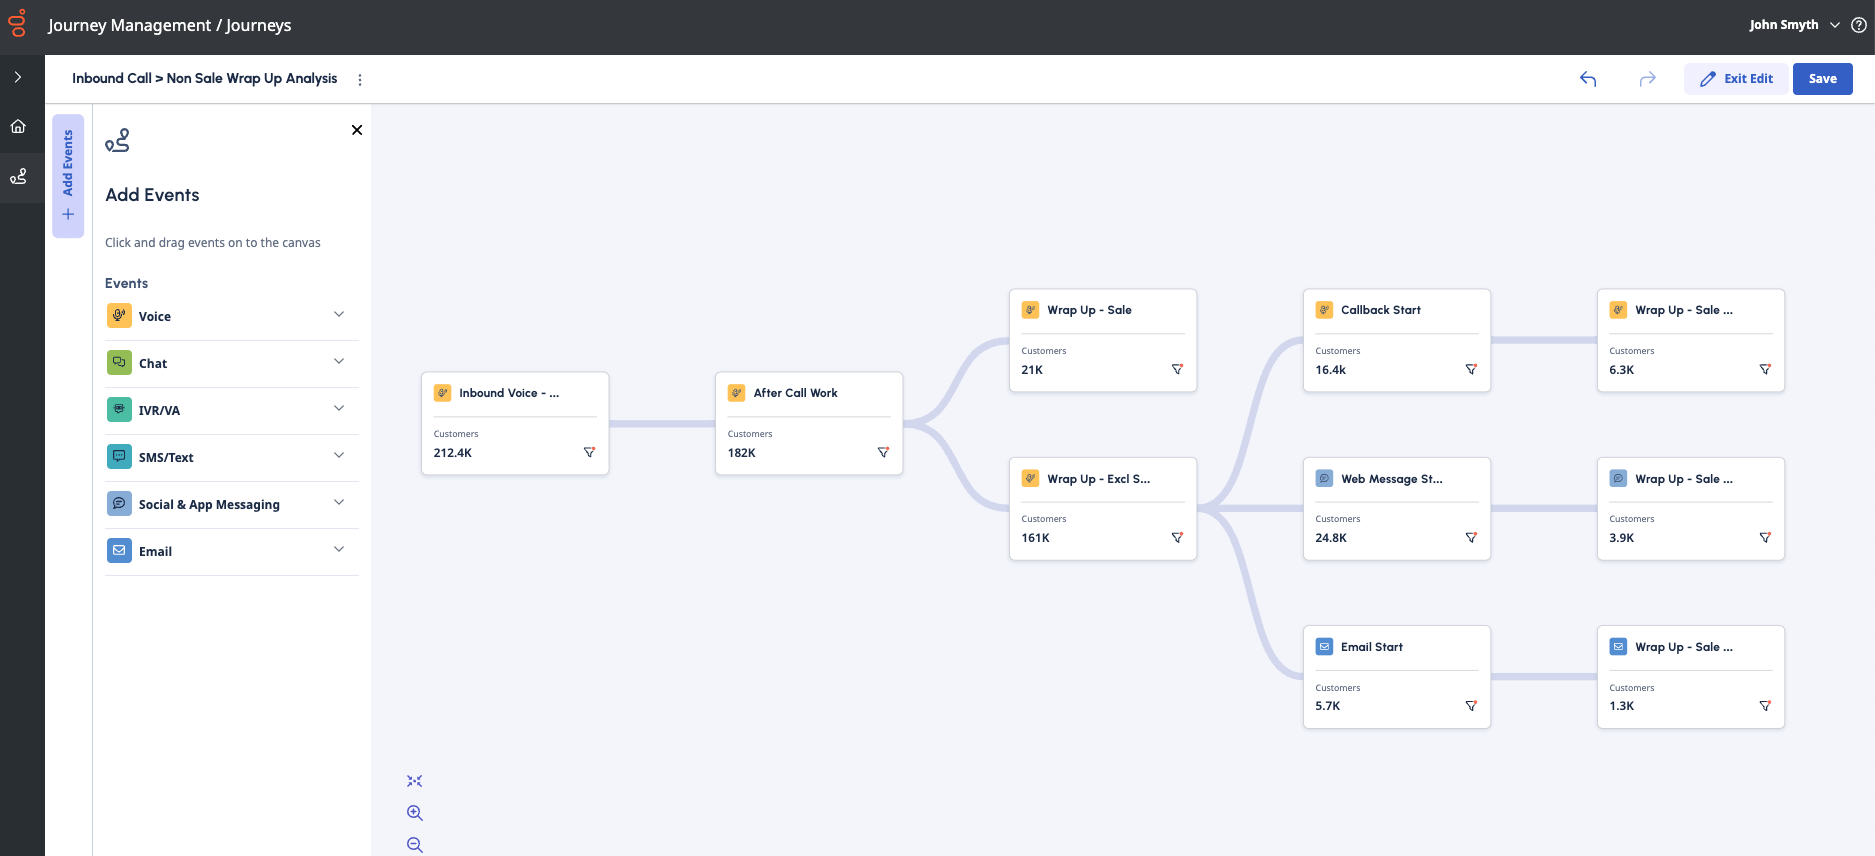
This image shows a completed, visualized journey with different event types and finished calculations. You can duplicate journeys and refresh the calculations according to your needs.
Click the image to enlarge.
Limits
- You can create up to 500 journeys per organization.
- You can add up to 50 event types to a journey.
Note: If you insert new events between two existing events, and the event number increases above 50, Genesys Cloud cannot save the journey and displays an error message. - Organizations can have up to 15 queries per day for exploring data and hypothesis testing. No more than five (5) concurrent queries are allowed.
- The maximum number of connections per event is 20.