
Edit a schedule entry for a campaign or campaign sequence
To edit a schedule entry:
-
Click Admin.
-
Under Outbound, click Campaign Management.
-
Click the Schedule tab.
-
To set the duration of time displayed in the calendar view, click Month, Week, or Day.
-
(Optional) Navigate to the date of the schedule you want to edit, using the Next or Previous buttons.
-
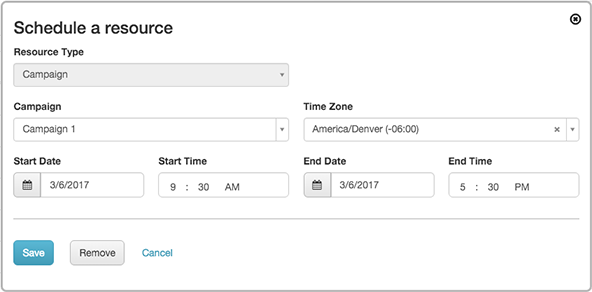
To open the Schedule a Campaign popover, click a schedule entry. The Schedule a resource popover appears.
-
(Optional) Select a different campaign or sequence for this schedule to apply to.
-
(Optional) Select a time zone from the Time Zone list. This process identifies the time zone used by the resource, eliminating the need to calculate offsets between the time zone of the administrator and the zone of the resource.
Tip: The schedule view shows schedules in the local time of the person viewing them. But when configuring a schedule entry, you express dates and times the same way someone would in their local time. Setting a zone makes it easier to figure out what you’re doing.
For example, if a campaign administrator in Indiana schedules a resource to run from 9 AM to 6 PM in Hawaii, he does not need to figure out what time that is in Indiana local time. Instead, he selects Pacific/Honolulu as the time zone, and then sets the start time to 9 AM and the end time as 6 PM. The administrator can be confident that the resource runs between 9 am and 6 pm Hawaiian time, without having to calculate offsets between his zone and the resource’s time zone.
-
(Optional) Update start date, start time, end date, and end time. The start date of a schedule entry cannot be in the past. The user interface validates this condition and warns, “the start cannot be in the past.”
-
Click Save.