Work with workitems
A workitem is a task or unit of work that appears in your Interactions panel. Each workitem has a particular type, and that worktype determines the structure and behavior of the workitem. Workitems are part of work automation. For more information, see Work automation overview.
You receive workitems either by ACD routing or directly from another user. Workitem notifications look much like interactions that appear in the Active Interactions roster.
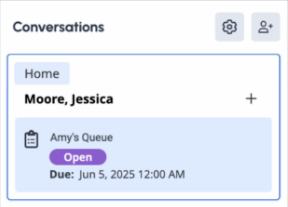
The workitem notification card displays the following information:
- The name of the customer if a matching External Contact exists
- The division if linked to an External Contact
- The assigned queue
- The workitem name
- You cannot edit the workitem information until you accept the workitem.
- After you accept a workitem, the main panel displays the due date.
- If the workitem has no external contact related to it, the card displays “No Name.”
- With workitems, you can use a script to guide you through the process.
- Your admin can define the content, layout, and appearance of your workitems. For more information, see Define a worktype.
- Log in as an agent and go on queue. The Interactions panel opens.
Alternatively, to access the interactions panel, click Interactions .
.
- To accept a workitem, click Accept; to refuse a workitem, click Decline.Note: If you decline a workitem or the answer time expires, Genesys Cloud takes you off-queue and puts you into Not Responding status. While Not Responding, you do not receive new workitems or interactions. To receive interactions again, go on queue.The workitem opens.

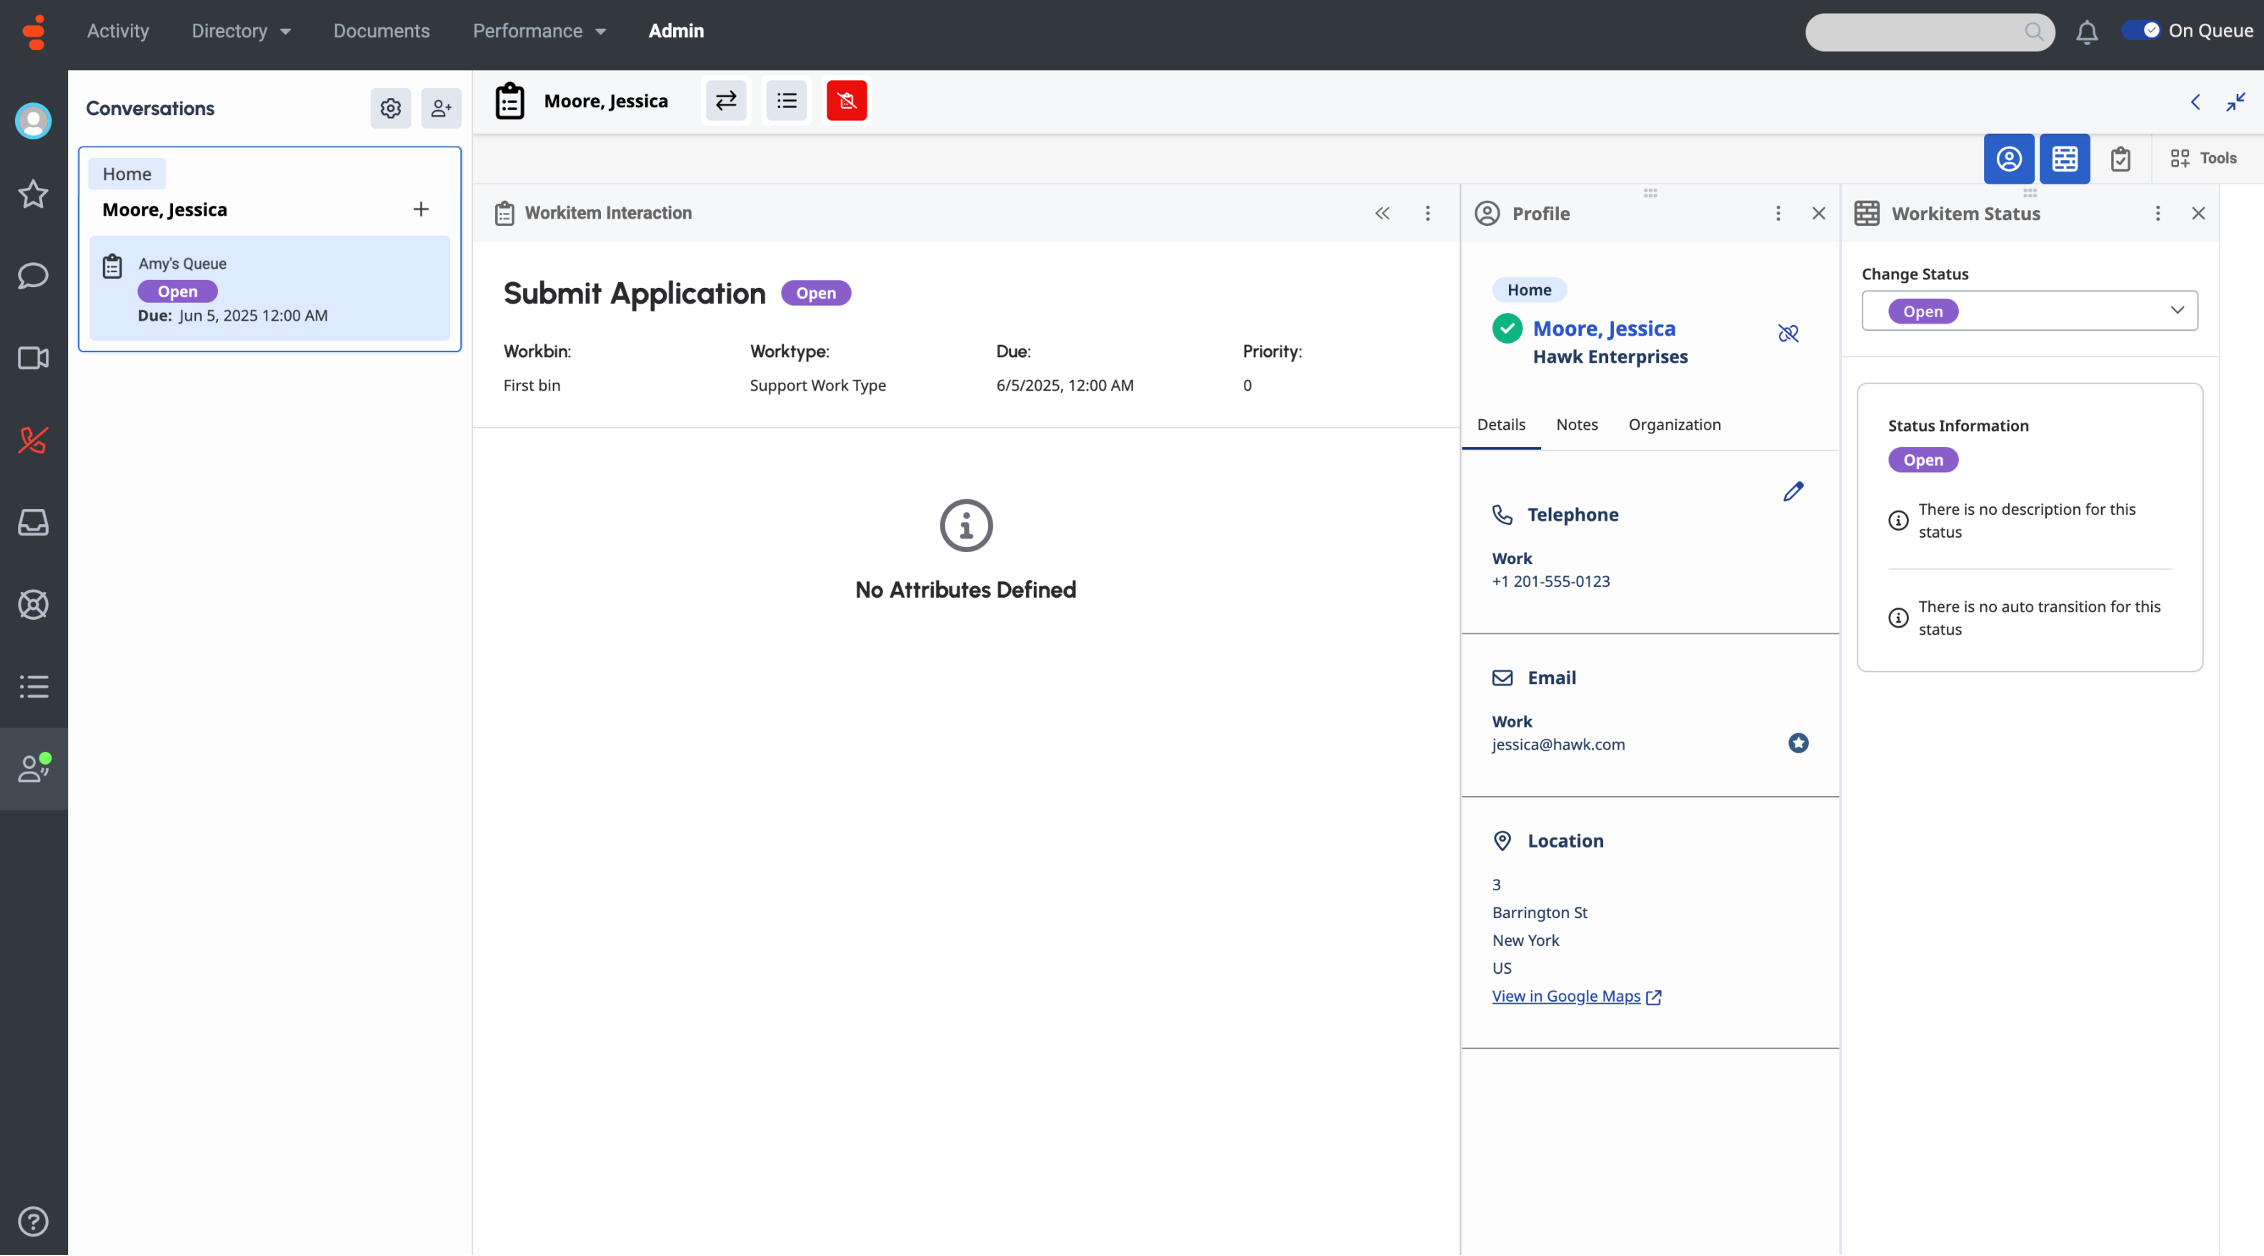
When you accept a workitem, these workitem details appear:- Workitem name
- Current state
- Workbin
- Worktype
- Due Date
- Priority
- Custom attributes, if configured
 At the bottom, the workitem shows the Find custom attributes search bar and a list of the custom attributes attached to the workitem.
 Note: Your workitem can also include an admin-created script that can guide your work.


To disconnect a workitem, click Disconnect ![]() .
.
To park a workitem, click Park .
To unpark a workitem, follow these steps,
- On the left side panel, click List View .
- To the right of the workitem that you want to unpark, click More .
- Click Return to Roster. The workitem returns to your Conversations roster.Note: Parked workitems do not count toward your handle metrics.
To transfer a workitem to someone else, follow these steps:
- At the top of the workitem, click Transfer .
- Search for a user or queue and select them from the list.
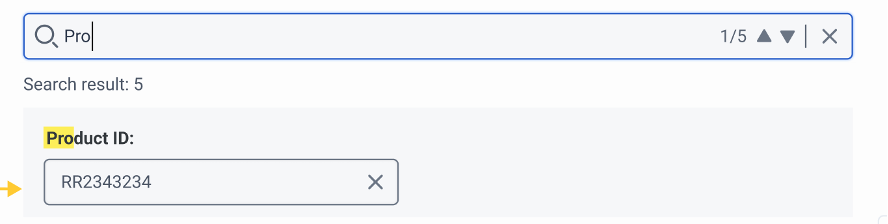
To search custom attributes, perform one of the following steps:
- In review mode, in the Find customer attributes box, type a search string. Custom attributes that match the string that you enter appear after the search bar.
- In edit mode, in the Find customer attributes box, type a search string. Custom attributes that match the string that you enter appear, and you can edit them.

To edit custom attributes, follow these steps:
- Next to the search bar, click Edit .
- Use this mode to make the following changes:
- Edit each field.
- To remove a tag, click Remove .
- To add a tag, click Add Tag .
- To save the changes, click Save.
To change the status of a workitem, follow these steps:
- Click Status .
- From the available statuses, click the preferred status.Notes:
- You can only select a status that your admin maps.
- If your admin sets an automatic status transition, then to show that the status updates at a specific time, a clock icon appears next to the status. This automatic status transition can result in a status change while you are working the workitem.
- If your admin enables auto-terminate for a workitem in closed status and you select that status, Genesys Cloud terminates the workitem. For more information, see Define a worktype.
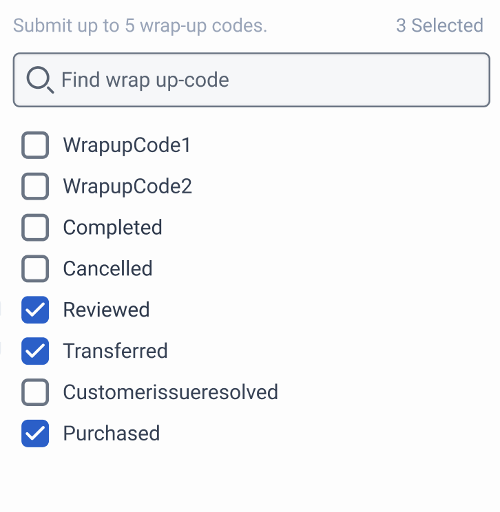
To choose wrap-up codes for your workitem, follow these steps:
- To access the wrap-up code panel, click Wrap-up codes .
- To search for wrap-up codes, click in the Find wrap-up code box and select up to five.
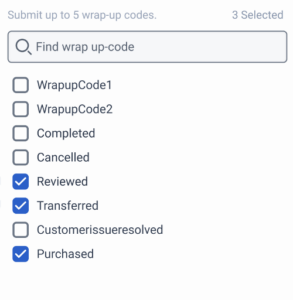 Note: You can select up to five codes. If other people handle the workitem, then the workitem can have up to 25 codes.
 - To save your selection, click Save.
- The codes you select appear at the top as cards. To clear a code, click Remove .
To search for an existing contact from an open workitem, follow these steps:
- Click Profile .
- In the search box, type the name of the contact that you want.
- From the list of results, click the desired contact.
- To associate the desired contact, click Select Contact.
To create a new contact from an open workitem, follow these steps:
- Click Profile .
- Click Create Contact.
- In the New Contact window, type the contact information that you know. First name and Last name are required fields. All other fields are optional.Notes:
- For phone numbers, Genesys recommends that you enter the full E.164 number. You can add non-E.164 numbers to any field, but they are not searchable. Genesys Cloud does not support extension-only numbers.
- Your administrator controls the division in which you search and create new contacts. For more information, see Define a worktype.
- With unassigned and in this division enabled, you can search for and create contacts in either the workitem division or the unassigned division.
- With in this division only enabled, you can only search for and create contacts in the workitem division.
- If you want to change the division for an existing contact, you must delete the contact and create a new one. For more information, see Divisions for External Contacts overview.
- To save the contact, at the bottom, click Save.