
Get started with authenticated web messaging
Authenticated web messaging allows only authenticated users to start a web messaging session with your agents. These users must log in to your website or your application before they can send a web message.
Note: Genesys relies on OpenId Connect Reference as an open standard for integrating into identity providers and authentication services.
To enable authenticated web messaging, follow these steps:
-
Create or configure an authentication server (an OpenID provider).
Note: The authentication server configuration depends on the provider. This step results in a Discovery URI and Client credentials (client-id and client-secret) that you need in the next step. During this configuration, Genesys recommends that you create a separate client-id for integration into Genesys. -
Create an OpenID Connect Messenger Configuration integration. When you configure credentials for this integration, use the client-id and client-secret.
Note: The Set-up an Integration here link in Messenger configuration is a shortcut to the Integrations view. If you don’t see OpenID Connect Messenger Configuration object, you can add it to your list of Integrations by clicking the + sign.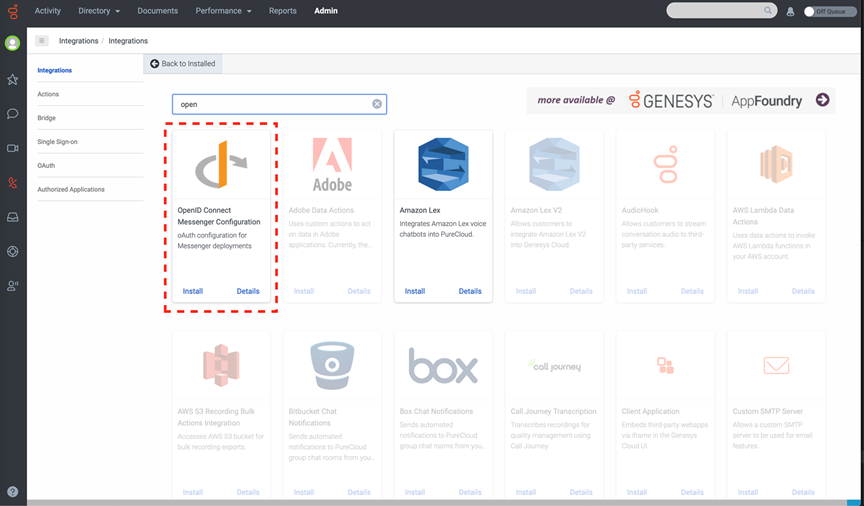
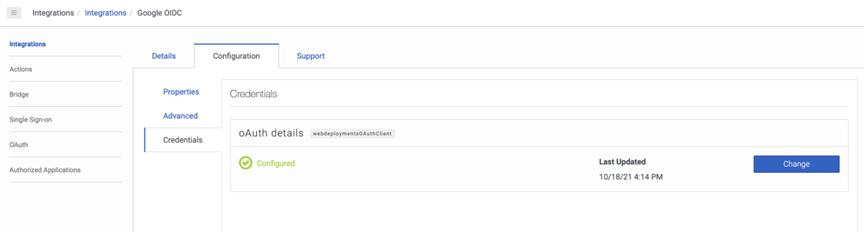
The following example demonstrates an OpenID Connect Messenger integration configuration.
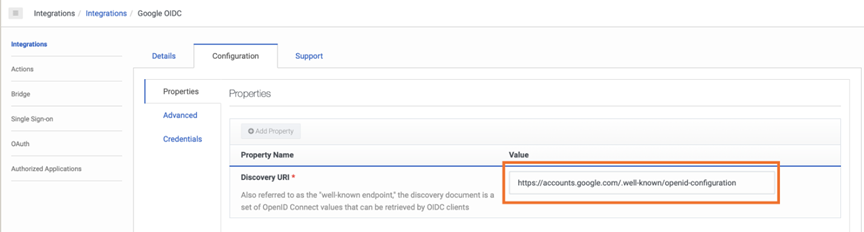
This example shows where to add the client credentials (client-id and client-secret) in the OpenID Connect Messenger integration configuration.
- In your Messenger configuration, enable Authentication.
- In the Authentication area of the configuration, select the OpenID Connect Messenger Configuration integration. For more information, see Configure Messenger.
- Create and save a Messenger deployment.
- Assign this Messenger configuration to your deployment.
- Copy the code snippet from this deployment to the website pages where you want Messenger to appear, or use a Tag Manager tool to deploy it.
- To deploy Messenger to your mobile platform (custom mobile messenger), configure the deployment domain and ID in the Transport SDK.
Note: For more information, see these Developer center articles: Authenticated web messaging and Auth plug-in and AuthProvider plug-in in Commands and Events.