
Manage profile memberships
- Genesys Cloud CX 3 Digital or Genesys Cloud EX license
- Genesys Cloud CX 3 license, Genesys Cloud CX 1 WEM Add-on II, or Genesys Cloud CX 2 WEM Add-on I license
- Performance Management Admin role
Note: The Performance Management Admin role is enabled for all new organizations. However, anyone with an existing org must add this new role by using the Authorization API to restore all default roles.
A profile is made up of details, metrics, and members. When creating a custom profile each of these three profile components must be configured.
For more information about configuring the profile details and metrics, see Configure gamification profile details, and Configure gamification profile metrics.
Use the Members tab in a gamification profile to add agents to and remove agents from a profile. You can add agents individually or you can add agents assigned to a specific queue, group, or business unit. A profile cannot have more than 2000 members. An agent can only be a member of one profile at a time.
View a profile’s memberships
- Click Admin.
- Under Performance & Engagement, click Gamification Profiles.
- Click a profile.
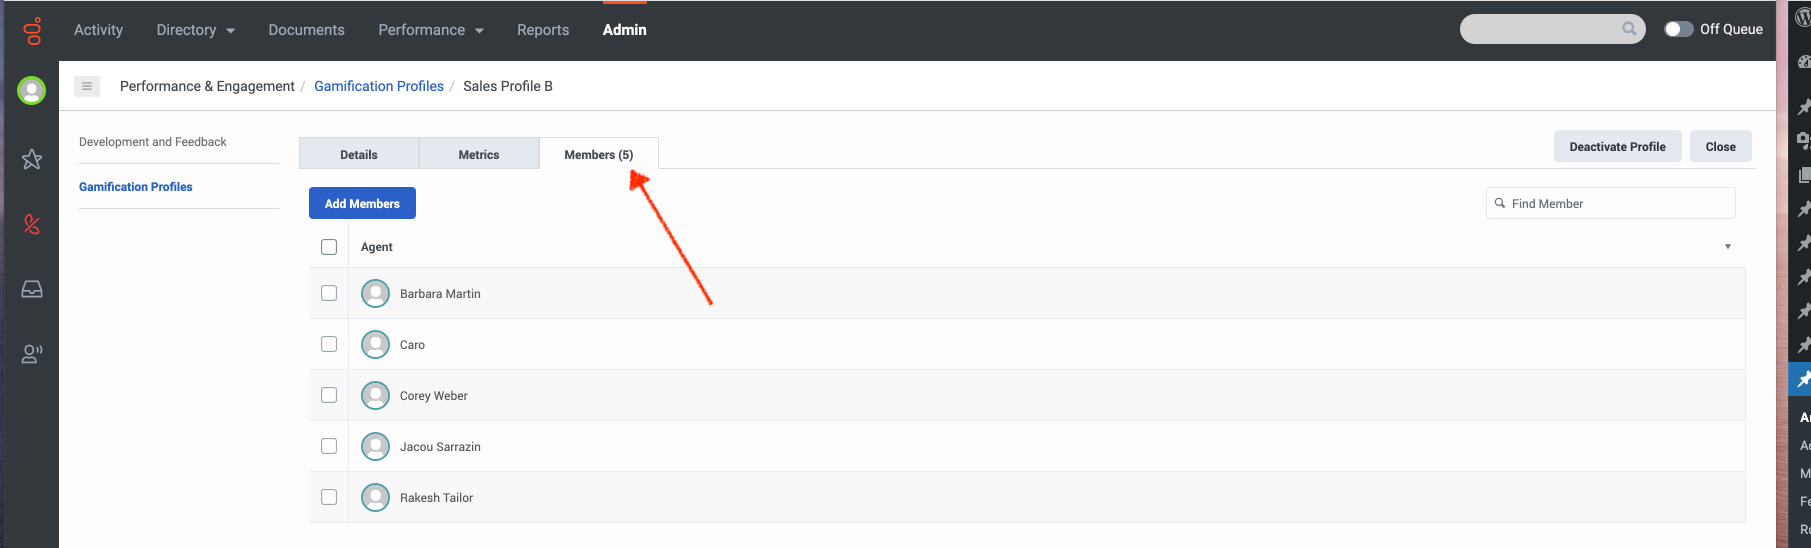
- Click the Members tab. As shown in the following image, the number of members assigned to the profile appears next to the tab label.
Click the image to enlarge.
Search for a profile member
To search for a member of the profile, in the Find Member box, begin typing the name of the member. As you type, the list adjusts to only show the members who match your search criteria.
Remove an agent from the profile
To remove an agent from the profile, select the agent and then click Remove Selected.
Add a single agent to the profile
- Select the Members tab and click Add Members.
- In the list box, click By Agent and in the search box begin typing the name of the agent you want to add. As you type, the search results adjust to only show the agents who match your search criteria.
- Click the agent to add and then click Add to List.
- Click Assign Agents. The selected agent is added to the Members list.
Create a list of agents to add to the profile
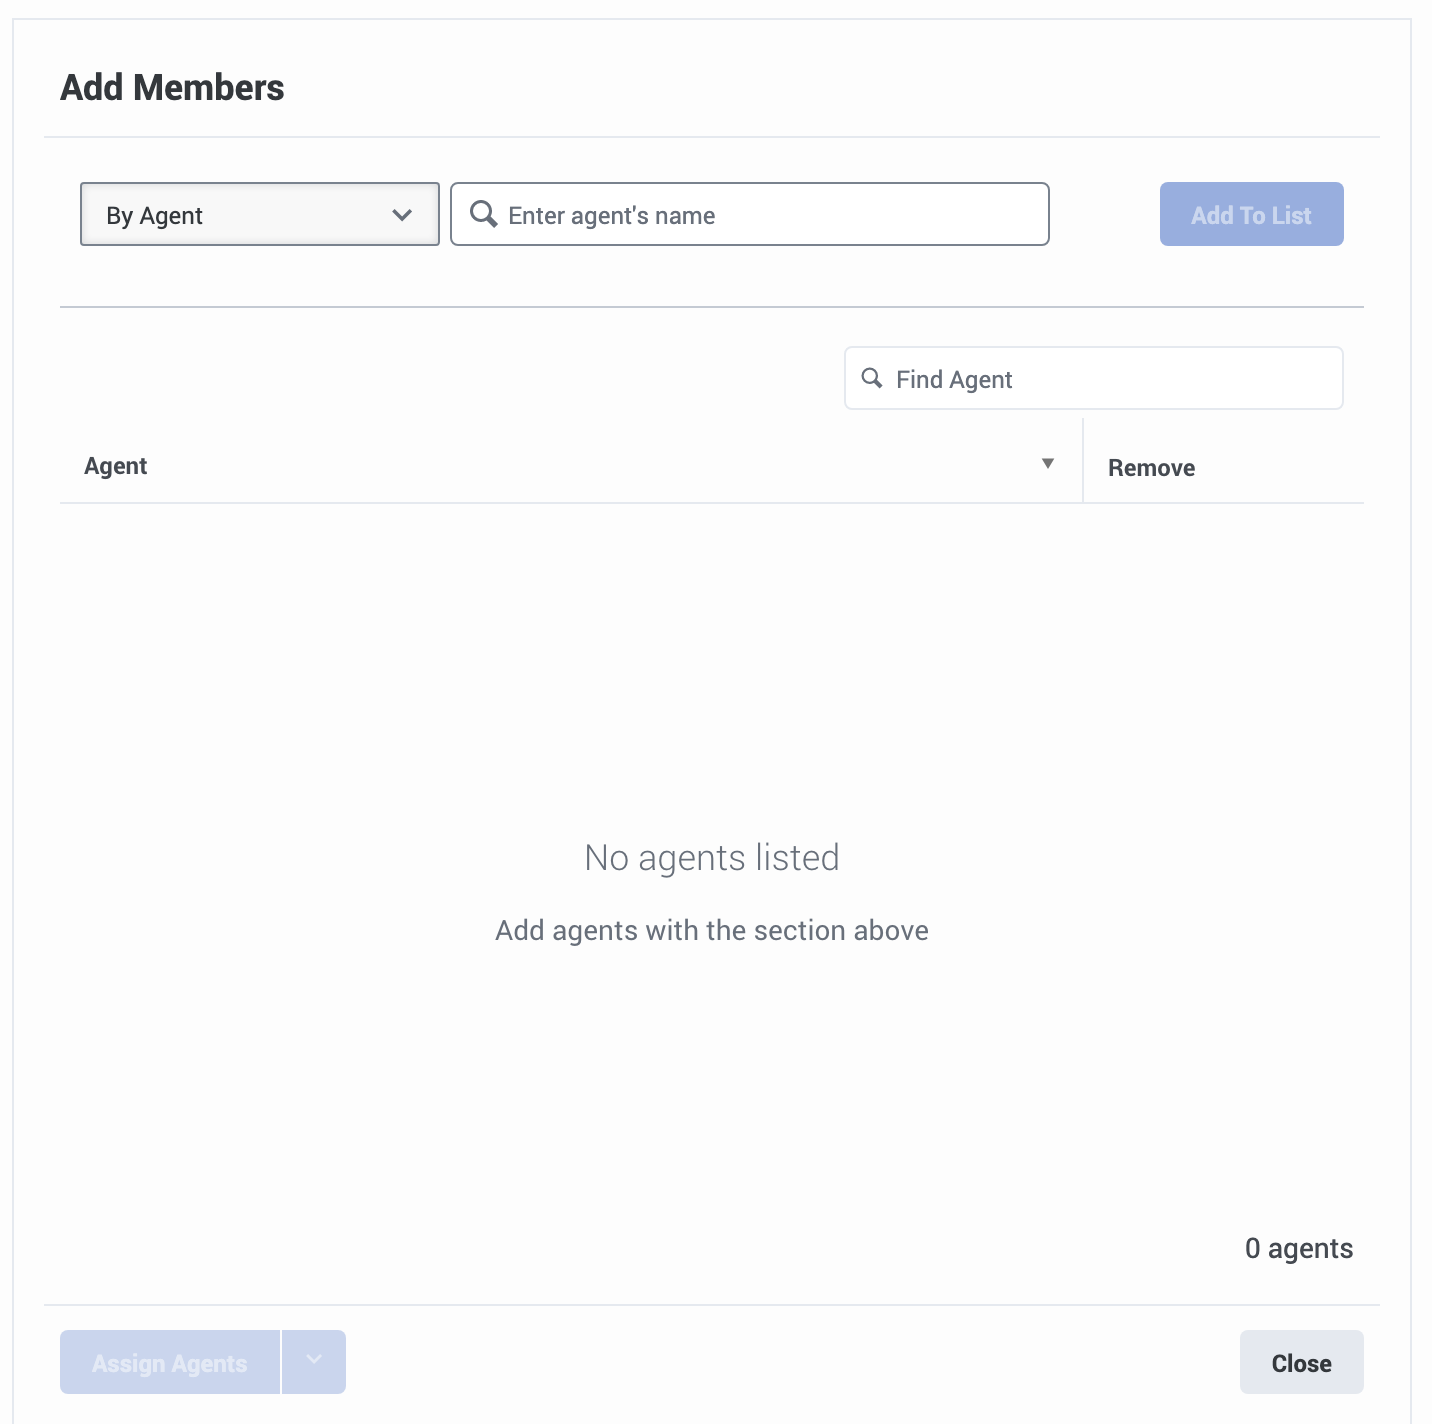
- Select the Members tab and click Add Members.
Click the image to enlarge.

- In the list box, click how to select the agents to add to the profile. For example, by individual agent, queue, group, or business unit.
- In the search box, begin typing the name of the agent, queue, group, or business unit. As you type, the search results adjust to only show those that match your search criteria.
- Click a search result and then click Add to List.
Note: To continue adding to your list, repeat steps 2-4. - To exclude a listed agent from the profile, click the x in the Remove column associated with the agent’s name.
- When the list contains all the agents that you want to add to the profile, click Assign Agents.
- Click Confirm assignment and the agent is added to the members list.
Create a list of replacement members
These instructions explain how to create a list of agents that you want to replace existing profile members. Existing members are removed and replaced with the agents in your list.
- Select the Members tab and click Add Members.
- In the list box, click how to select the agents to replace existing members of the profile. For example, by individual agent, queue, group, or business unit.
- In the search box, begin typing the name of the agent, queue, group, or business unit. As you type, the search results adjust to only show those that match your search criteria.
- Click a search result and then click Add to List.
Note: To continue adding to your list, repeat steps 2-4. - To exclude a listed agent from the profile, click the x next to the agent’s name.
- When the list contains all the agents that you want to replace the existing profile members, click the arrow next to Assign Agents and then click Replace members.
Confirm assignments
After you create a list of new or replacement members, the Confirm Assignment dialog box appears. Review the expected assignments and adjust the assignments as necessary. Then, click Confirm Assignment. Profile changes are effective immediately and reflected in agent scorecards, average team scores, and leaderboards.
| Tab | Description |
|---|---|
| To Be Moved |
Lists the agents to move from another profile to this one. To exclude an agent from moving to this profile, clear the check box. Performance data is based on the profile that the agent had that day, before the move. An agent’s performance is recalculated for the current day after the agent is moved to another profile.
|
| To Be Assigned |
Lists the agents to assign to this profile. If the Auto Assignment is on, these agents are not members of another custom profile. If the Auto Assignment is off, these agents are not members of another profile. For more information, see Configure membership auto-assignment. |
| To Be Removed |
Lists the agents to remove from this profile. If membership auto-assignment is on, these agents move to the default profile. |
| Already Assigned | Lists the agents who are assigned to this profile already. |