
Work with a program
Programs are a package of topics that instruct the speech and text analytics feature about which business level intents to look for in recorded conversations between interaction participants. Programs are mapped to specific queues or flows and can contain topics of varying languages or dialects. This is essential since different parts of the contact center may have different business interest intents.
Topics must be defined before you can add them to a program. However, you can change topic contents after you add it to the program. The topic contents that are defined when the program is applied are the contents that speech and text analytics searches for. For more information, see Work with a topic.
Note:
- The Programs feature includes one preconfigured program that includes a set of preconfigured topics. The preconfigured program is automatically set as the default program. The default program can be changed at any time. To change the default program, see Set a default program below.
- Genesys Cloud EX does not support flows; you can only assign programs to queues. Despite this, all flow types are visible in the program editor, but selecting them does not have any effect.
- Click Admin > Quality.
- Click Programs. A list of all of the available programs is displayed.
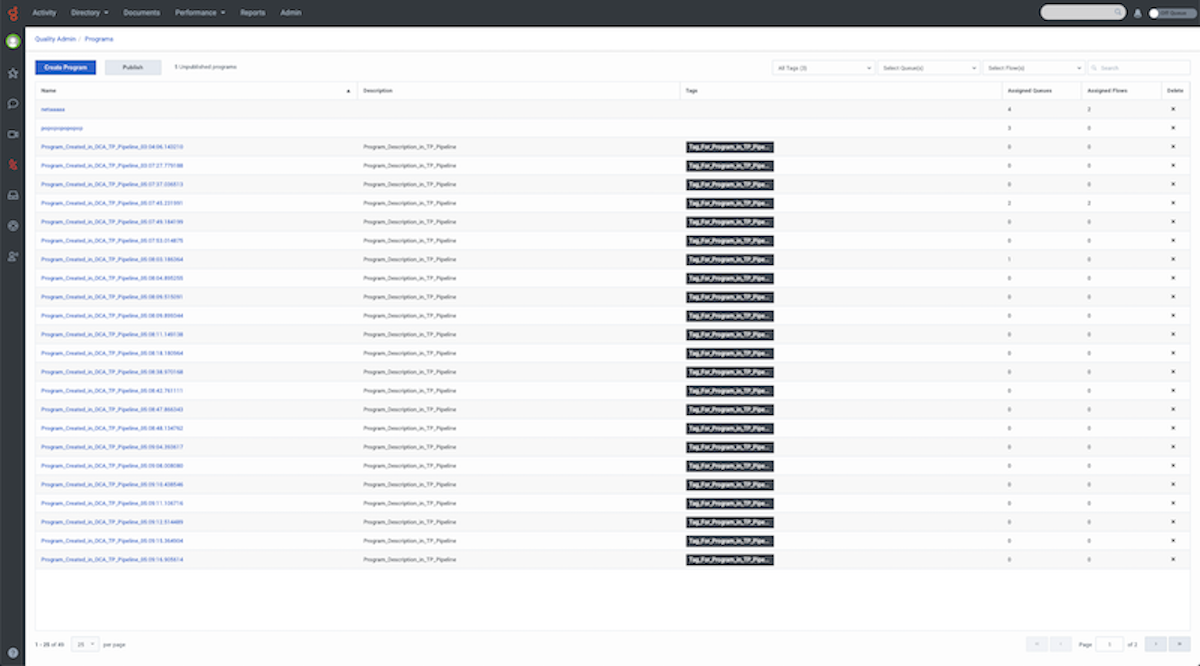
Click the image to enlarge.
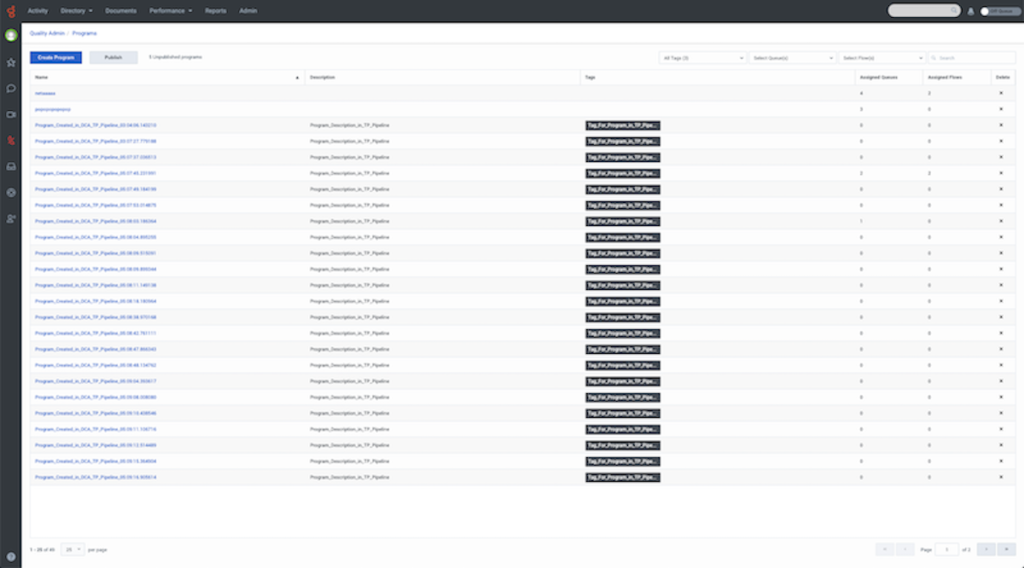
The following information and options appear in the Programs list:
-
- Create Program – Click the Create Program button to create a new program. For more information, see Create a program below.
- Publish – Click the Publish button to publish one or more programs. For more information, see Publish a program below.
- # Unpublished programs – Shows the number of programs that are not published.
- Name – A unique program name.
- Description – A free text description of the program.
- Tags – The Tags column shows the tags associated with the specific program.
- Assigned Queues – Indicates the number of queues associated with the specific program. For more information, see Create and configure queues.
- Assigned Flows – Indicates the number of flows associated with the specific program. For more information, see Manage flows.
- Delete Program – Enables you to delete the specific program. Click the x associated with the program you want to delete. Click Yes when you are asked if you are sure you want to delete the program.
- All Tags (#) – Select one or more tags to filter the programs list to show the programs associated with the selected tags.
- Select Queue(s) – Select one or more queues to filter the programs list to show the programs associated with the selected queues.
- Select Flow(s) – Select one or more flows to filter the programs list to show the programs associated with the selected flows.
- Search – Use the Search field to find a specific program.
- Click Admin > Quality.
- Click Programs. A list of all available programs are displayed.
- From the Name column, click the name of the program you want to view. The selected program details are displayed.
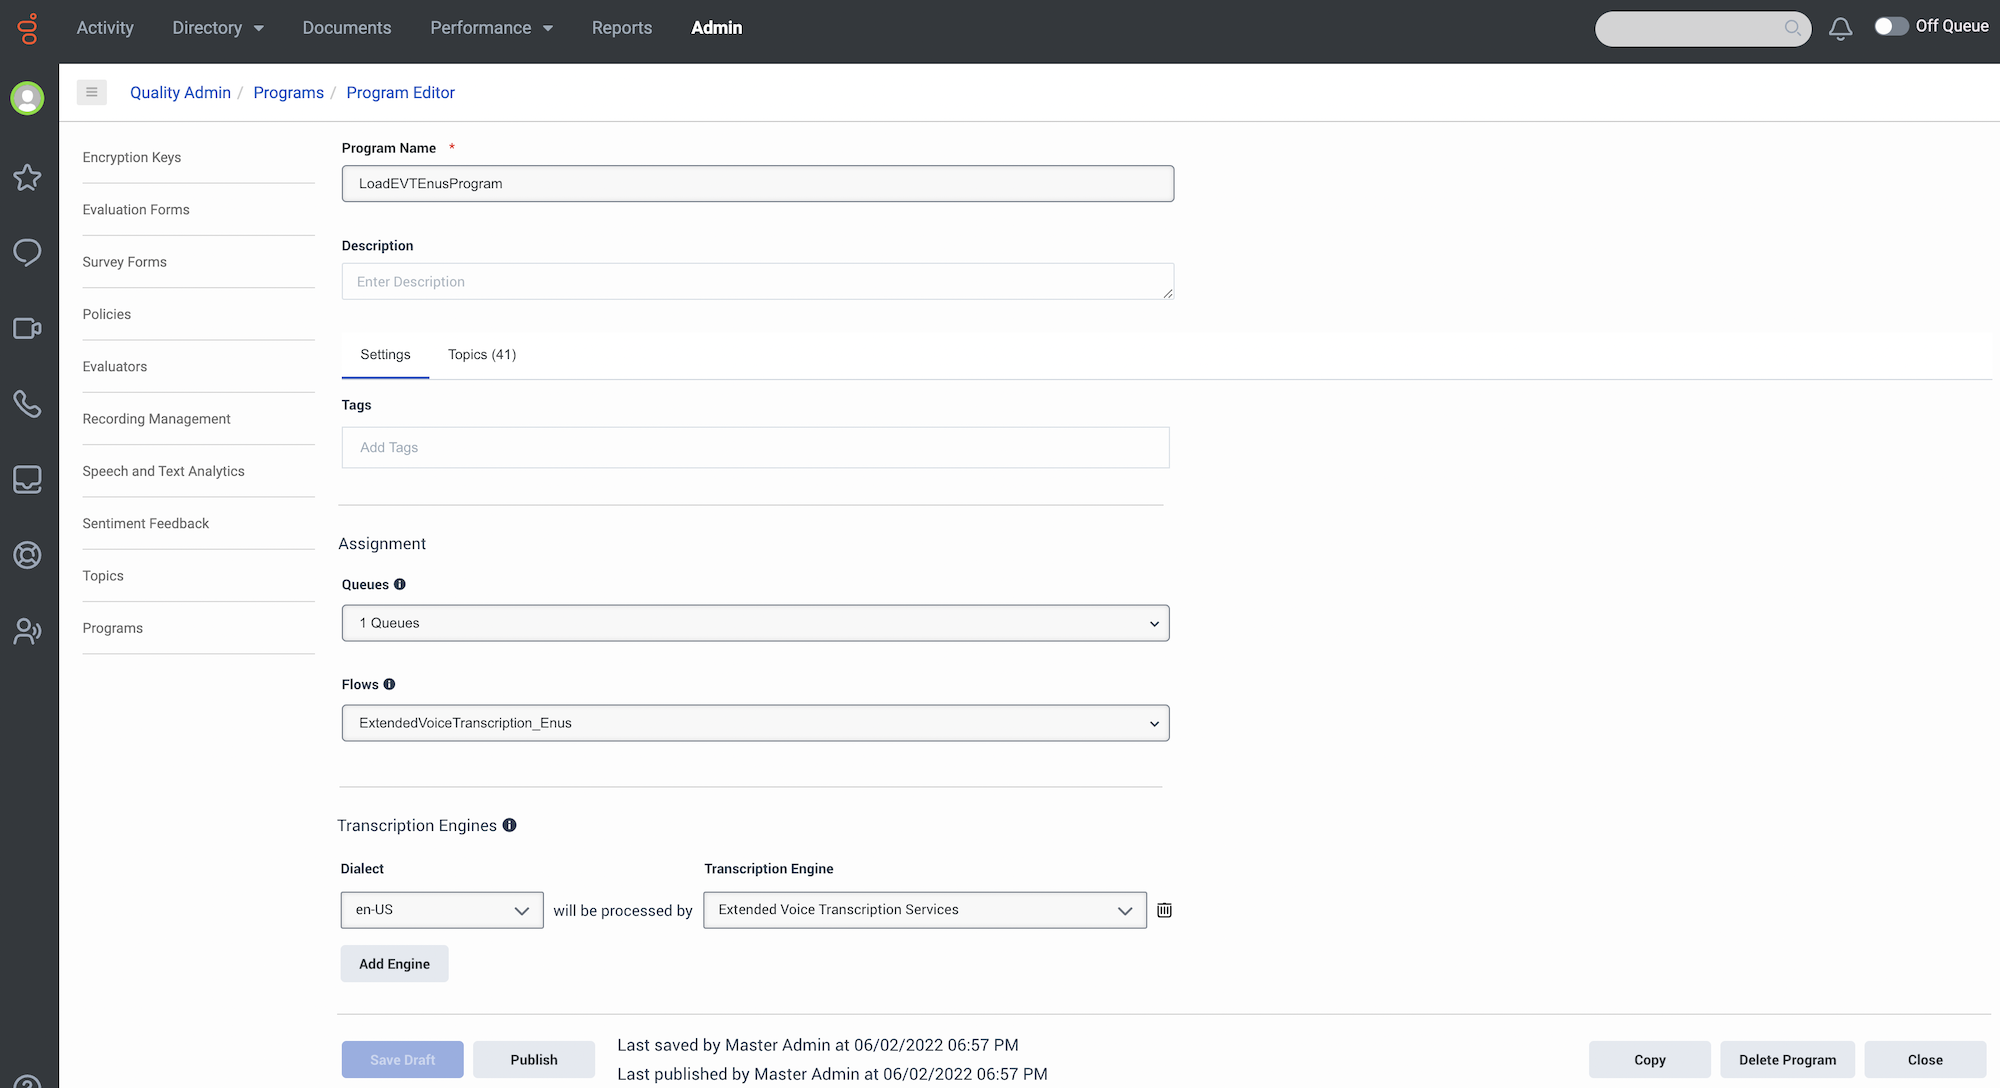
Click the image to enlarge.

- Review the program details:
- Program Name – Enter a unique name that is easy to correlate to the business issue.
- Description – Enter a free text description of the program.
- Tags – A tag enables you to classify and group programs and topics. Click the tag field to open the tag list and view the selected tags.
- Queues – Queues currently mapped to the program. For more information, see Create and configure queues.
- Flows – Flows currently mapped to the program. For more information, see Manage flows.
- Transcription Engines – Select the dialect and transcription engine that should transcribe the interactions. Click Add Engine to add an additional transcript engine.
- Click the Selected topics (#) tab to see the list of topics associated with the selected program. For more information, see Work with a topic.
-
- Select Show selected only to see a list of the topics associated with the specific program.
- Use the Search field to find a specific topic.
- Filter the Selected topics list using the following filter options:
- All Tag (#) – Select one or more tags to filter the programs list to show the programs associated with the selected tags.
- All Dialects (#) – Select one or more dialects to filter the topics list to show the topics associated with the selected dialects.
-
- Click Close to return to the programs list.
Note:
- Fields marked with a red asterisk (*) are mandatory. You cannot create a program if you do not fill in the fields marked with a red asterisk.
- The maximum number of tags per program and per topic is 20.
- The maximum number of programs per organization is 100.
- A program is limited to 500 queues and to 500 flows.
- The maximum number of queues and flows for the entire system is 20,000.
- Click Admin > Quality.
- Click Programs. A list of available programs is displayed.
- Click the Create Program button at the top of the program list.
- Configure the following program details:
- Program Name – Enter a unique name that is easy to correlate to the business issue. The program name is case sensitive and is limited to 100 characters.
- Description – Enter a free text description of the program. The program description is limited to 10240 characters.
- Tags – A tag enables you to classify and group programs and topics. Select one or more existing tags and/or create one or more new tags. In the field provided type the tag name. If the tag exists, it appears in the tag list. If you are creating a new tag the word appears with (New Tag) next to it. The tag name is case sensitive and is limited to 100 characters. Press Enter to add the new tag.
- Queues – Select one or more queues to map to the program. For more information, see Create and configure queues.
- Flows – Select one or more flows to map to the program. For more information, see Manage flows.
- Transcription Engines – Select the dialect and transcription engine that should transcribe the interactions. Click Add Engine to add an additional transcript engine.
- Click the Selected topics (#) tab to add one or more topics to the new program.
- Click the checkbox next to the topic(s) you want to add to the program. For more information, see Work with a topic.
- Click Save Draft to create the new program. A Program successfully saved as a draft message appears in the top right corner of the screen.
- Click Close on the left to return to the programs list.
Note:
- To implement new programs and/or program changes you must publish the specific program. After you publish the new and/or updated programs all new interactions in the database are processed according to the updated and new programs.
Note:
- Fields marked with a red asterisk (*) are mandatory. You cannot create a program if you do not fill in the fields marked with a red asterisk.
- Click Admin > Quality.
- Click Programs. A list of all available programs is displayed.
- From the Name column, click the name of the program you want to change. The selected program details are displayed.
- Change one or more of the program details:
- Program Name – A unique name that is easy to correlate to the business issue. The program name is case sensitive and is limited to 100 characters.
- Description – A free text description of the program. The program description is limited to 10240 characters.
- Tags – A tag enables you to classify and group programs and topics. Select one or more existing tags and/or create one or more new tags. In the field provided type the tag name. If the tag exists it appears in the tag list. If you are creating a new tag the word appears with (New Tag) next to it. The tag name is case sensitive and is limited to 100 characters.
- Queues – Queues currently mapped to the program. Queues can be added or removed from the program from this drop down menu. For more information, see Create and configure queues.
- Flows –Flows currently mapped to the program. Flows can be added or removed from the program from this drop down menu. For more information, see Manage flows.
- Transcription Engines – Select the dialect and transcription engine that should transcribe the interactions. Click Add Engine to add an additional transcript engine.
- Click the Selected topics (#) tab to see or change the topics associated with the selected program. For more information, see Work with a topic.
- Select Show selected only to see a list of the topics associated with the specific program.
- Use the Search field to find a specific topic.
- Filter the Selected topics list using the following filter options:
- All Tags (#) – Select one or more tags to filter the topics list to show the topics associated with the selected tags.
- All Dialects (#) – Select one or more dialects to filter the topics list to show the topics associated with the selected dialects
- Click Save Draft to save your changes. A Program successfully updated as draft message appears in the top-right corner of the screen.
- Click Close on the left to return to the programs list.
Note:
- To implement new programs and/or program changes you must publish the specific program. After you publish the new and/or updated programs all new interactions in the database are processed according to the updated and new programs.
- Click Admin > Quality.
- Click Programs. A list of available programs is displayed.
- From the Name column, click the name of the program you want to copy. The selected program details are displayed.
- Click Copy.
The following message appears:
“You successfully copied the <program name>. The copied program will only be created after you click Save Draft.“
- Make one or more changes to the copied program and click Save Draft. A Program successfully saved as a draft message appears in the top-right corner of the screen.
- Click Close to return to the programs list.
When you delete a program, the deletion is published automatically.
- Click Admin > Quality.
- Click Programs. A list of all of the available programs is displayed.
- From the Name column, click the name of the program you want to delete. The selected program details are displayed.
- Click Delete Program in the bottom right corner of the screen. A Program Editor message appears asking you if you are sure you want to delete the selected program.
- Click Yes. A Program successfully deleted message appears in the top-right corner of the screen.
To implement new programs and/or program changes you must publish the specific program. After you publish the new and/or updated programs all new interactions in the database are processed according to the updated and new programs.
Note:
- A maximum of 10 programs are published at one time. You can publish a program from the Programs list and from the specific program page.
- When publishing a program that includes topics whose changes have not been published (that is, at the topic level), a force publish will be performed on the unpublished topics.
Publish a program from the program page
- Click Admin > Quality.
- Click Programs. A list of all available programs is displayed.
- From the Name column, click the name of the program you want to publish. The selected program details are displayed.
- Click Publish. The following three messages (the third message is an example), appear in the top-right corner of the screen.
- Program successfully updated as a draft.
- Program successfully published.
- The publish request for {count} programs made at {timeStamp}, was completed successfully.
- Click Close to return to the programs list.
Publish a program from the Programs list
- Click Admin > Quality.
- Click Programs. A list of all available programs is displayed.
- Click Publish.
- In the Publish Programs window select the programs that you want to publish.
- Click Publish Programs. The following messages appear in top-right corner of the screen.
- Program successfully published.
- The publish request for {count} programs made at {timeStamp}, was completed successfully.
- Click Admin.
- Under Quality, click Speech and Text Analytics.
- Under Default Program, select the fallback program to use for topic detection if no program is mapped to a Queue or Flow.