
Filter and sort shift trade requests
Prerequisites
- Genesys Cloud CX 1 WEM Add-on II, Genesys Cloud CX 2, Genesys Cloud CX 2 WEM Add-on I, Genesys Cloud CX 3, or Genesys Cloud EX license
- Workforce Management > Shift Trade Request > View
- Workforce Management > Shift Trade Request > Edit
You can filter shift trade requests by status, and you can sort them by status. Under Workforce Management, click Shift Trades.
To navigate to the Shift Trade view, perform one of the following steps:
- In the Admin > Workforce Management, select Shift Trades.
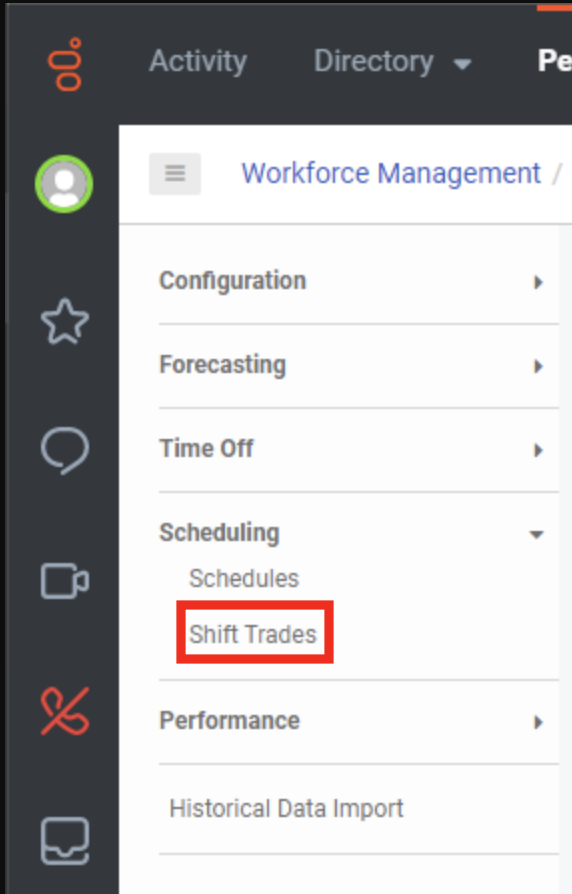
- From the workforce management menu in the left pane, under Scheduling, click Shift Trades. Click the image to enlarge.
You can further filter and sort the shift trade requests by status.
![]()
At the top of the shift trade requests page, the system displays totals for:
- The total number of requests in any status
- Requests that need administrator review
- Approved requests
- Denied requests
- Expired requests
- Canceled requests
- Unmatched requests
To see only certain shift trade requests, do one of the following:
- Click a link for a selected status type.
- In the Status column, click Filter Column and select the appropriate status or statuses.
You can sort requests in ascending or descending order by any of the following categories:
- Initiating agent
- Receiving agent
- Receiving agent’s paid difference
- Initiating agent’s paid difference
- Initiating agent’s shift
- Receiving agent’s shift
- Status
- Review reason
- Violations
- Review date
- Reviewer name
- Expiration date
To sort shift trades, follow these steps:
- To sort shift trade requests in ascending or descending order, click Descending or Ascending.
- To sort shift trades by column metrics, do the following:
- In the appropriate column heading, click Filter Column .
- In the Filter column box, select the appropriate metric.